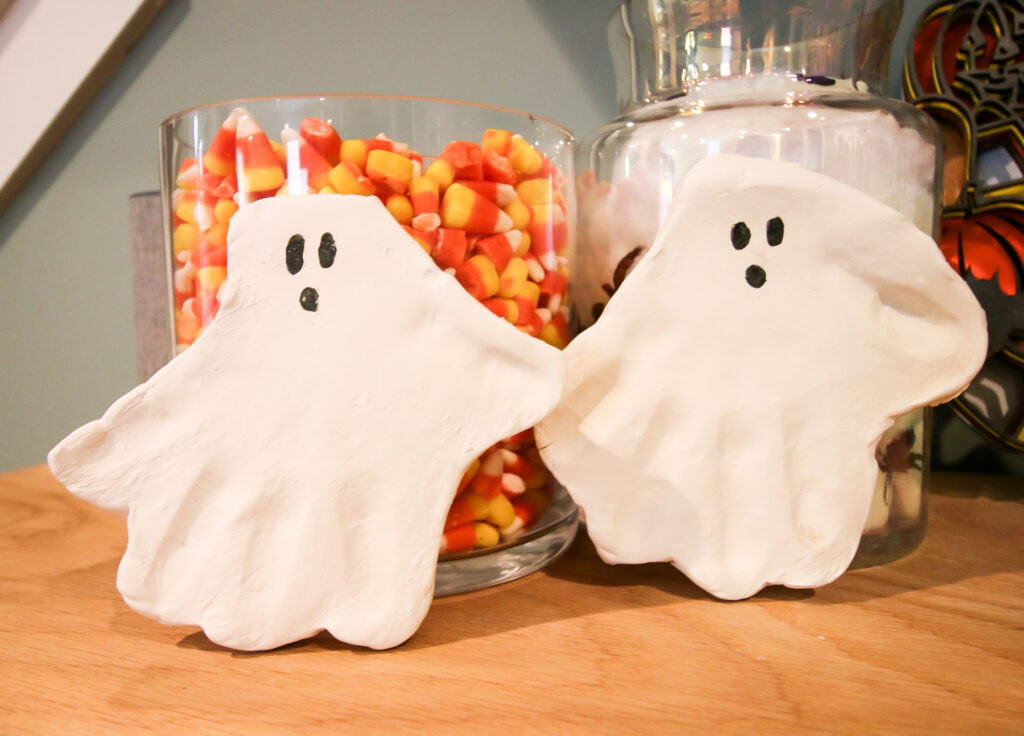
Create lasting memories with our Clay Handprint Ghosts craft, a perfect Halloween activity that turns your child's handprint into a spooky keepsake. This easy DIY project is great for family fun and makes a heartfelt gift for grandparents or parents.
Today, I've got a super cute and sentimental Halloween craft that's perfect for capturing those little hands in a spooky and sweet way: Clay Handprint Ghosts.
This project is not only a fun activity to do with your kids but also makes for a precious keepsake or gift for grandparents and parents.
This craft uses air-dry clay to create a charming handprint ghost, which you can personalize and decorate.
It’s a wonderful way to get creative with your little ones and make a lasting memory.
These Clay Handprint Ghosts are not only a great way to have fun crafting with your kids but also serve as a wonderful keepsake that can be cherished for years to come.
They make fantastic gifts for family members who will surely appreciate the personal touch and thoughtfulness.
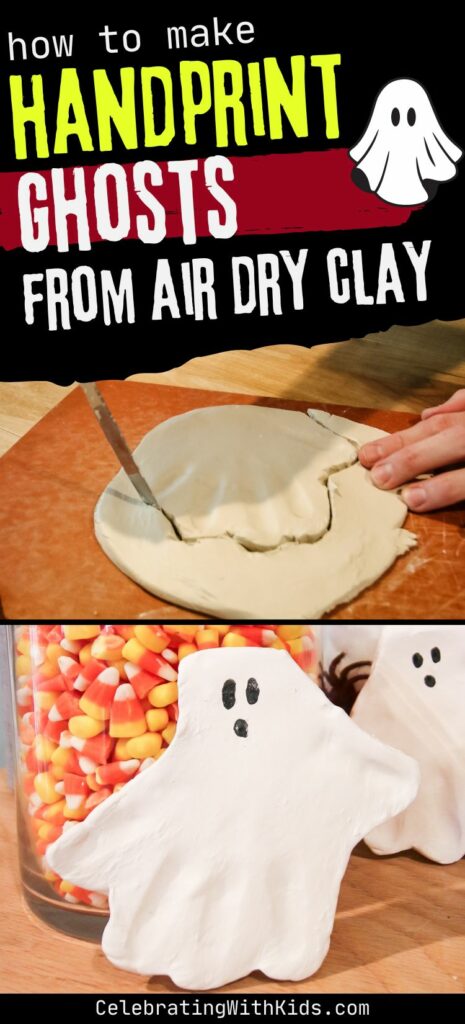
How to Make Clay Handprint Ghosts
Here's how easy it is to make ghosts in a handprint shape!
Materials Needed:
- Air-dry clay
- Rolling pin
- Cutting board
- Butter knife or a small craft knife
- White craft paint
- Black paint pen
- Paintbrush
Step-by-Step Guide
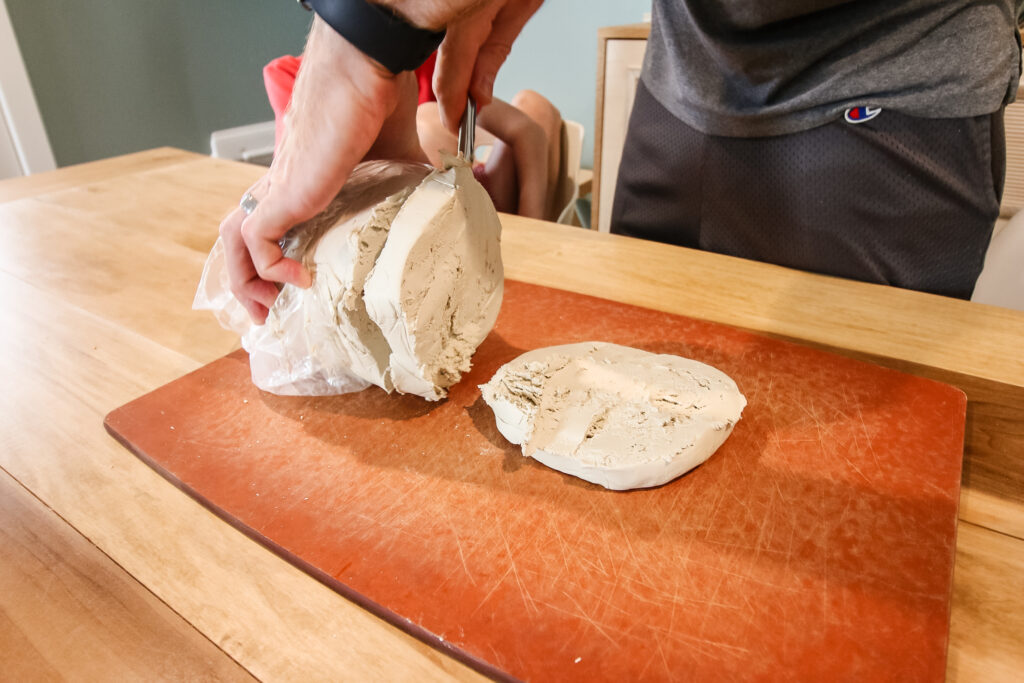
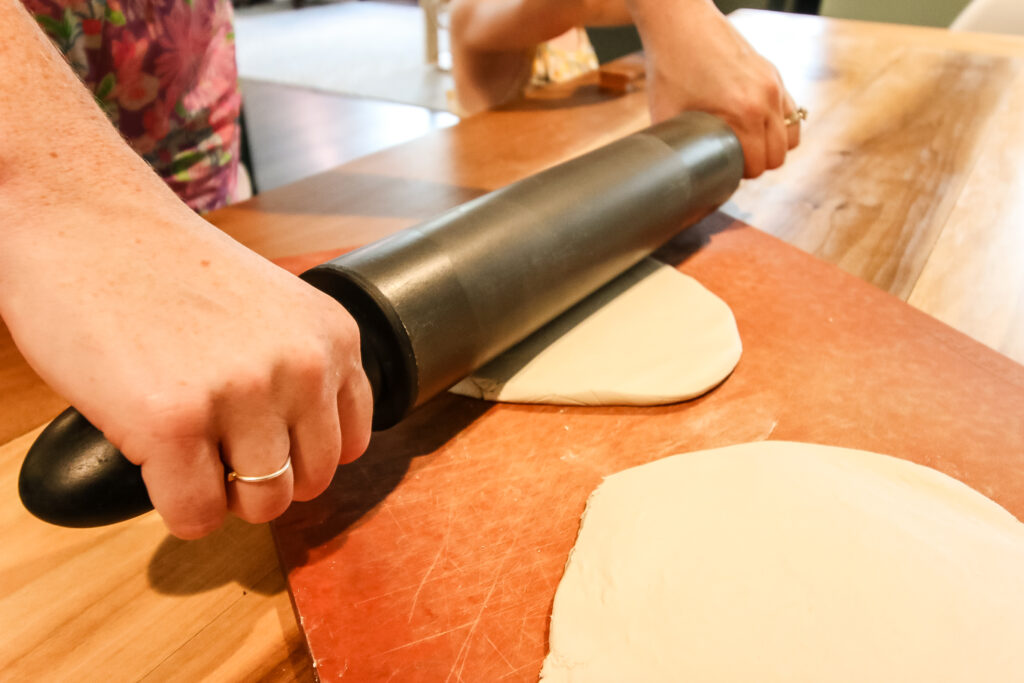
Step 1: Prepare the Clay
Start by rolling out the air-dry clay on a cutting board. You want it to be about ½ inch thick to ensure it’s sturdy enough but not too heavy.
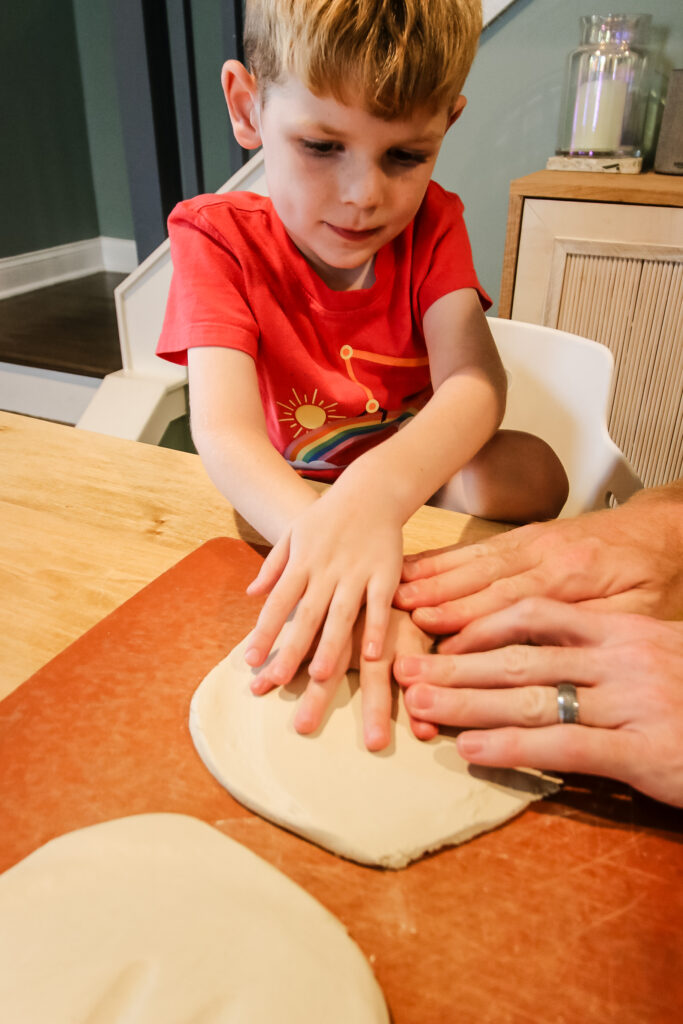
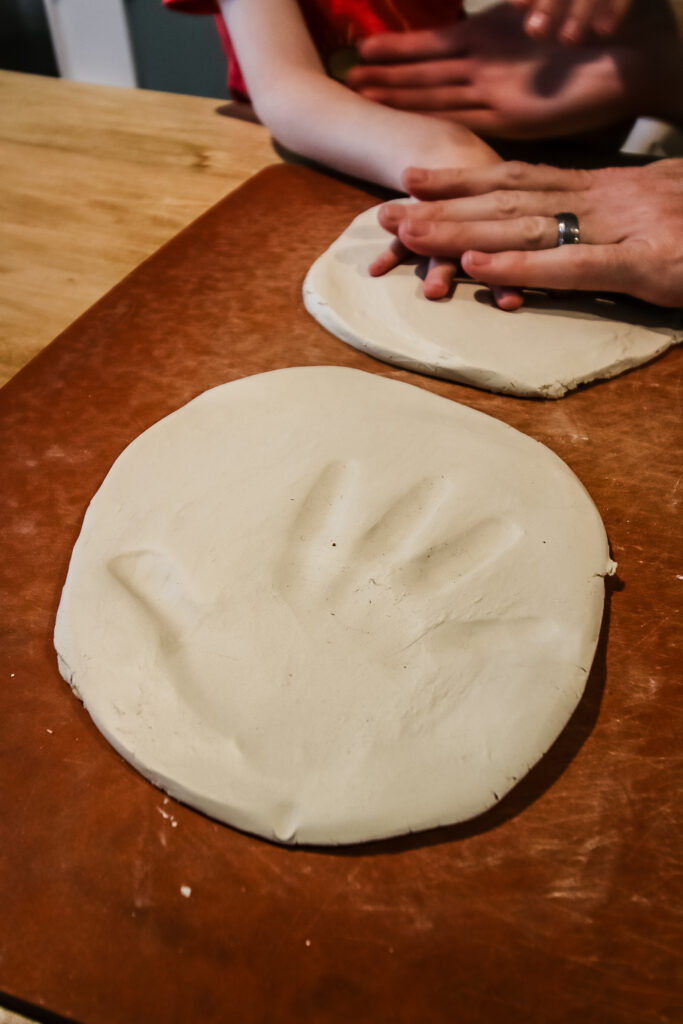
Step 2: Make the Handprint
Have your child press their hand into the clay with fingers spread slightly. Make sure they press firmly to leave a clear impression.
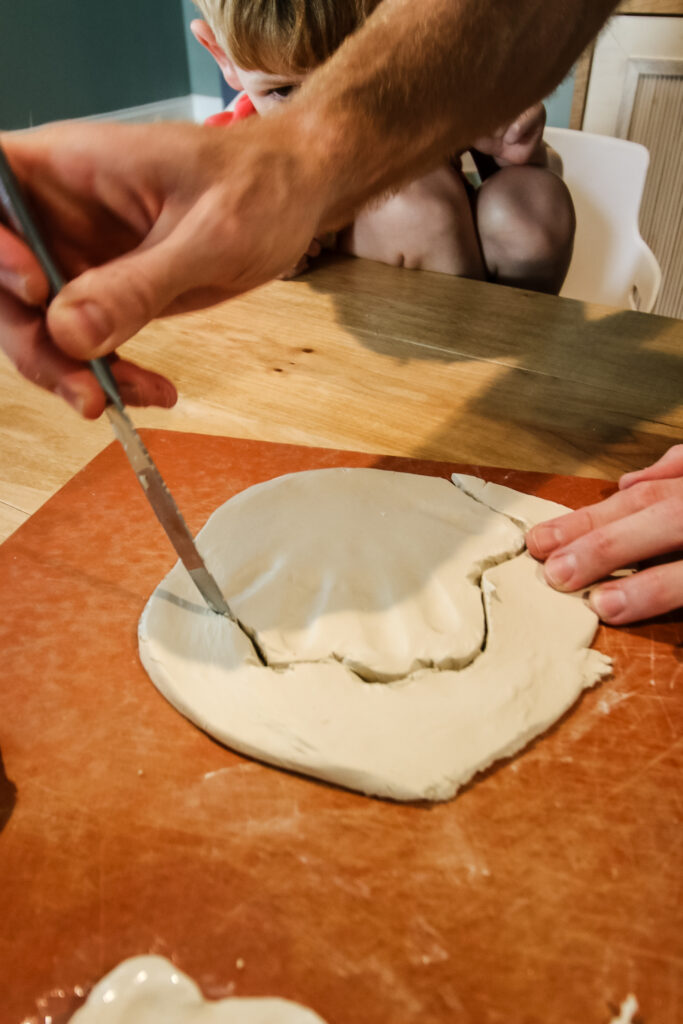
Step 3: Cut Out the Ghost Shape
Using a butter knife or craft knife, cut around the handprint. Instead of cutting out each finger, connect them like a mitten to form the ghost’s shape. This makes the handprint look like the body of a ghost.
Step 4: Let it Dry
Place the clay handprint in a safe spot to dry completely. Depending on the thickness and humidity, it can take a few days for the clay to fully harden.
Step 5: Paint the Ghost
Once dry, paint the handprint ghost white. Let the paint dry completely.
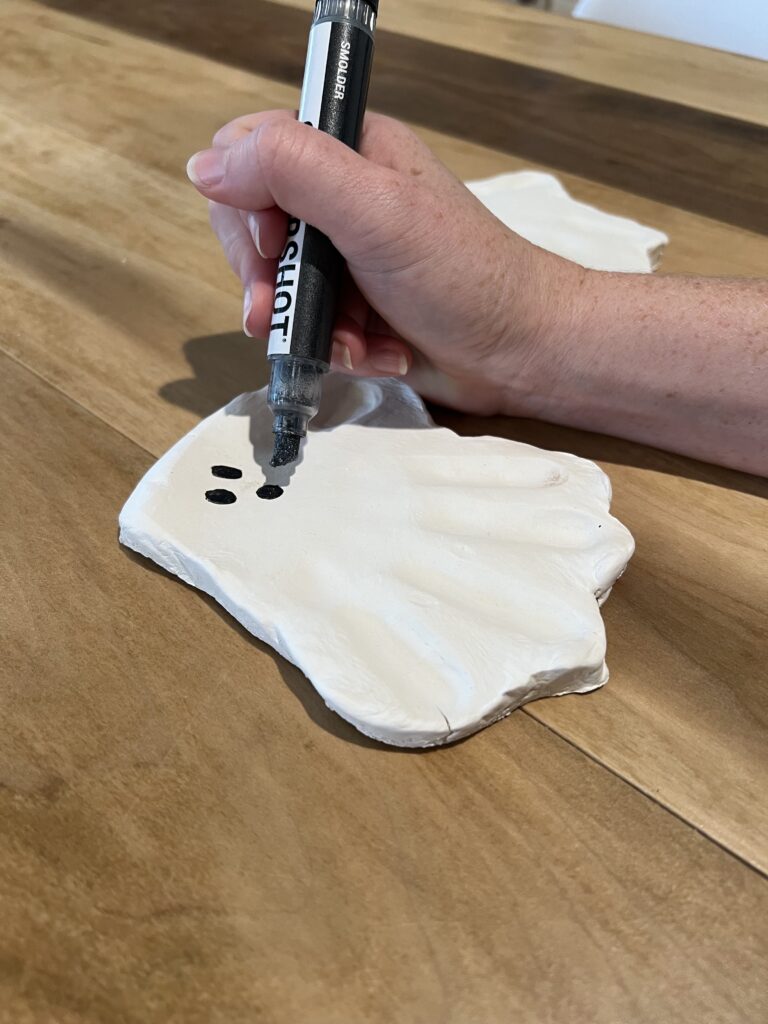
Step 6: Add Ghostly Details
Use a black paint pen to draw a spooky face on your ghost. Get creative with the expressions!
Step 7: Personalize the Back
Don’t forget to write your child’s name and the date on the back of the clay ghost. This is especially important if you’re giving it as a gift or want to remember when it was made.
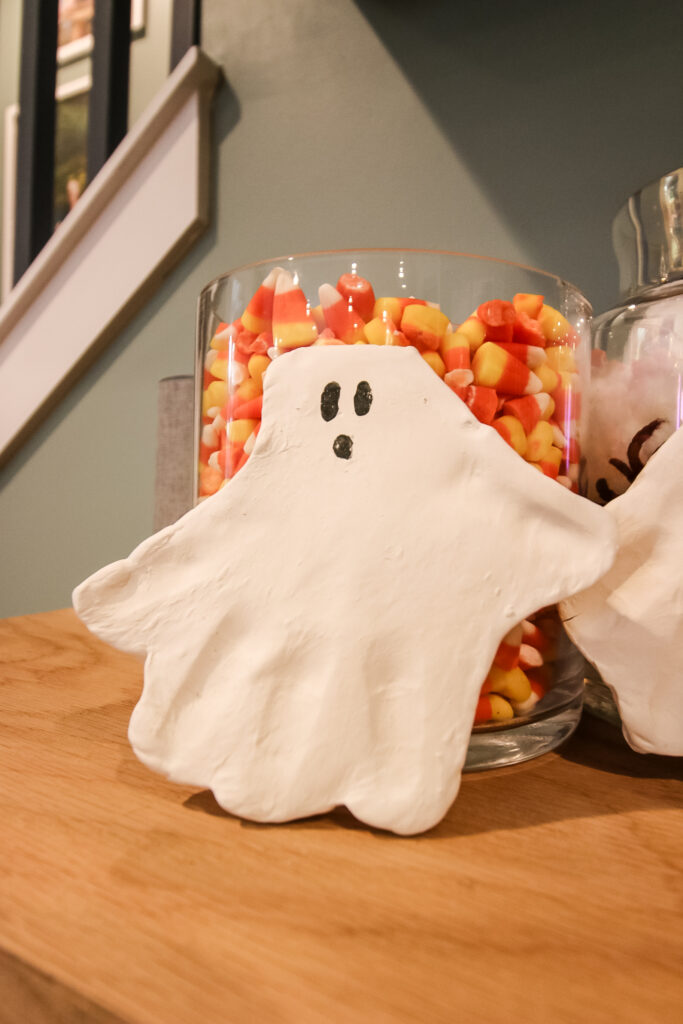
Step 8: Display and Enjoy!
Once everything is dry, your Clay Handprint Ghost is ready to be displayed as part of your Halloween decor or given as a gift.
So grab your supplies, and let’s make some adorable Clay Handprint Ghosts! This Halloween craft is sure to be a hit with the whole family, combining creativity with a lovely way to preserve those tiny handprints.
Happy crafting!
More Halloween ideas:
- Toddler + preschooler boo basket ideas
- You've been booed free printable & basket ideas
- Halloween sensory bin ideas
- Pumpkin wash fall sensory bin for kids
- Halloween scavenger hunt for kids
- Spider themed activity ideas
- Ghost themed activity ideas
- Monster treats for kids
- Spider treats for kids
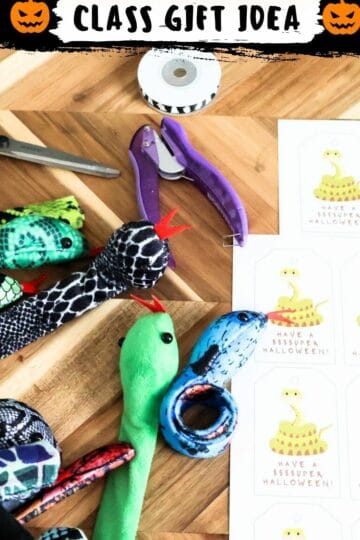
- Easy DIY Halloween gift ideas
- Candy-free halloween treat ideas
- Halloween breakfast ideas

Thanks for reading!


Hey there, I'm Morgan, the creative mind behind CelebratingWithKids.com! As a parent of two lively little ones, I've made it my mission to turn ordinary days into extraordinary adventures, sharing playful activities, thoughtful toy reviews, and delightful printables to help families celebrate every moment together. 🎉👨👩👧👦🎈