Want to make your own recycled crayons? Here's a step by step guide on how to make crayons in the oven!
One of my favorite special things to do for various holidays is to make rainbow crayons!
I love activities that double up - just like making play dough, my kids enjoy the making as much as they enjoy the final product!
It's really easy to make recycled crayons, and if you already have a bunch of crayons on hand, it can be a zero cost project. Win, win, win!
What to do with homemade crayons
Homemade crayons can be used for:
- party favors
- birthday gifts (super cute to spell out a kid's name or match to the party theme)
- easter basket filler
- class gifts
- just a fun kids craft to do at home and use for coloring!
Silicone molds for making DIY crayons
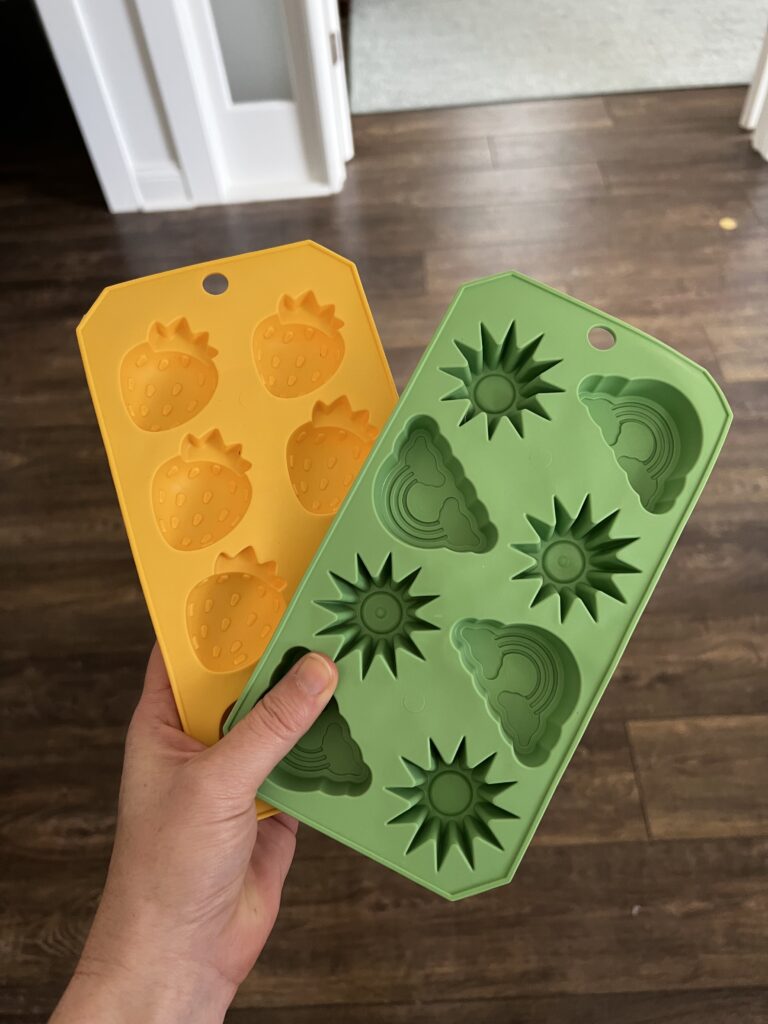
Where to get silicone molds for making crayons
How do you make crayon letter molds?
Letter crayons are awesome for making personalized birthday gifts. I recommend these letter molds!
How do you clean silicone molds for melting crayons?
Once the crayon wax has fully dried, any drips or drops should peel off easily. You can always put the mold in the freezer for 1 hour to make it firm up even more and peel right off.
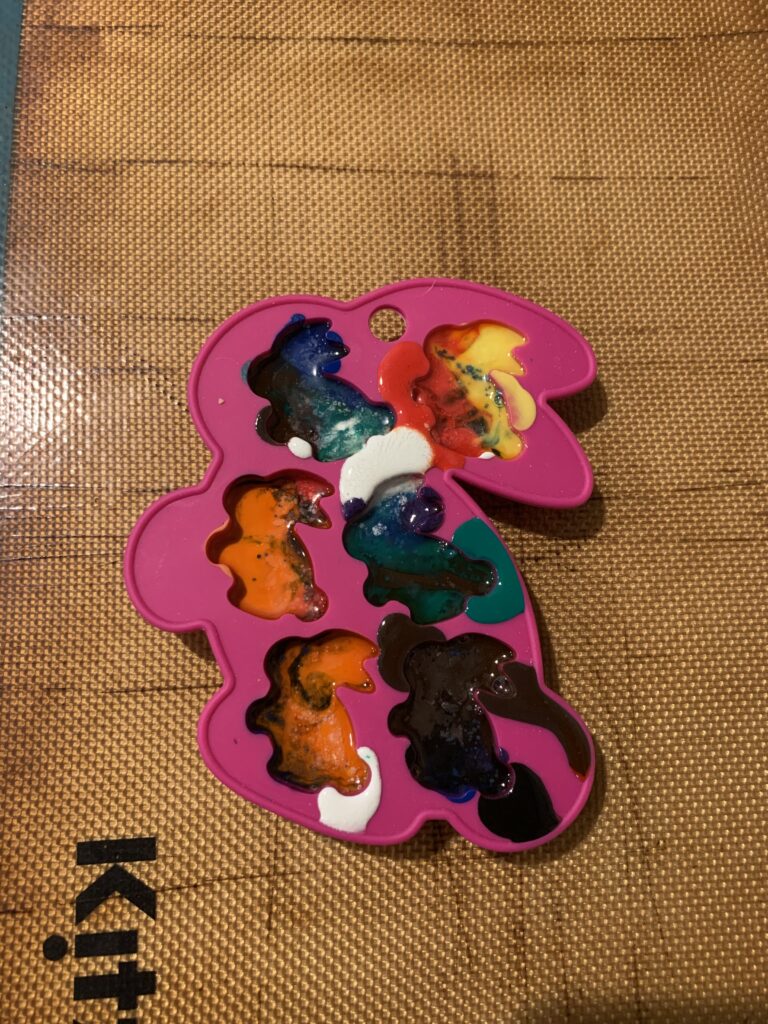
Can silicone molds go in the oven?
Silicone molds can be used safely through oven, dishwasher, freezer, or microwave.
How do you melt crayons without a silicone mold?
- Muffin tins - you may need to place in freezer to shrink crayons enough to pop out easily
- Cookie cutters - line a baking sheet with parchment paper, top with metal cookie cutters, and fill with crayons just like the crayon molds
- Candy molds
Be sure to check out my best tips for how to store & organize crayons!
How to get the wrappers off of crayons
The easiest way to get the wrappers off of crayons is to cut the wrapper lengthwise with an exacto knife or sharp blade and peel off.
You can also soak crayons in water for at least an hour, which makes the paper wrappers softer and peel easier.
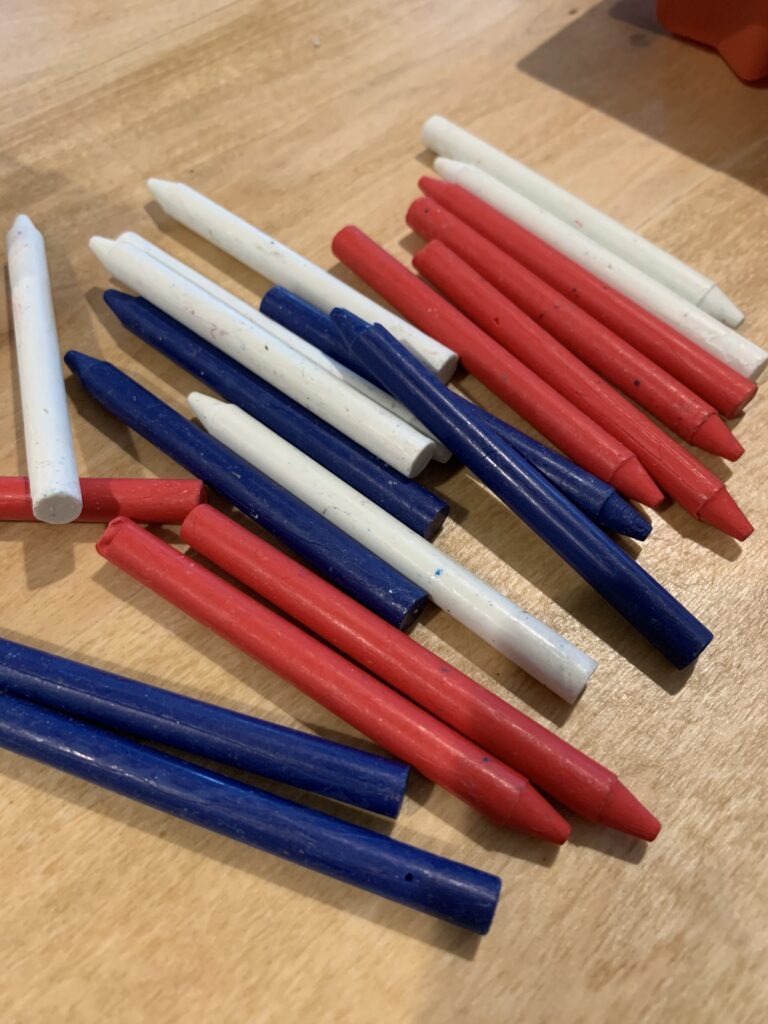
Hack to avoid having to peel crayons
But, easiest is my favorite hack: buy unwrapped crayons.
They only come in 9 colors, but it's so much more convenient. Whoever started selling these had a great idea!
What brand of crayons melt the best?
I've melted Crayola, crayzart, walmart brand, restaurant crayons, and random unbranded Amazon crayons. All of them melted the same! I find crayola colors the best and has the most pigment, but for actual melting it makes zero difference.
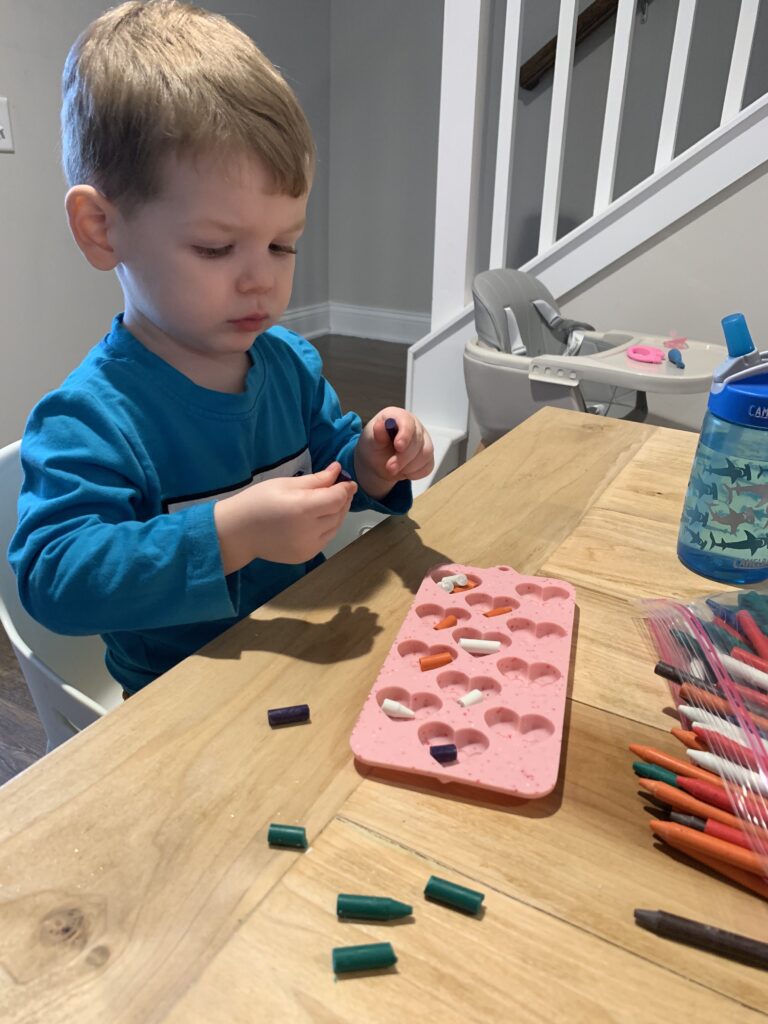
How to involve kids when making crayons in molds
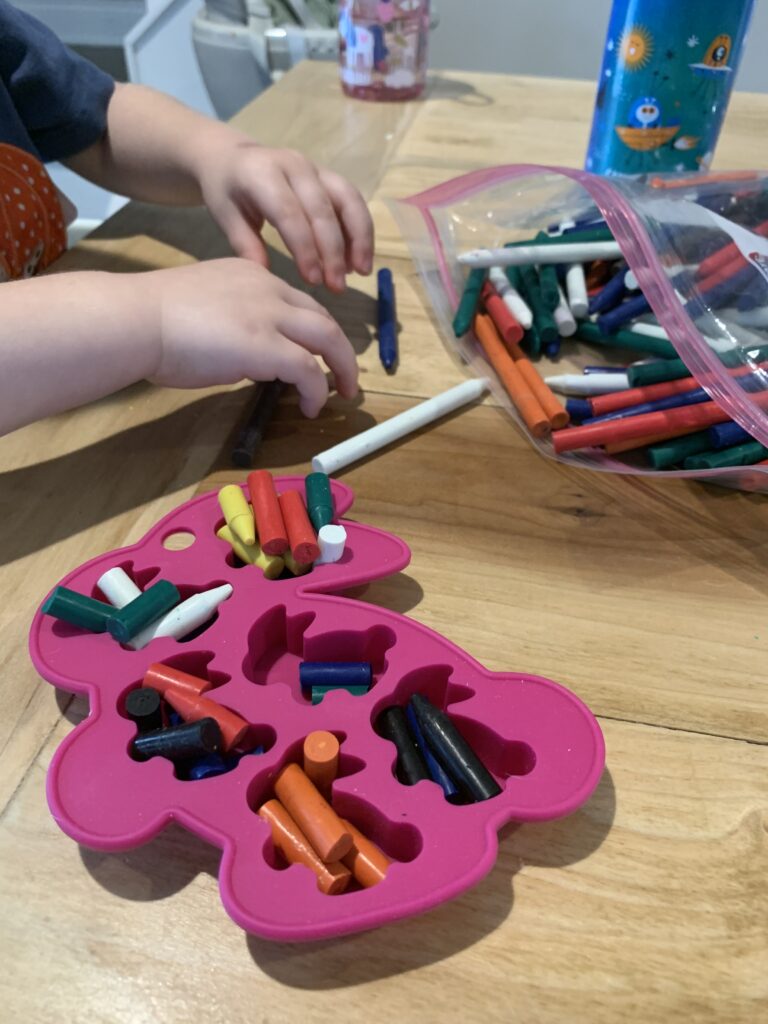
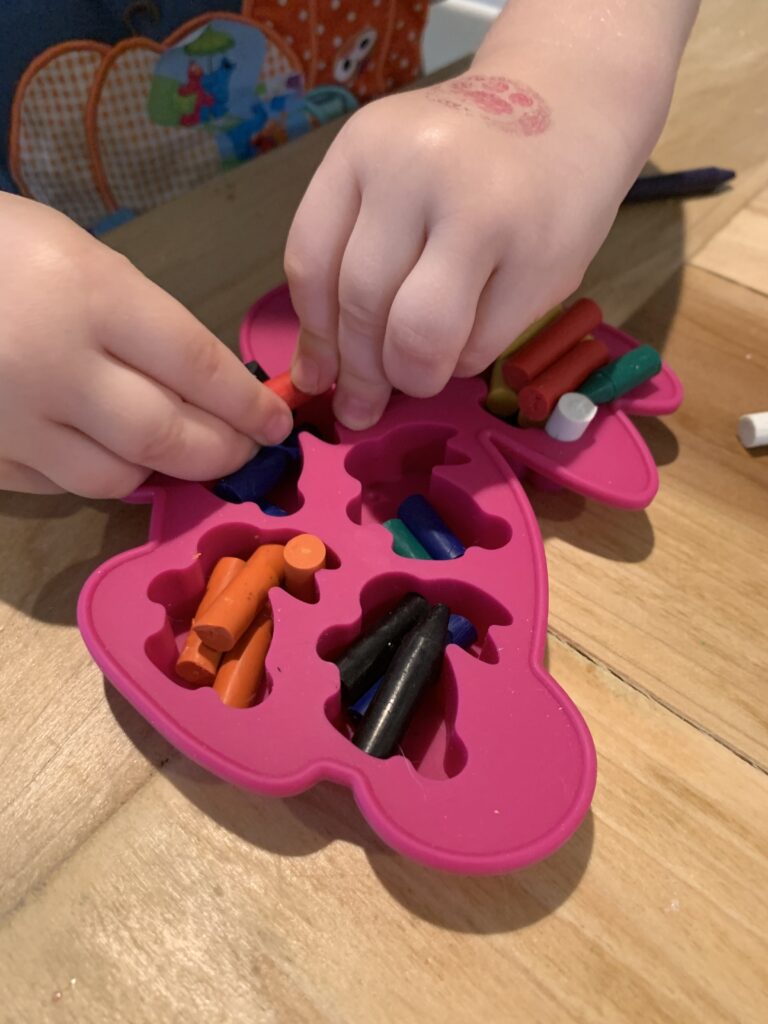
Get your kids involved! They can peel the paper, break crayons, and put crayon pieces in the molds.
You can also do some simple learning with the following topics.
Color identification
What color is each crayon?
Counting
Count the crayons! How many pieces fit in each mold?
Sorting
Sort by color, or if using broken crayons, sort by size!
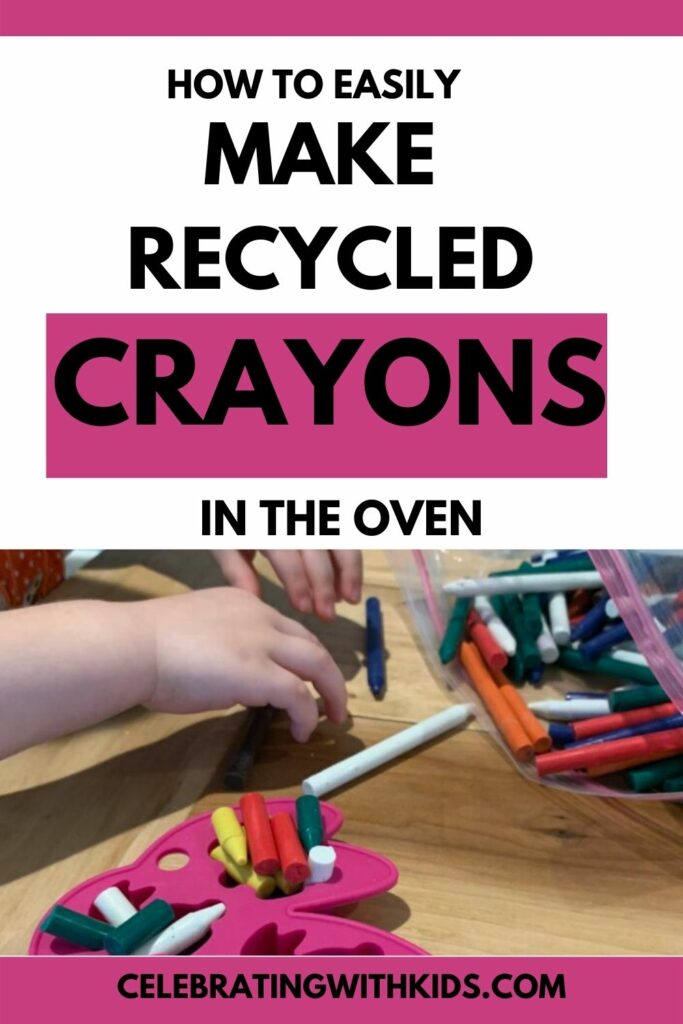
How to melt crayons in the oven
Supplies needed:
- Unwrapped crayons
- Silicone molds
- Oven
- Cookie sheet or pan
How full do I fill silicone molds when melting crayons?
Fill the molds so they are heaping full overflowing. As the crayons melt, they fill up every nook and cranny left behind, and compact a lot!
Of course, if you don't have enough to fill them up all the way, it's fine. But expect it to go down a lot when melted! You don't want the crayons thinner than an actual crayon (I prefer 1 inch or thicker) or they will break easily!
Can you melt crayons in the microwave?
Yes you can, though it's a bit more of a process. Remove the wrappers, break the crayons, and sort them by colors. You will have to melt them color by color or risk colors mixing too much and making brown.
Melt the crayons in paper cups (or a microwave safe container you don't mind ruining). Then, pour into the molds and let solidify in place.
You will want to microwave it like you are melting chocolate chips - 1 minute at first, then stir, then 30 seconds at a time, stirring until it's well melted.
How do you melt crayons in silicone molds in the microwave?
Because of the stirring and potential splatter required, it's easier to melt crayons in a cup than in the molds directly in the microwave.
Can you melt crayons with a heat gun?
I used a heat gun with silicone molds when I made resin letters for my kids for Christmas.
Just beware that the heat gun is hands on - you have to stand there and hold it - and not really kid friendly.
Also, heat guns blow a bit (like lil hair dryers) and can cause crayon wax splatter if the molds are very full.
What is the easiest way to melt crayons?
I think that the oven is by far the easiest way to melt crayons!
Is melting crayons toxic?
I can't say whether melting crayons is toxic, but it definitely releases odors and fumes. Be sure to have a fan on or the window open to help with ventilation.
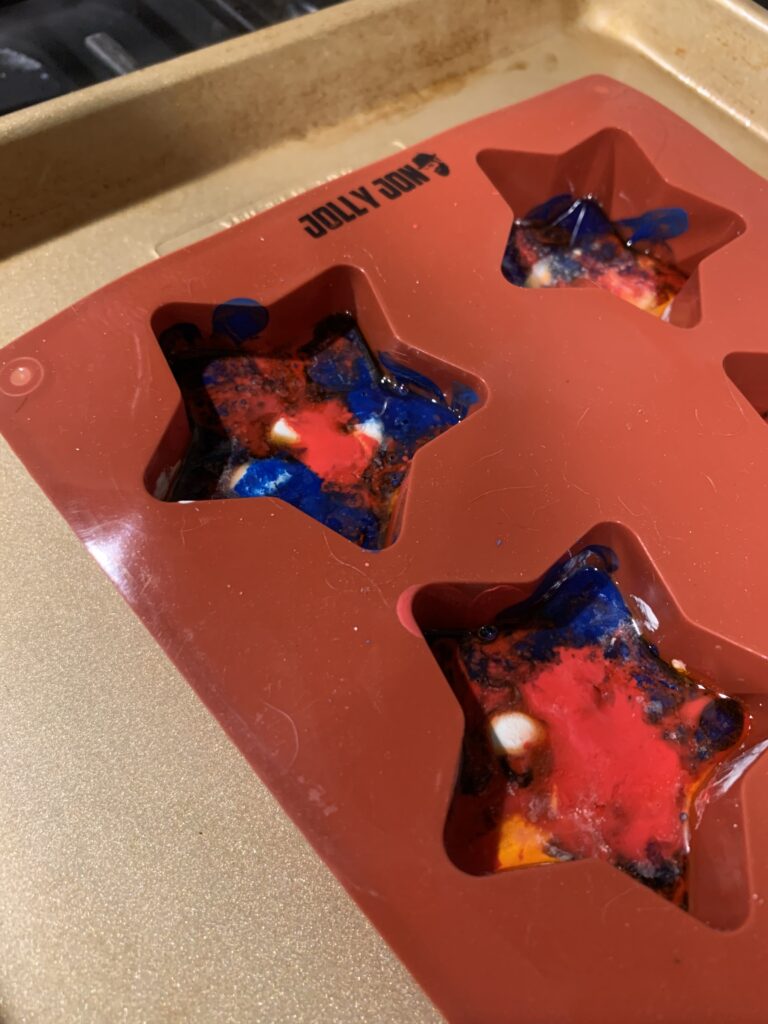
Instructions on how to melt crayons in the oven
STEP 1: Pre-heat the oven
Preheat your oven to 250 degrees.
STEP 2: Prep the crayons
First you will need to prep your crayons. If you are using regular crayons, you will need to remove the wrappers.
Soaking the crayons in water for 30 minutes first can make it easier.
You also can use an exacto knife or scissor blade to slice each label lengthwise to make them easier to peel the paper off.
But, easiest is my favorite hack: buy unwrapped crayons.
Break each crayon into pieces 1 inch or smaller in length. The smaller your molds, the more small pieces you will need.
This is a fun step for kids to do! My 2 year old could break the crayons in half, smaller pieces were a little harder for him.

STEP 3: Fill the molds
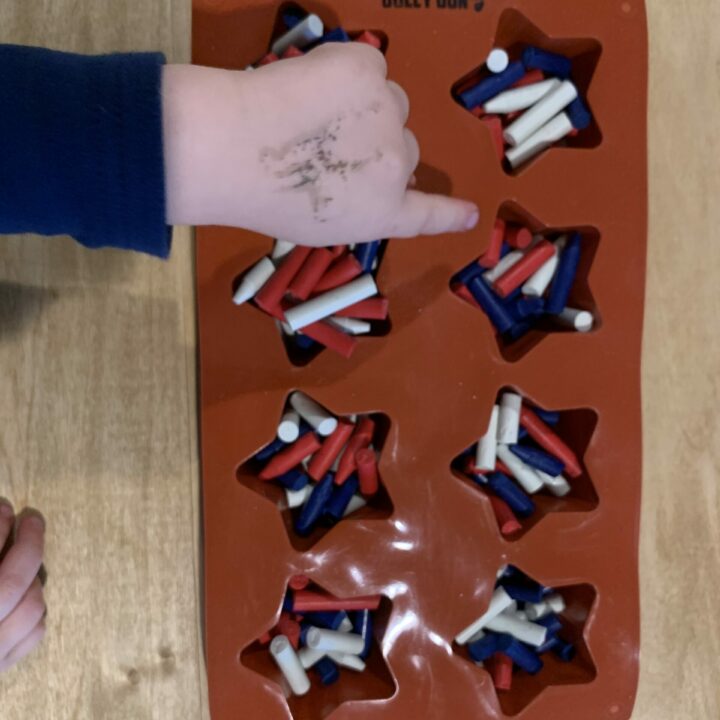
Add the crayon pieces to the molds. You want them to be overflowing because when the crayons melt, they "shrink", or really just have to fill all the gaps between the whole crayons.
Fill each mold with the broken crayon colors of your choice.
I personally like the look of 2-3 colors per mold, but I let Luke take the lead so some ended up with all the colors. Whatever!
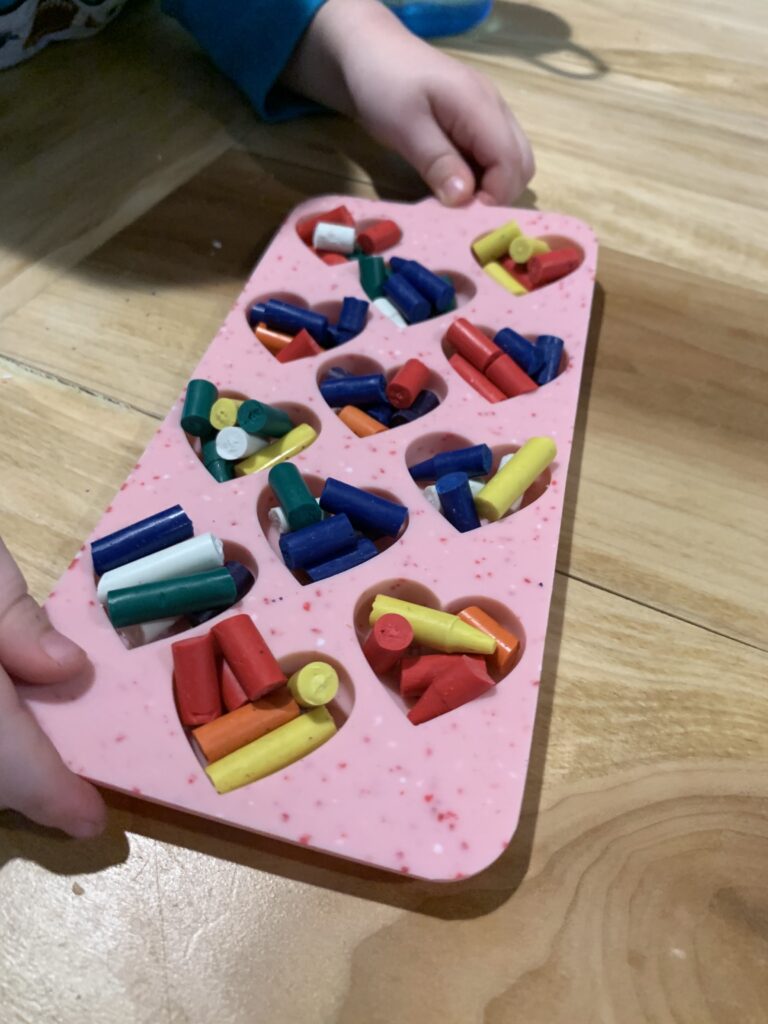
STEP 4: Melt the crayons
Place the silicone mold in the oven. I prefer to first put the mold on a baking sheet, just for added stability.
Bake for 15-20 minutes, until completely melted.
Love melting crayons? Check out my hair dryer melted crayon art!
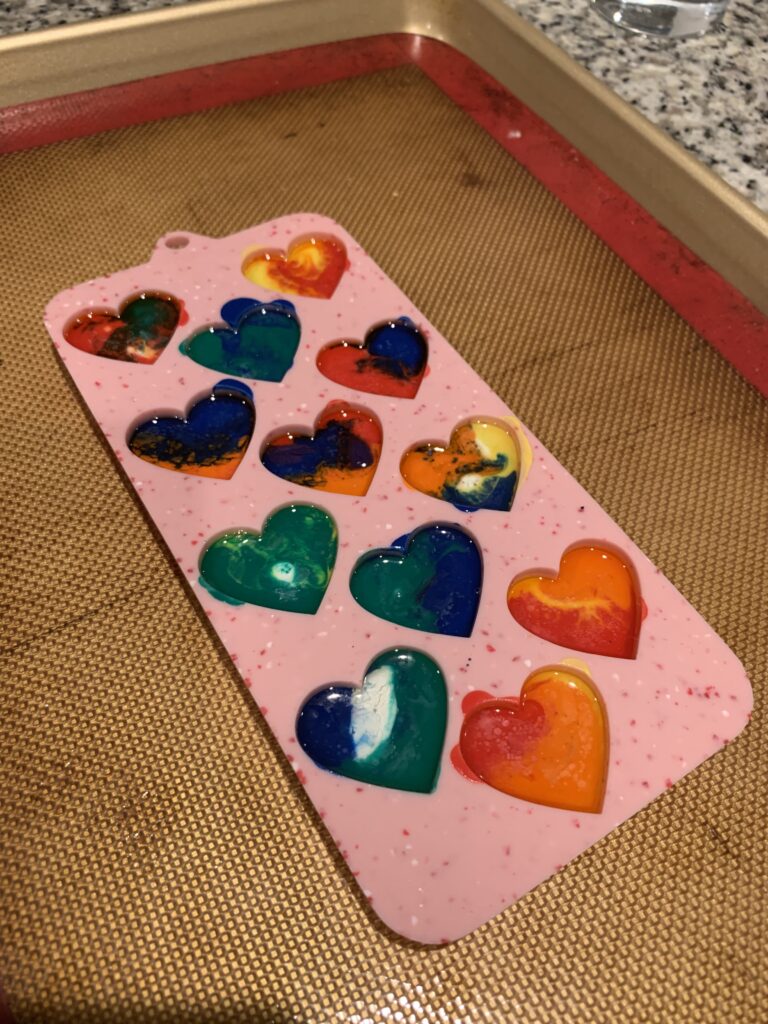
STEP 5: Optional: Freeze
When the crayons are out of the oven, I actually like to put them in the freezer. Make sure you have a cleared out, flat space.
This will allow them to solidify quickly and very firmly!
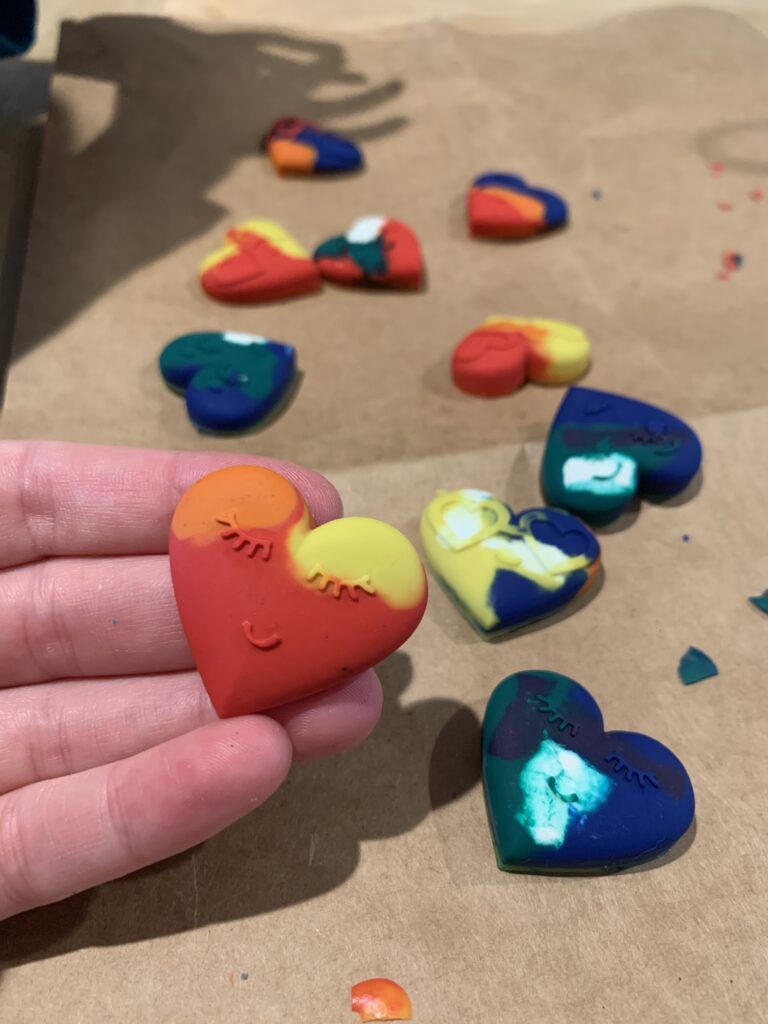
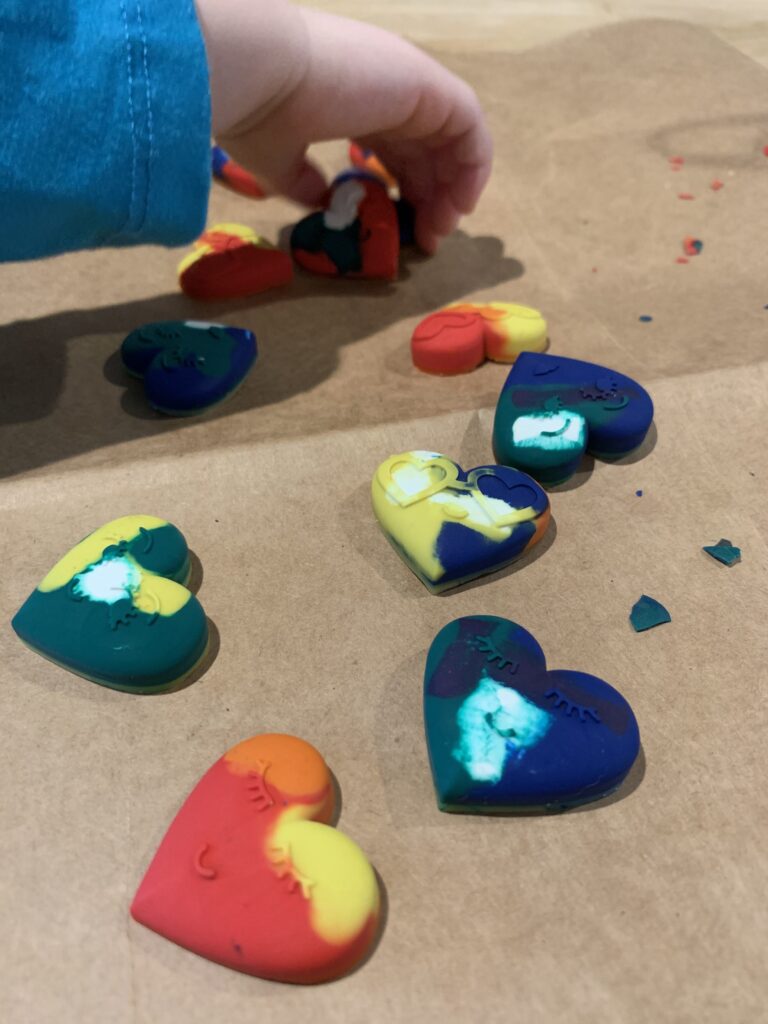
How to make crayons in the oven
Here's how easy it is to melt crayons in the oven and create recycled rainbow crayons!
Materials
- Broken, peeled crayons
Tools
- Silicone mold
- Baking sheet
- Oven
Instructions
- Preheat oven to 250 degrees
- Unwrap your crayons
- Break into pieces small enough to fit in the molds
- Fill molds until they are overflowing
- Place molds on a cookie sheet
- Bake for 15-20 minutes until fully melted
- Remove from oven and let cool completely - you can freeze them to speed this up
- Pop out of the molds and enjoy

Hey there, I'm Morgan, the creative mind behind CelebratingWithKids.com! As a parent of two lively little ones, I've made it my mission to turn ordinary days into extraordinary adventures, sharing playful activities, thoughtful toy reviews, and delightful printables to help families celebrate every moment together. 🎉👨👩👧👦🎈


