Planning a cruise? Decorating your door is such a fun tradition! Here is an easy tutorial for how to make door magnets for a Disney cruise!
My family loves going on cruises, and while the cruise itself is obviously amazing, we really enjoy some of the extra, "unnecessary" fun things.
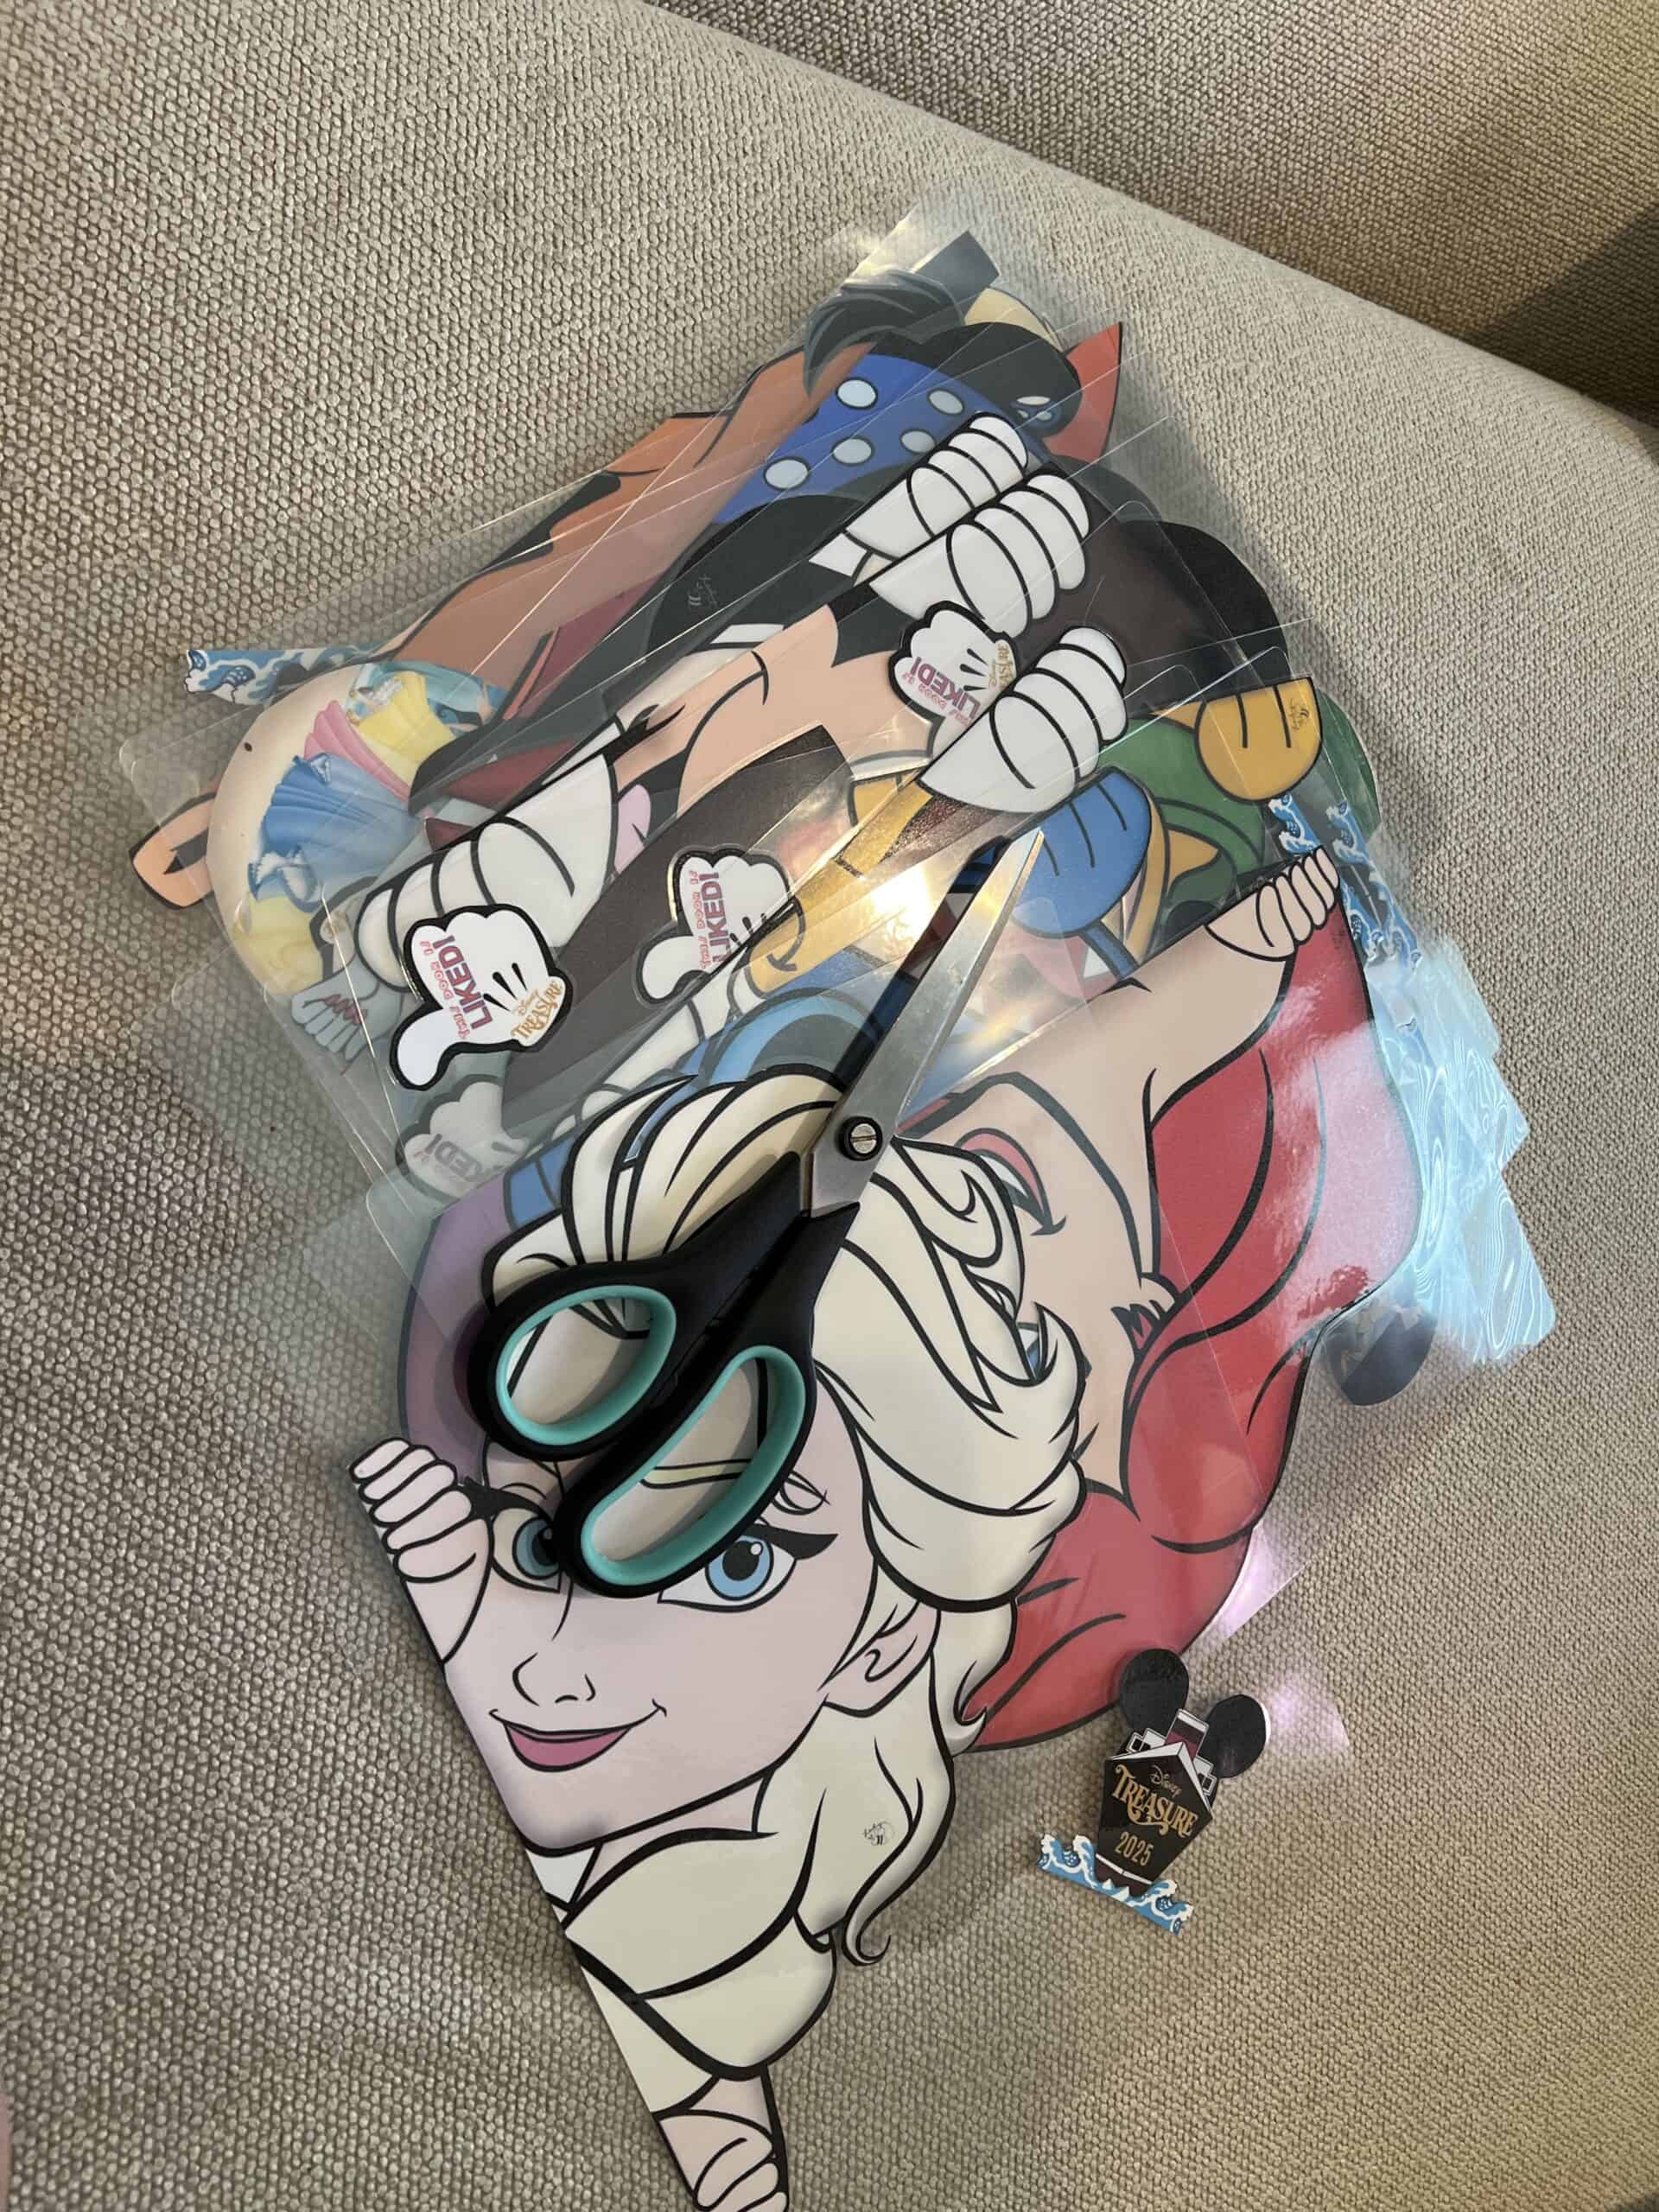
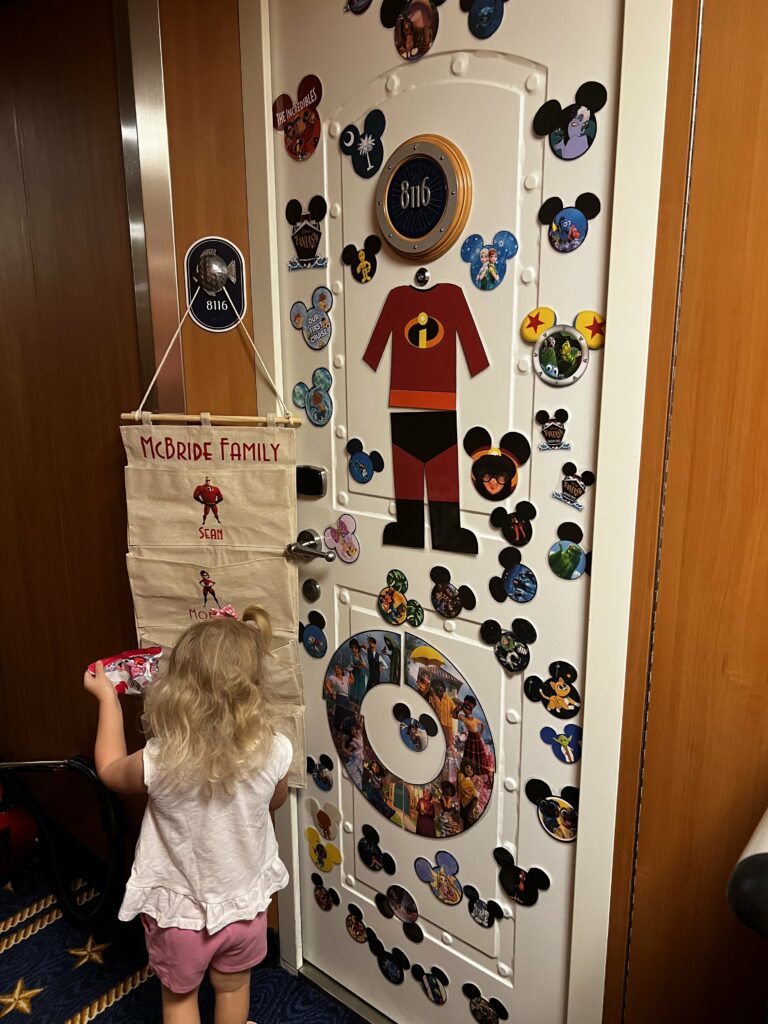
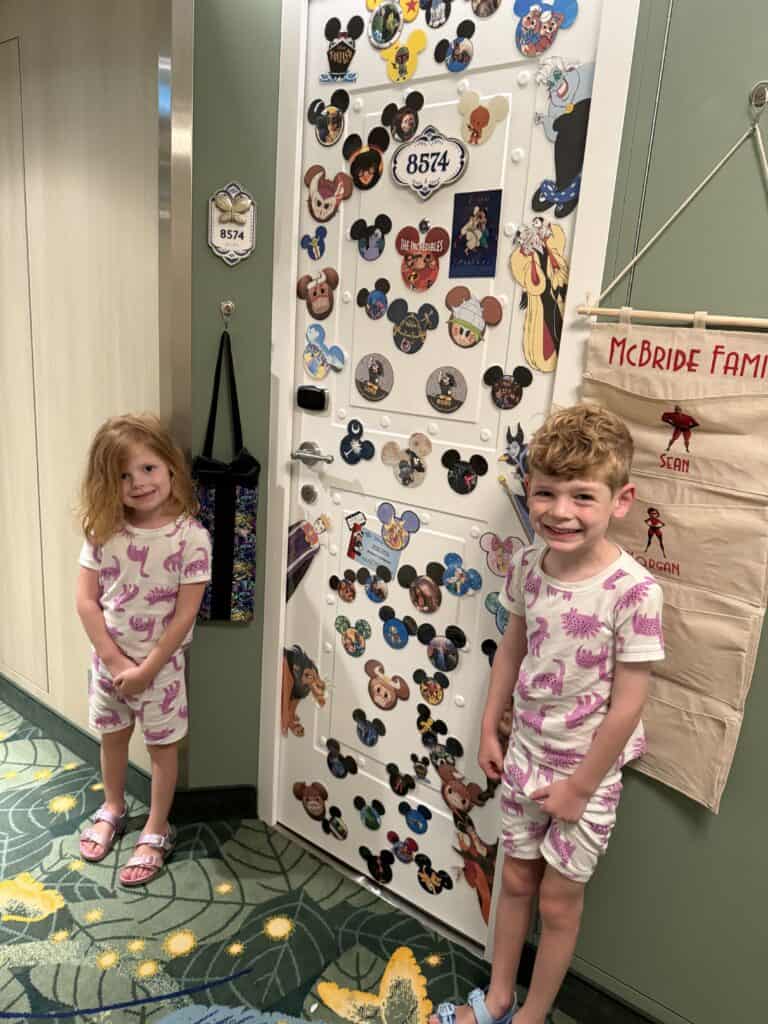
One of those things is decorating our cabin door with magnets!
Now, I am generally a crafty person, so I went totally wild making magnets for our first cruise. And, I just keep making more!
We have so many magnets that we rotate them throughout the trip for different designs different days!
But, since they are printed at home, they are nearly free to make. (I do pay for the laminating pouches and the magnets, but I buy both in bulk!)
If you are dreaming of a decorated cruise door - it's easy to do! Here's what you need to know.
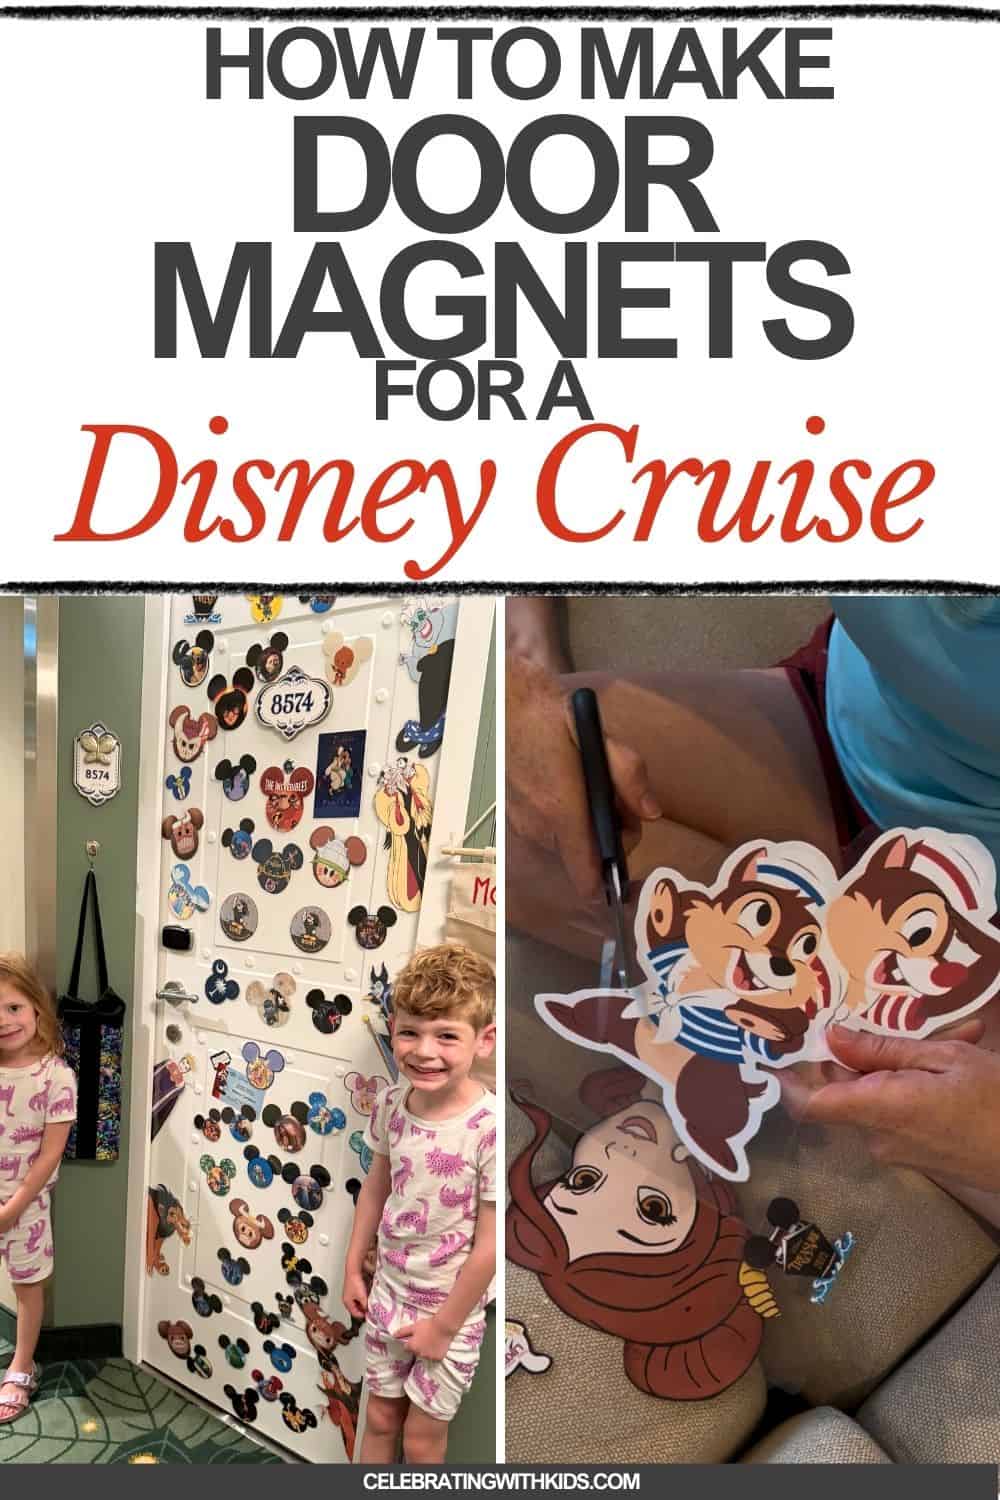
How to make door magnets for a Disney cruise
Here's how easy it is to make magnets for your cruise room door!
Supplies needed:
- A computer
- Printer (or print at Staples/etc)
- Cardstock paper
- Scissors
- Lamination pouches + Laminator
- Magnets
- Clear super glue
- Clear packing tape
- Folder (for packing in)
Shop all of the supplies here!
Steps to make:
STEP 1: Find your magnet designs
First you are going to want to design your magnets. Of course, you can do this yourself, or you can find pre-made designs.
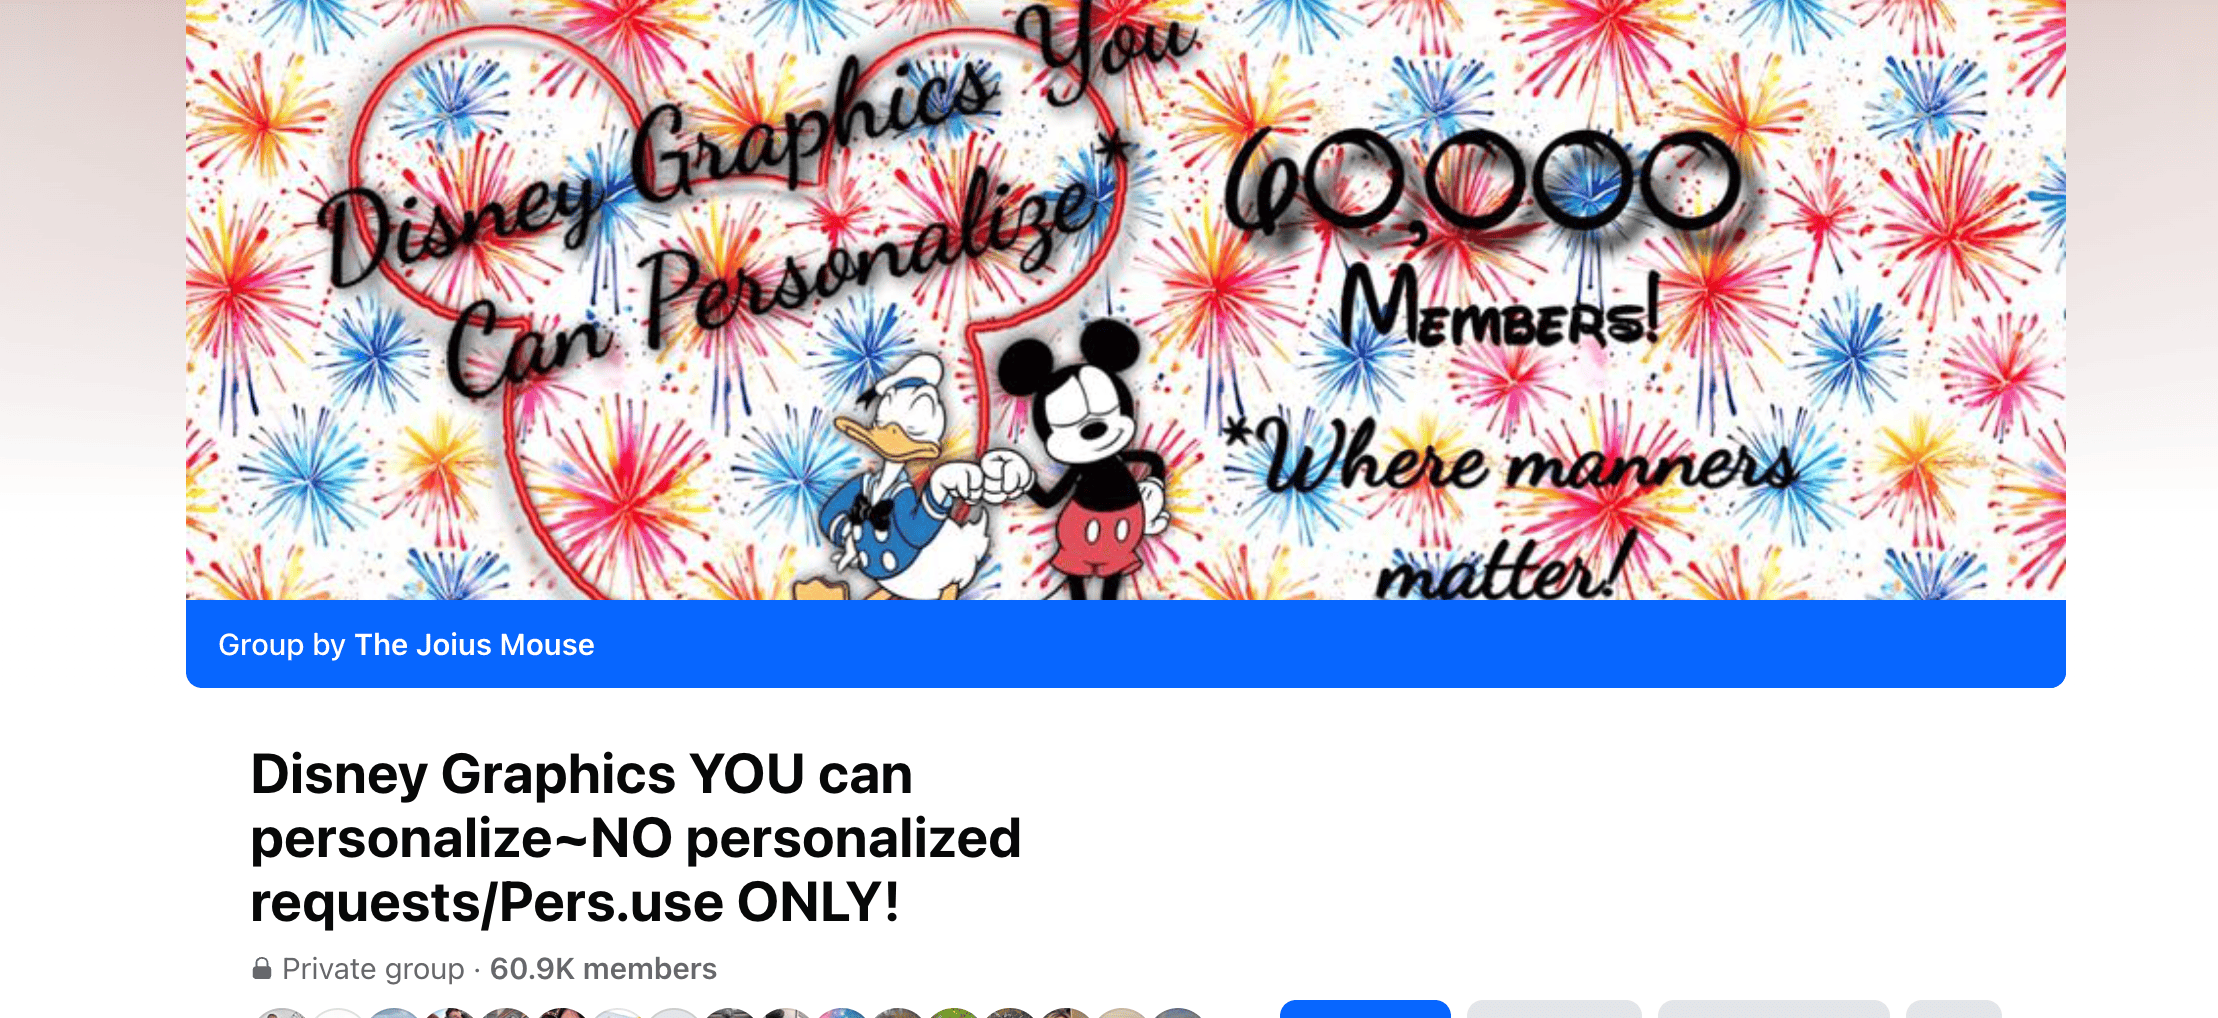
I recommend this Disney Graphics Facebook Group. All of the images are free to use for personal use.
Go through the albums and use the search function to find what you are looking for.
Save your favorites as .jpg files. I suggest making a folder on your computer and putting them all in one place!
Some of the files are set up as a full page. Those are good to go!
Others are smaller or you might want them smaller. I set up a word doc, drag in the images, size them to my preference, and just create one long doc with images in it!
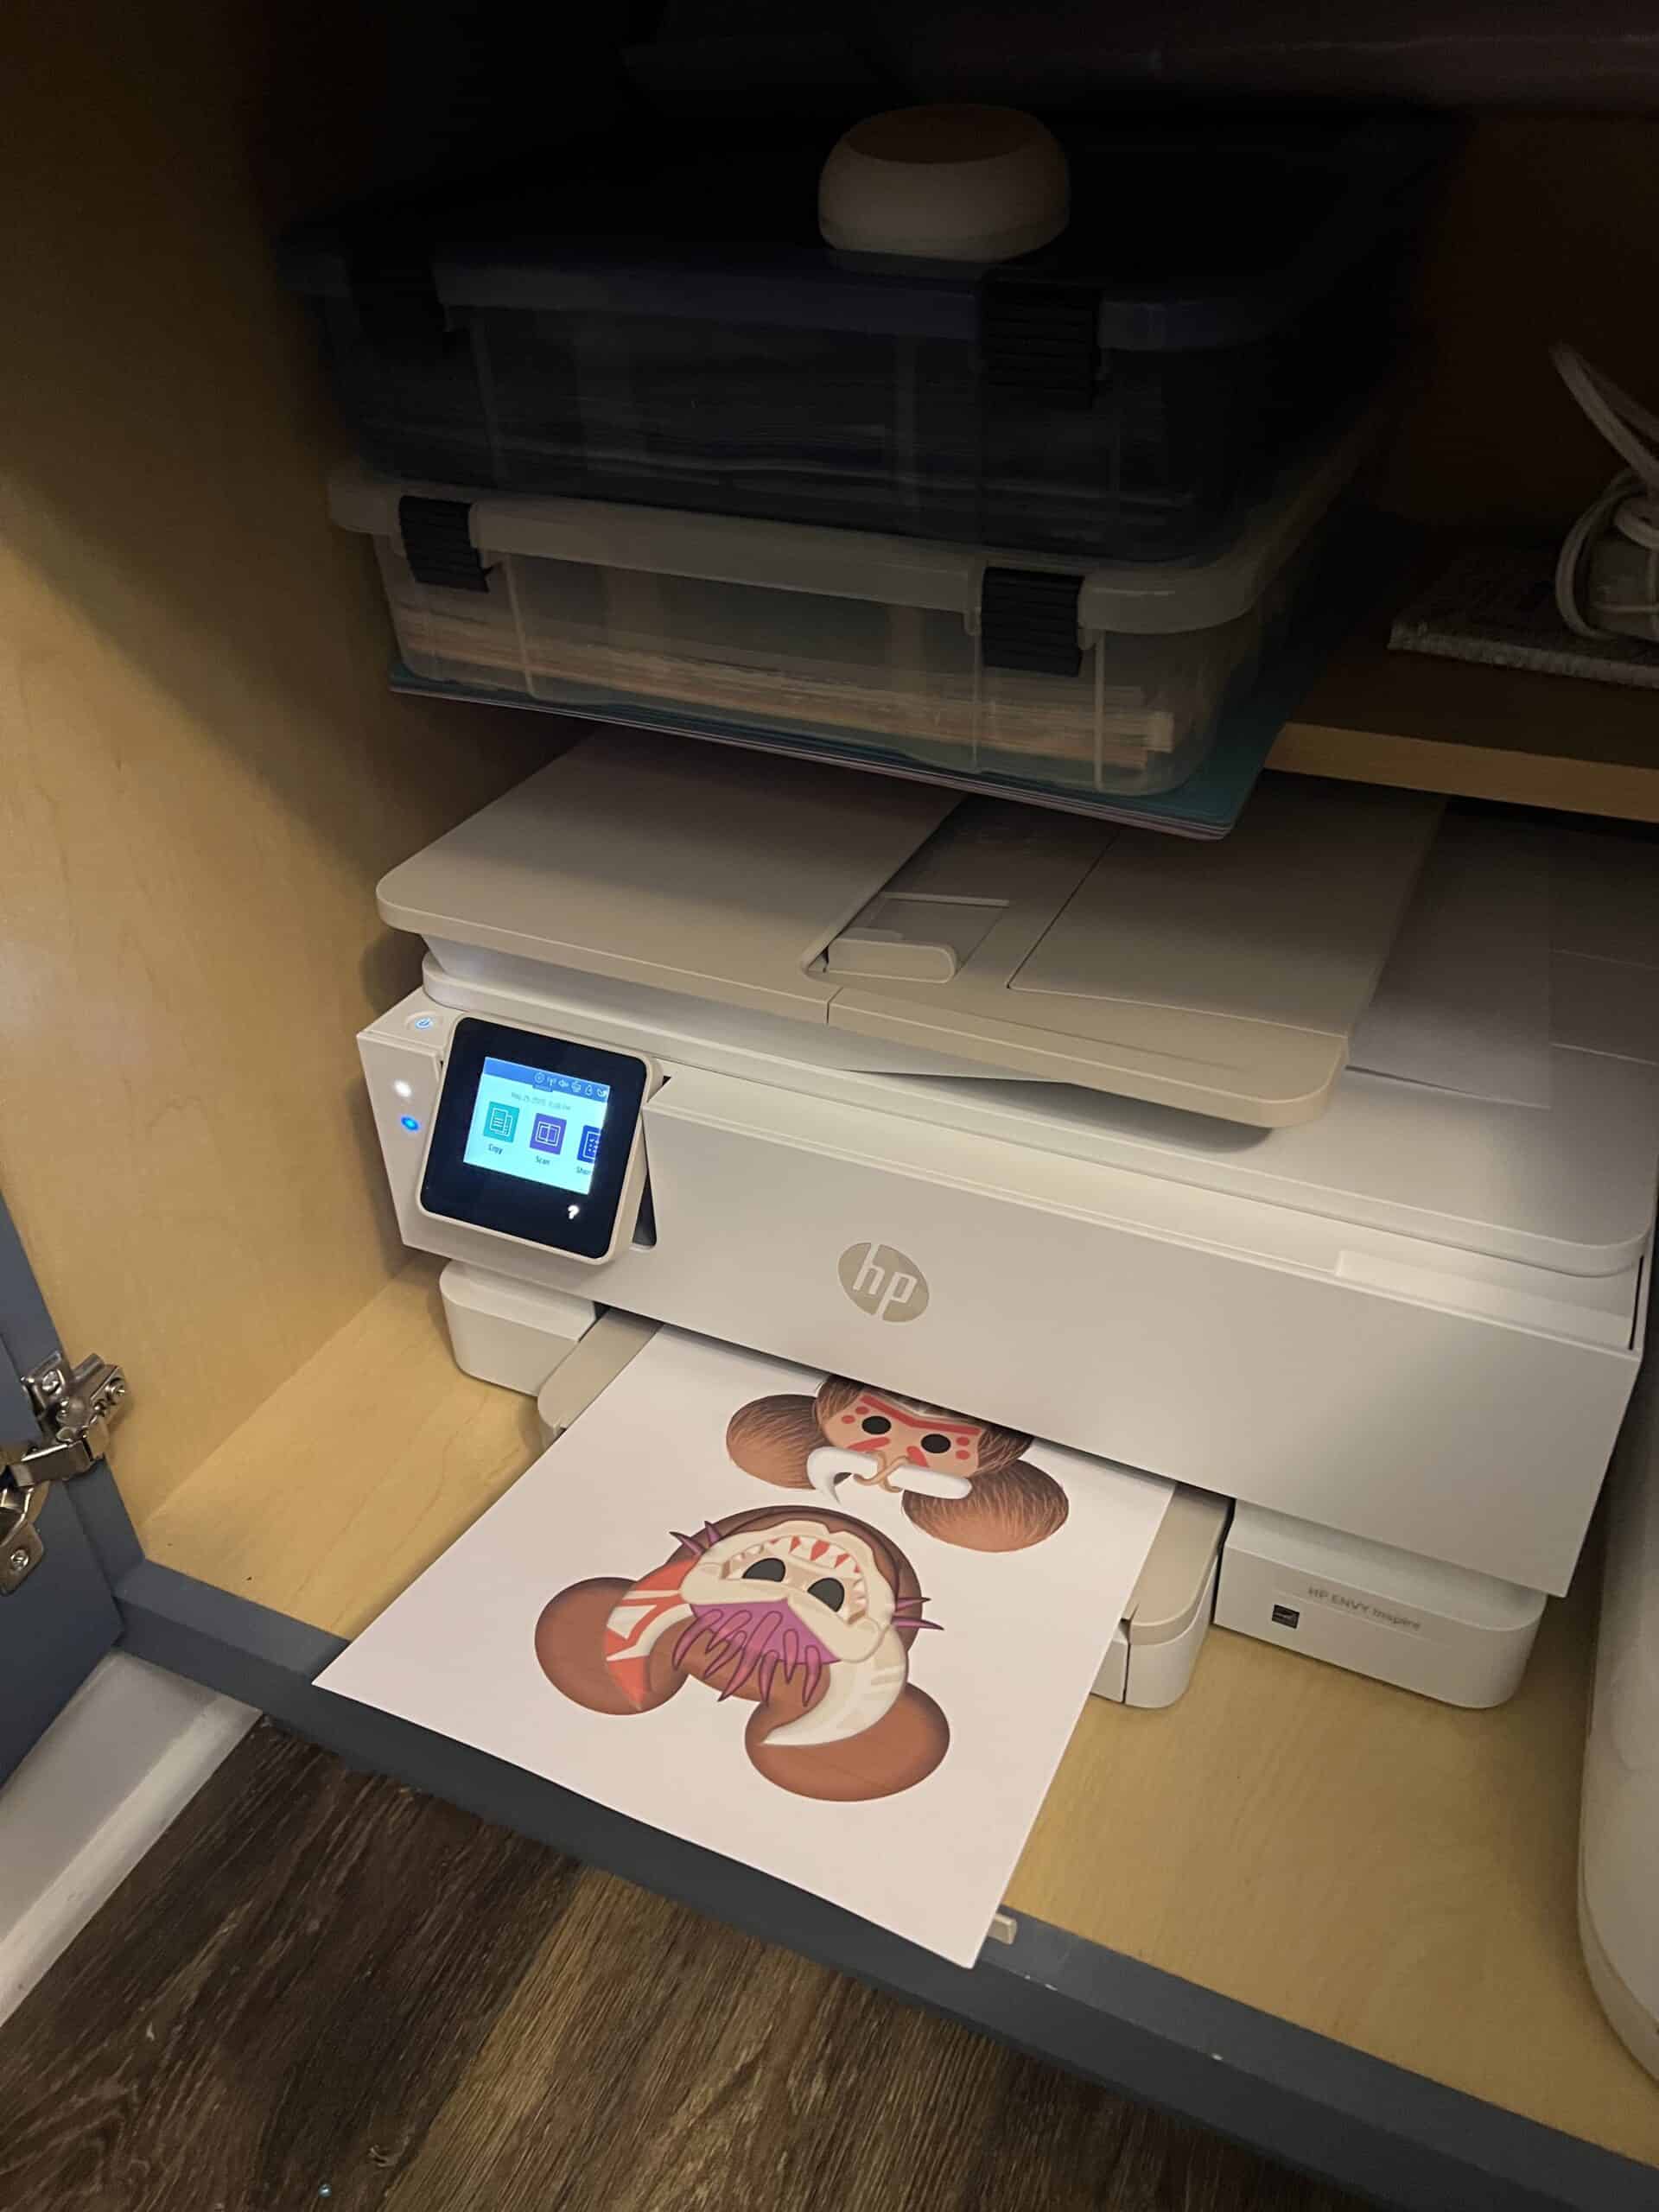
STEP 2: Print
Print your images. I do this at home, print them single sided on cardstock.
You can also send them to a place like Office Depot or Kinkos to be printed if you don't have a printer.
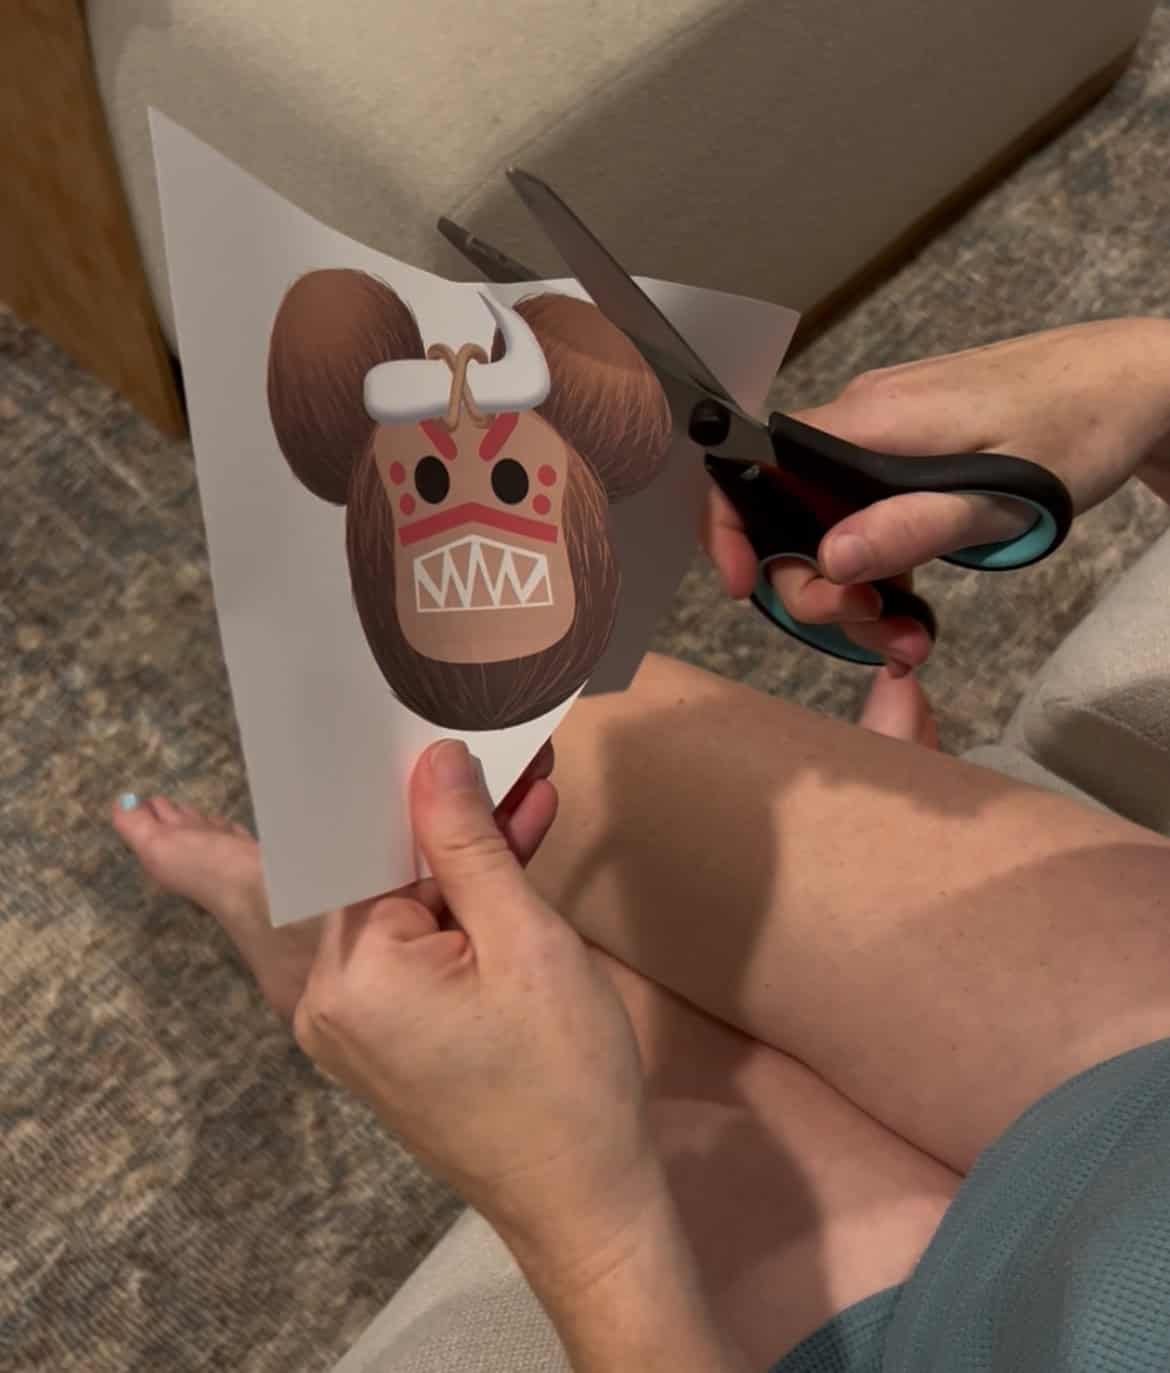
STEP 3: Cut
Use scissors to carefully cut out your designs.
STEP 4: Laminate
Add your designed to a lamination pouch and run through a laminator, or have them laminated at a store like Staples.
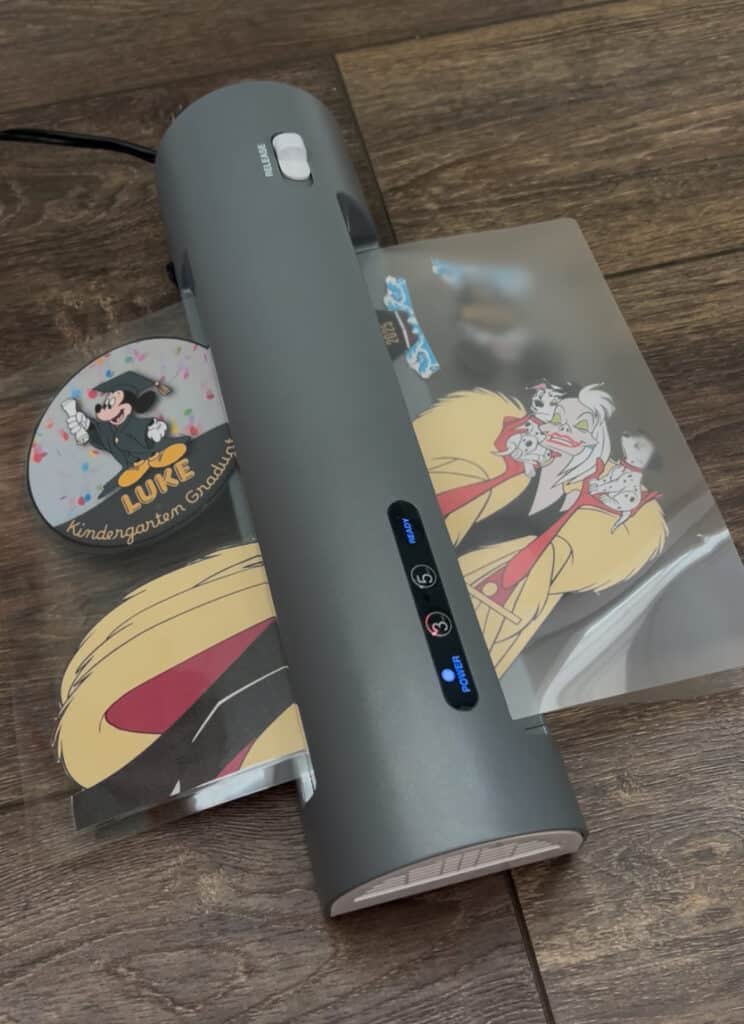
Fit as many as you can in each lamination pouch, leaving an inch or so of space between pieces.
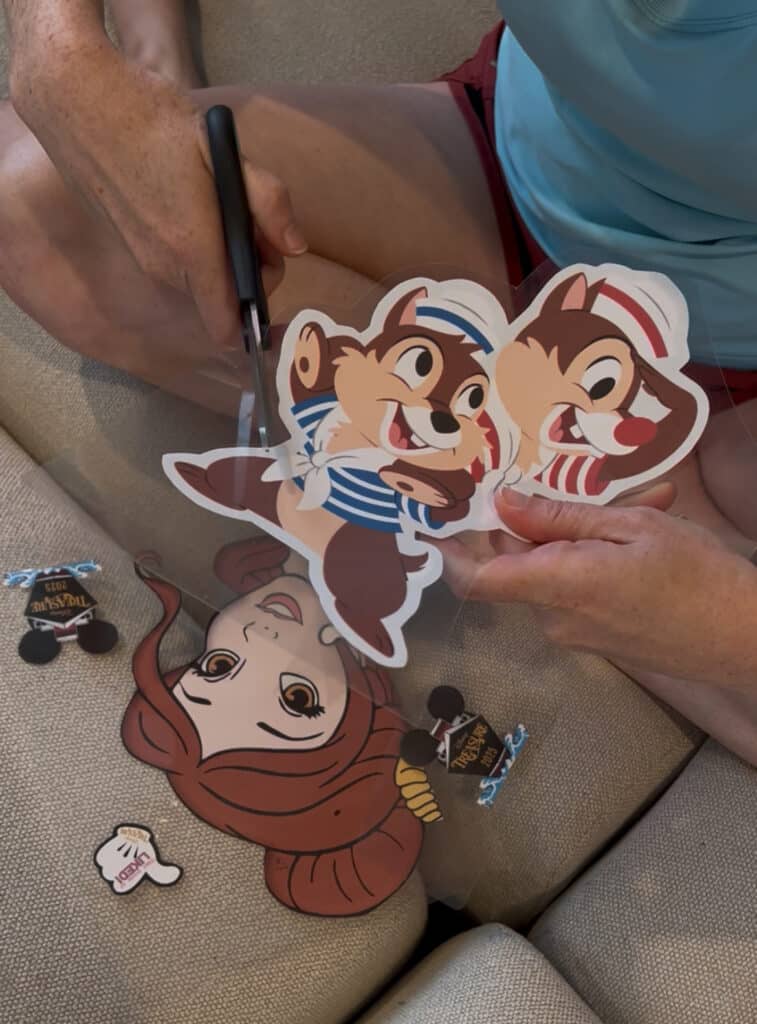
Once laminated, cut out leaving ¼ inch or so of clear around each image.
Yes, it's a lot of cutting!
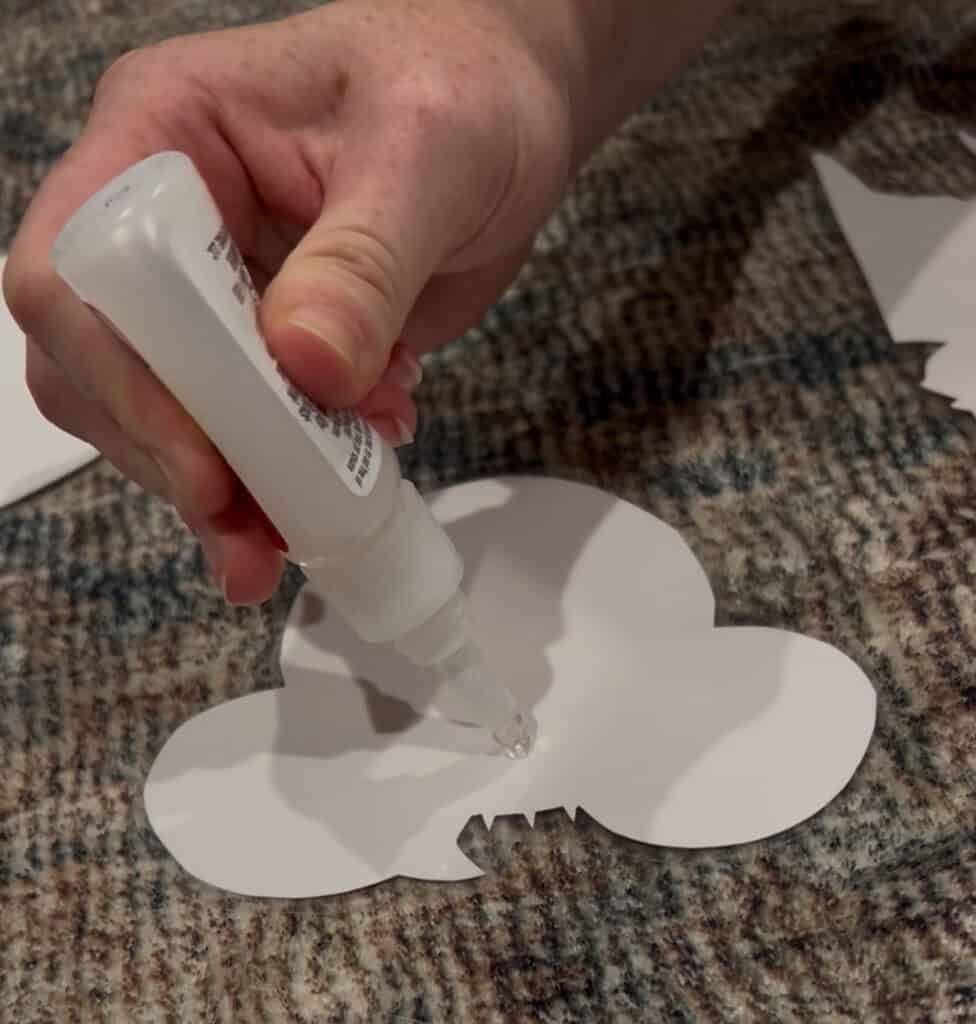
STEP 5: Add magnets
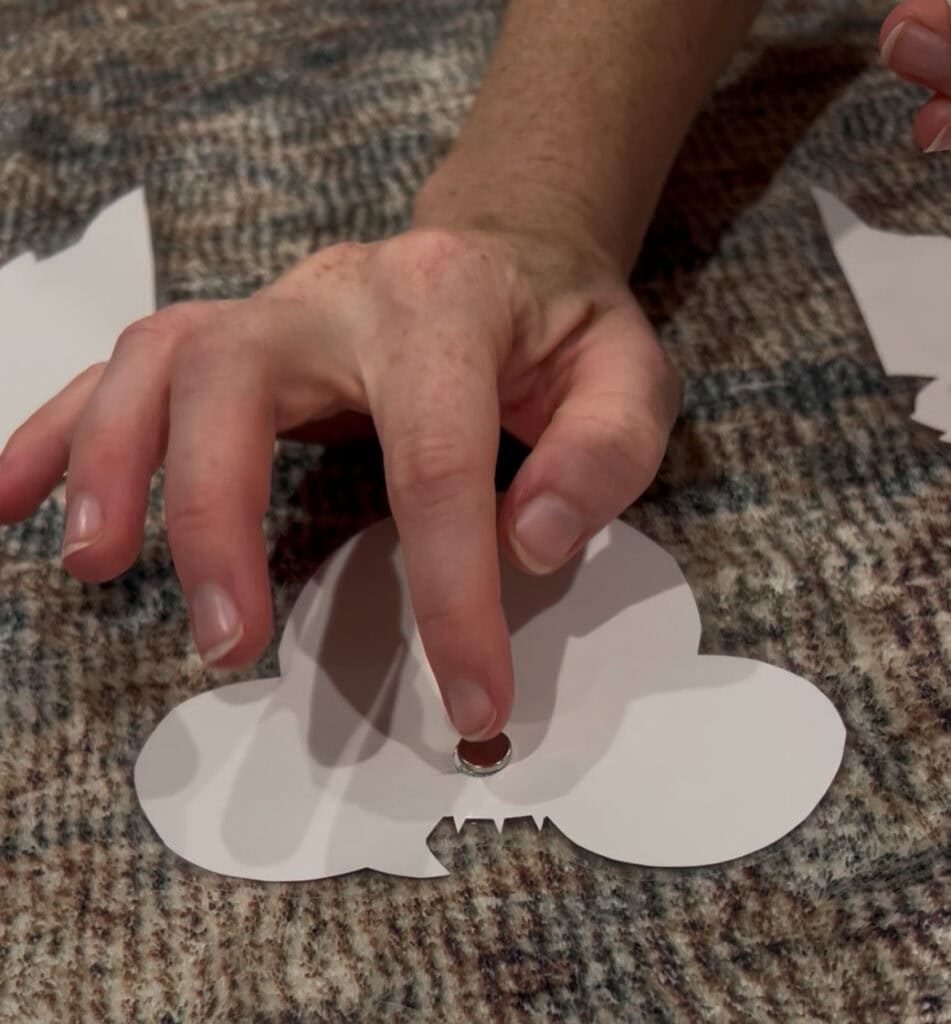
Use glue to attach magnets to the back. Smaller designs need 1 magnet, larger ones may need a couple.
I like to cover my magnets also with a square of clear tape, just to be sure they are super secure!
STEP 6: Pack flat
Pack them flat for your trip. I put them in a big folder and in the bottom of my suitcase.
A lot of people like to bring their magnets in their carry on so they can decorate their room doors as soon as they get on board, even if their suitcases have not arrived yet!
STEP 7: Hang and enjoy!
Have so much fun decorating your room and share a picture with me, I can't wait to see how it turns out!
Thanks for reading!


Hey there, I'm Morgan, the creative mind behind CelebratingWithKids.com! As a parent of two lively little ones, I've made it my mission to turn ordinary days into extraordinary adventures, sharing playful activities, thoughtful toy reviews, and delightful printables to help families celebrate every moment together. 🎉👨👩👧👦🎈