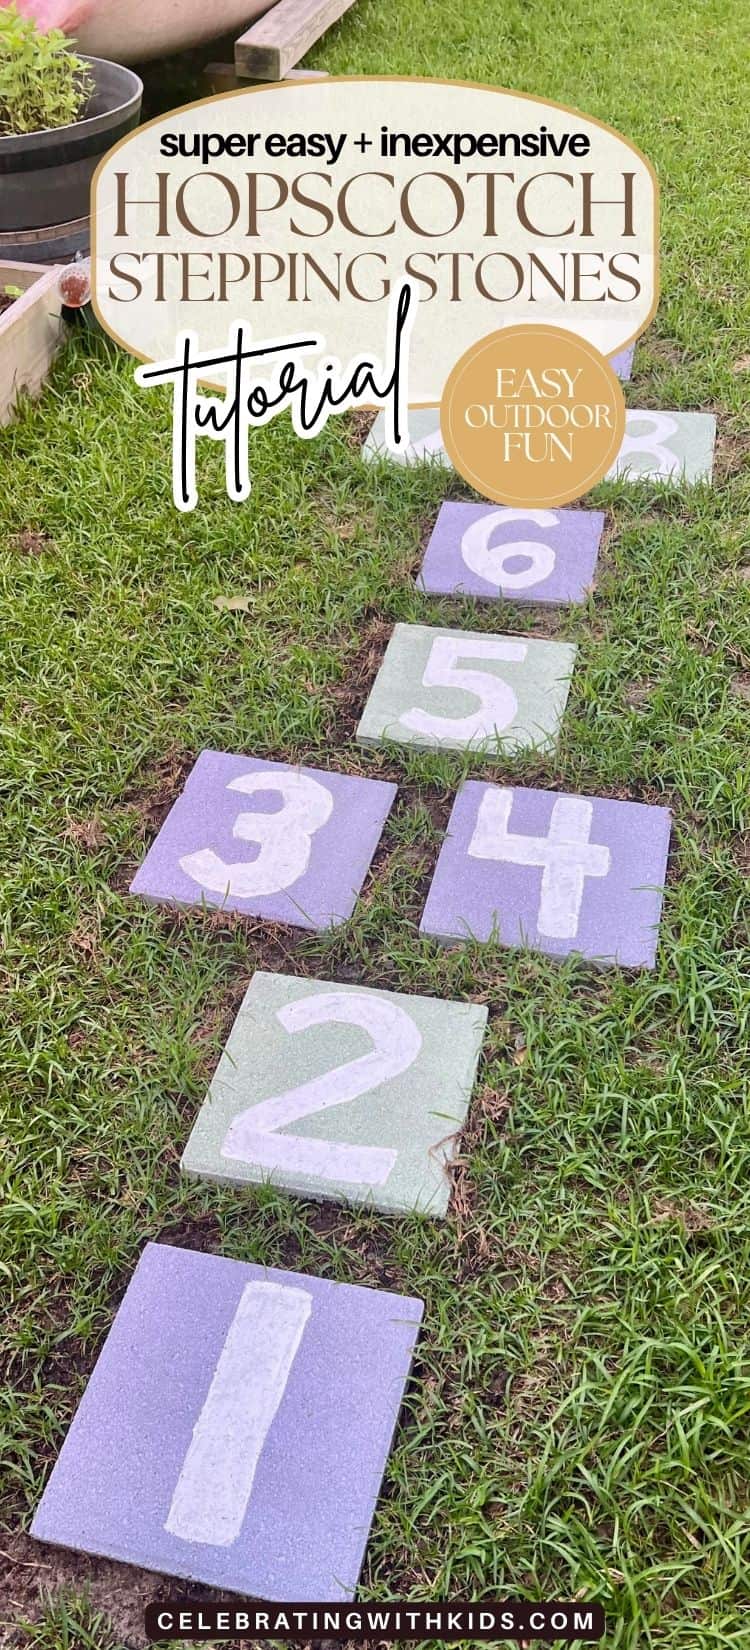
Hopscotch Stepping Stones are an easy and affordable way to add playful outdoor fun to your backyard. Learn how to paint colorful numbered stepping stones for a cute permanent hopscotch path kids will love.
Looking for an easy way to make your backyard feel a little more magical for your kids?
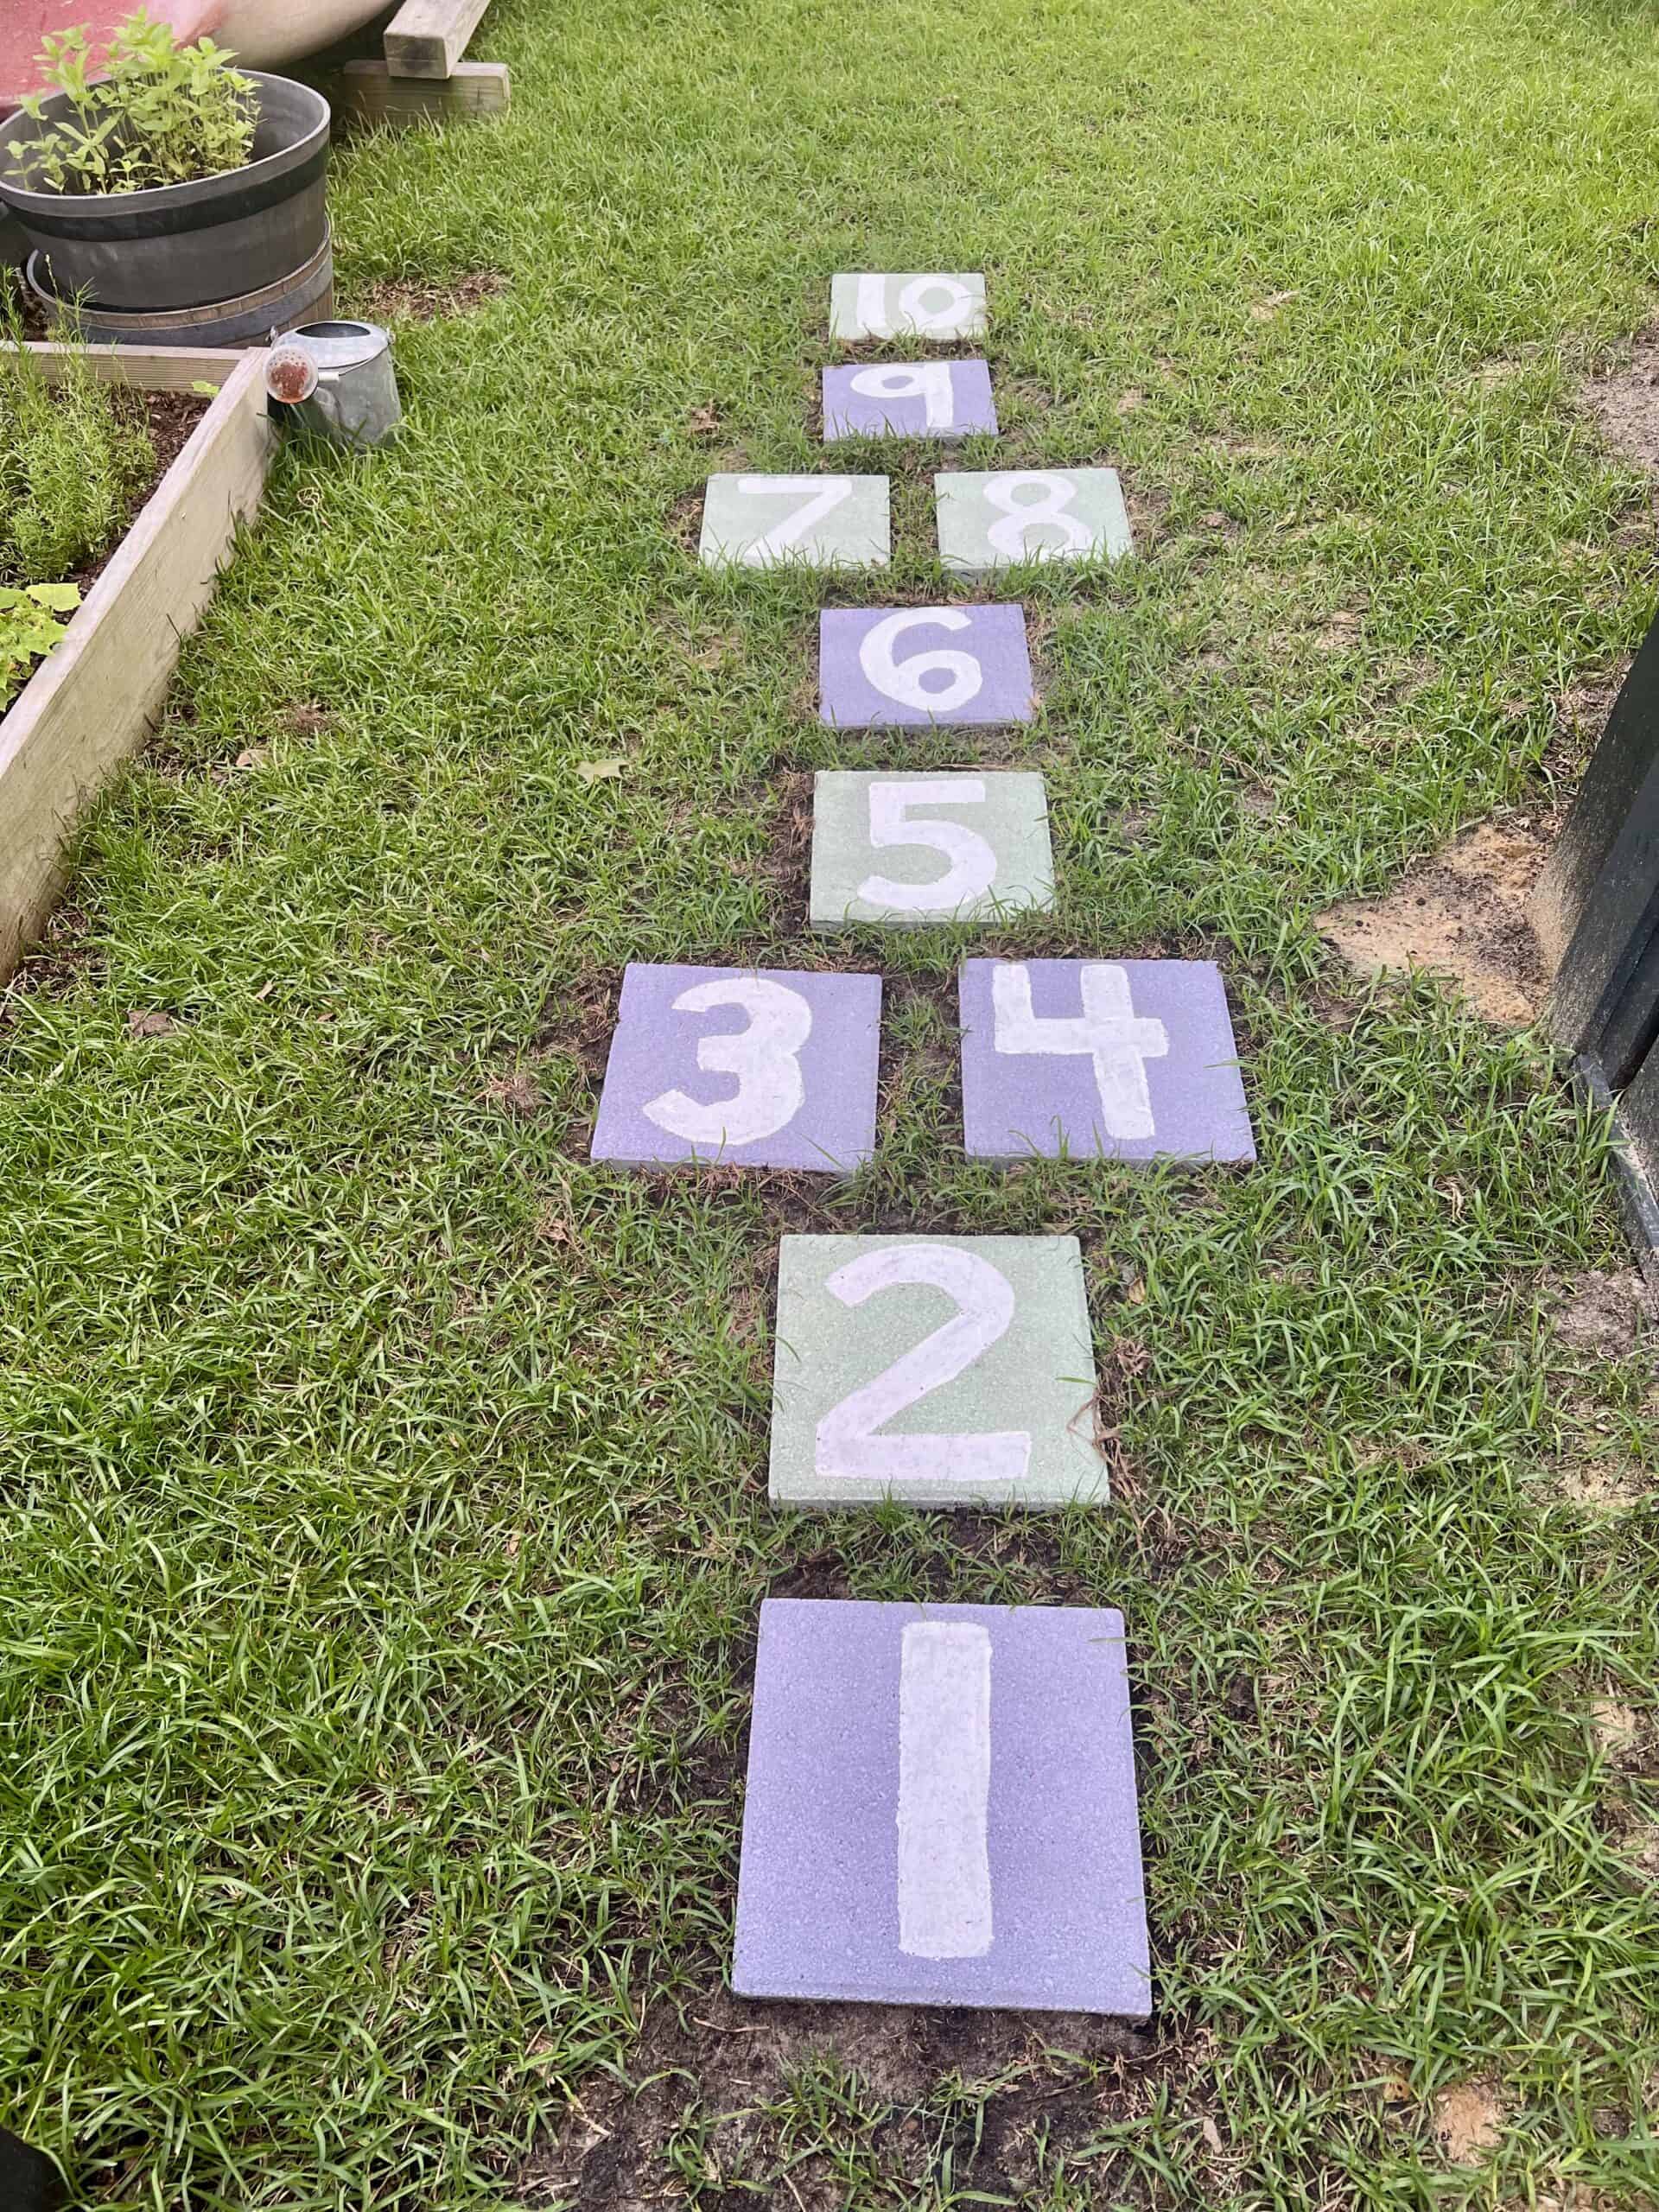
These DIY hopscotch stepping stones are simple, affordable, and SUCH a fun addition to your outdoor space. My kids immediately started hopping across them the second I put them down!
The best part? This is one of those projects that looks adorable but is actually really easy to make.
Easy DIY Hopscotch Stepping Stones for Your Backyard
Here's how to make hopscotch stepping stones!
Supplies Needed
- 12”x12” stepping stones (I got mine from Lowe’s for under $2 each)
- Spray paint in your chosen colors
- White craft paint
- Small angled craft paint brush
- White chalk
Optional:
- Outdoor sealant like Mod Podge or spray spar urethane
Steps to make
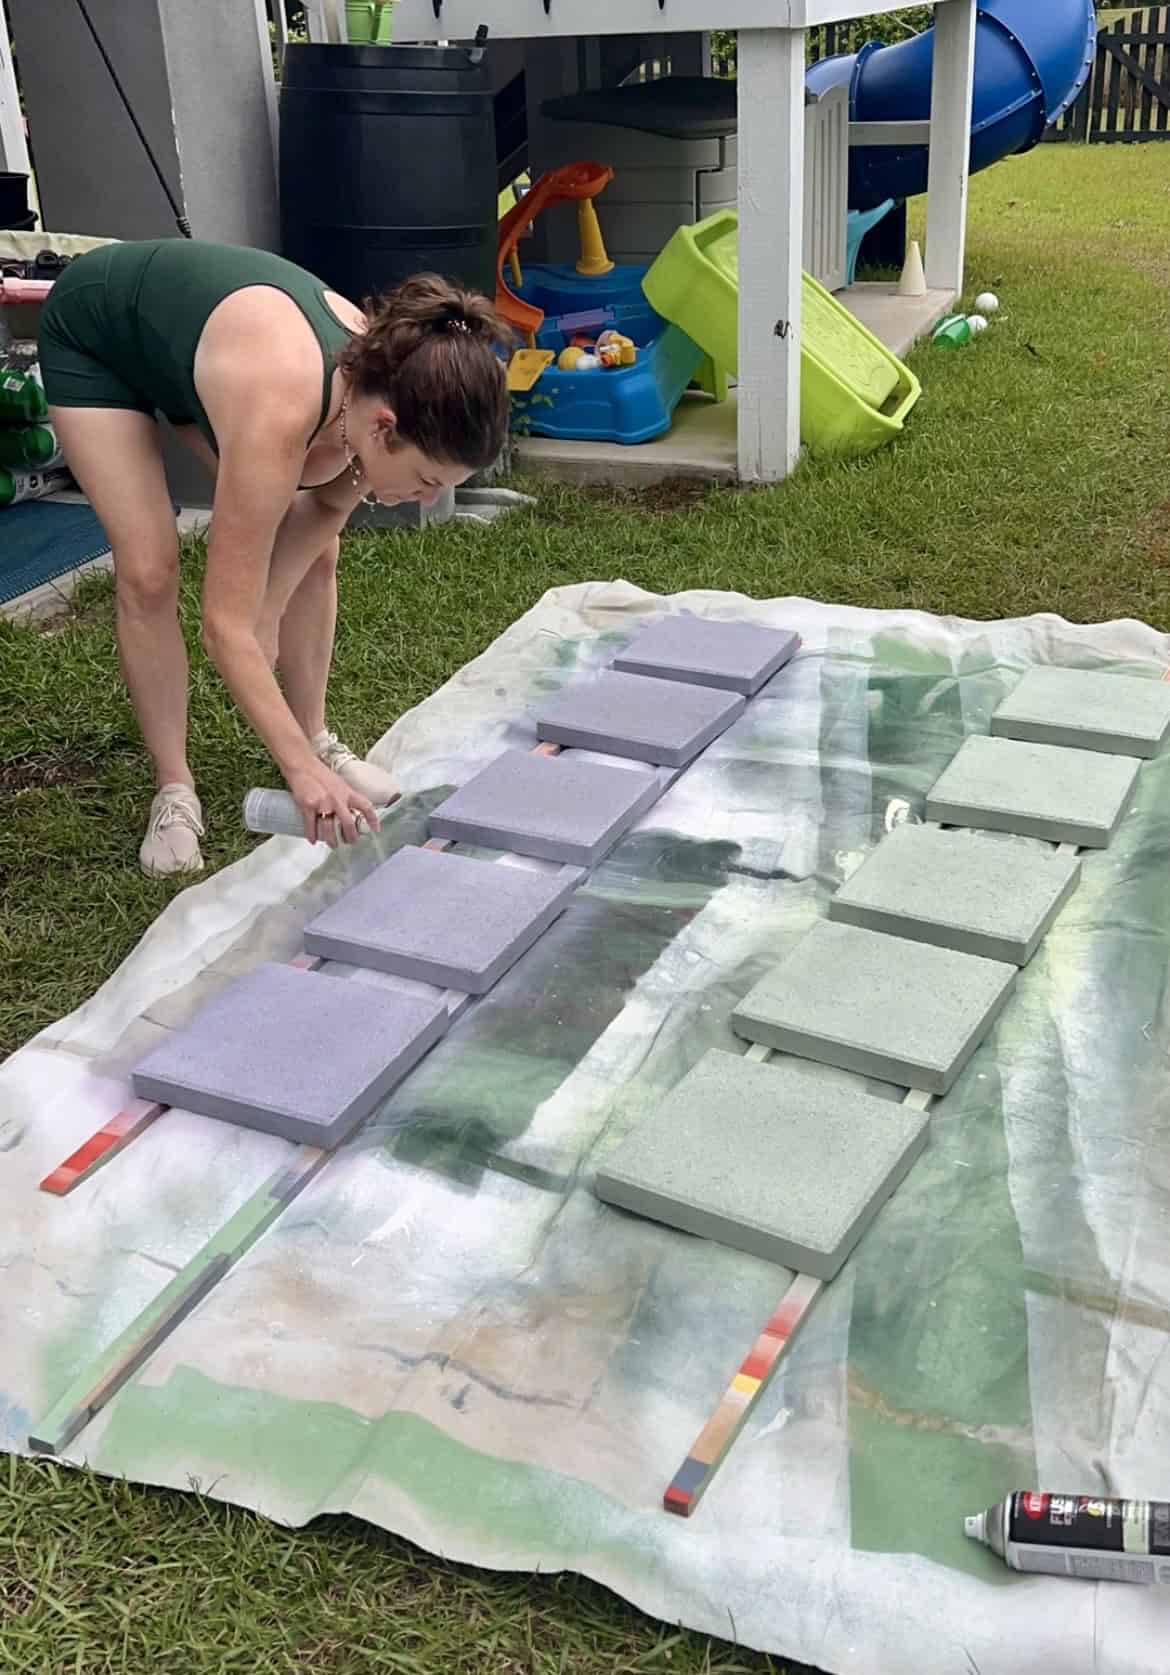
Step 1: Paint the Stepping Stones
Start by painting your stepping stones solid colors.
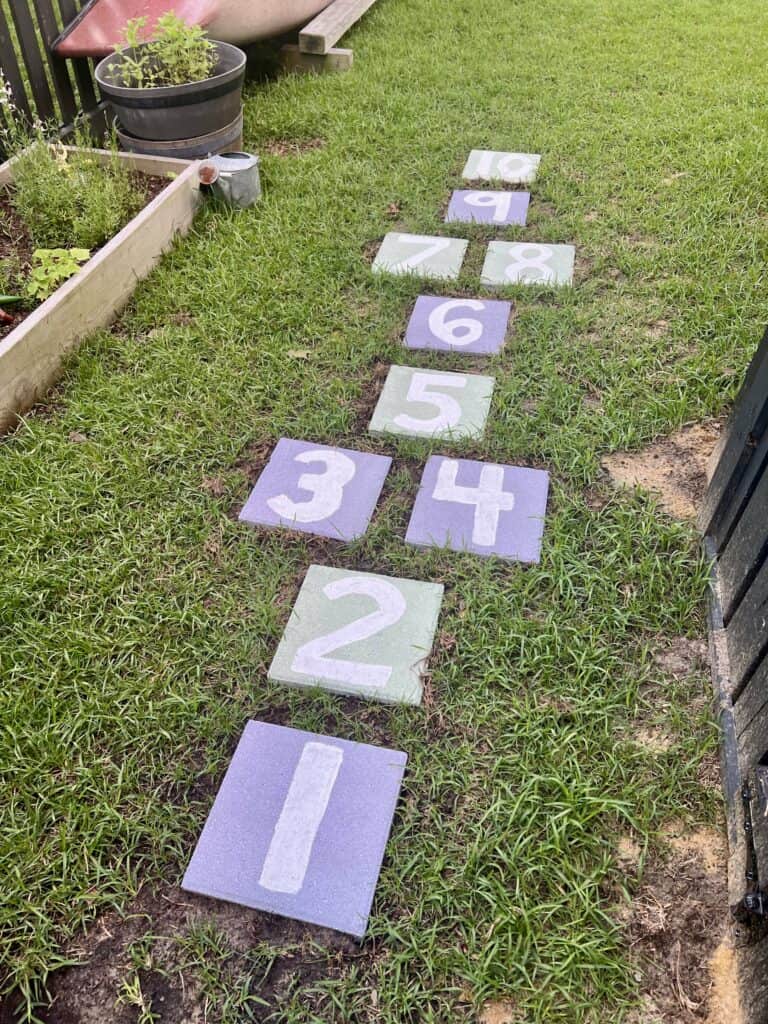
I made 10 total stones:
- 5 purple
- 5 green
I alternated the colors to make the finished hopscotch path feel playful and fun without needing a ton of different paint colors.
You could absolutely do rainbow colors too, but spray paint can get expensive quickly, so sticking with two colors was the more budget-friendly option.
Spray Paint vs. Craft Paint
I definitely recommend spray paint for this project if possible.
One can of spray paint covered 5 stepping stones for me with paint left over, and it dried much faster.
You can use craft paint instead, but here’s what to know:
- It takes about one full standard-sized bottle of craft paint per stone for full coverage
- It takes MUCH longer to paint
- Dry time is longer too
If you use craft paint, make sure it is not washable paint.
I’d also highly recommend sealing the stones afterward with:
- Outdoor Mod Podge
- Or spray spar urethane
That will help protect the paint outside in the elements!.
Step 2: Let Them Dry
After painting the stones, let them dry completely before adding the numbers.
Step 3: Draw the Numbers
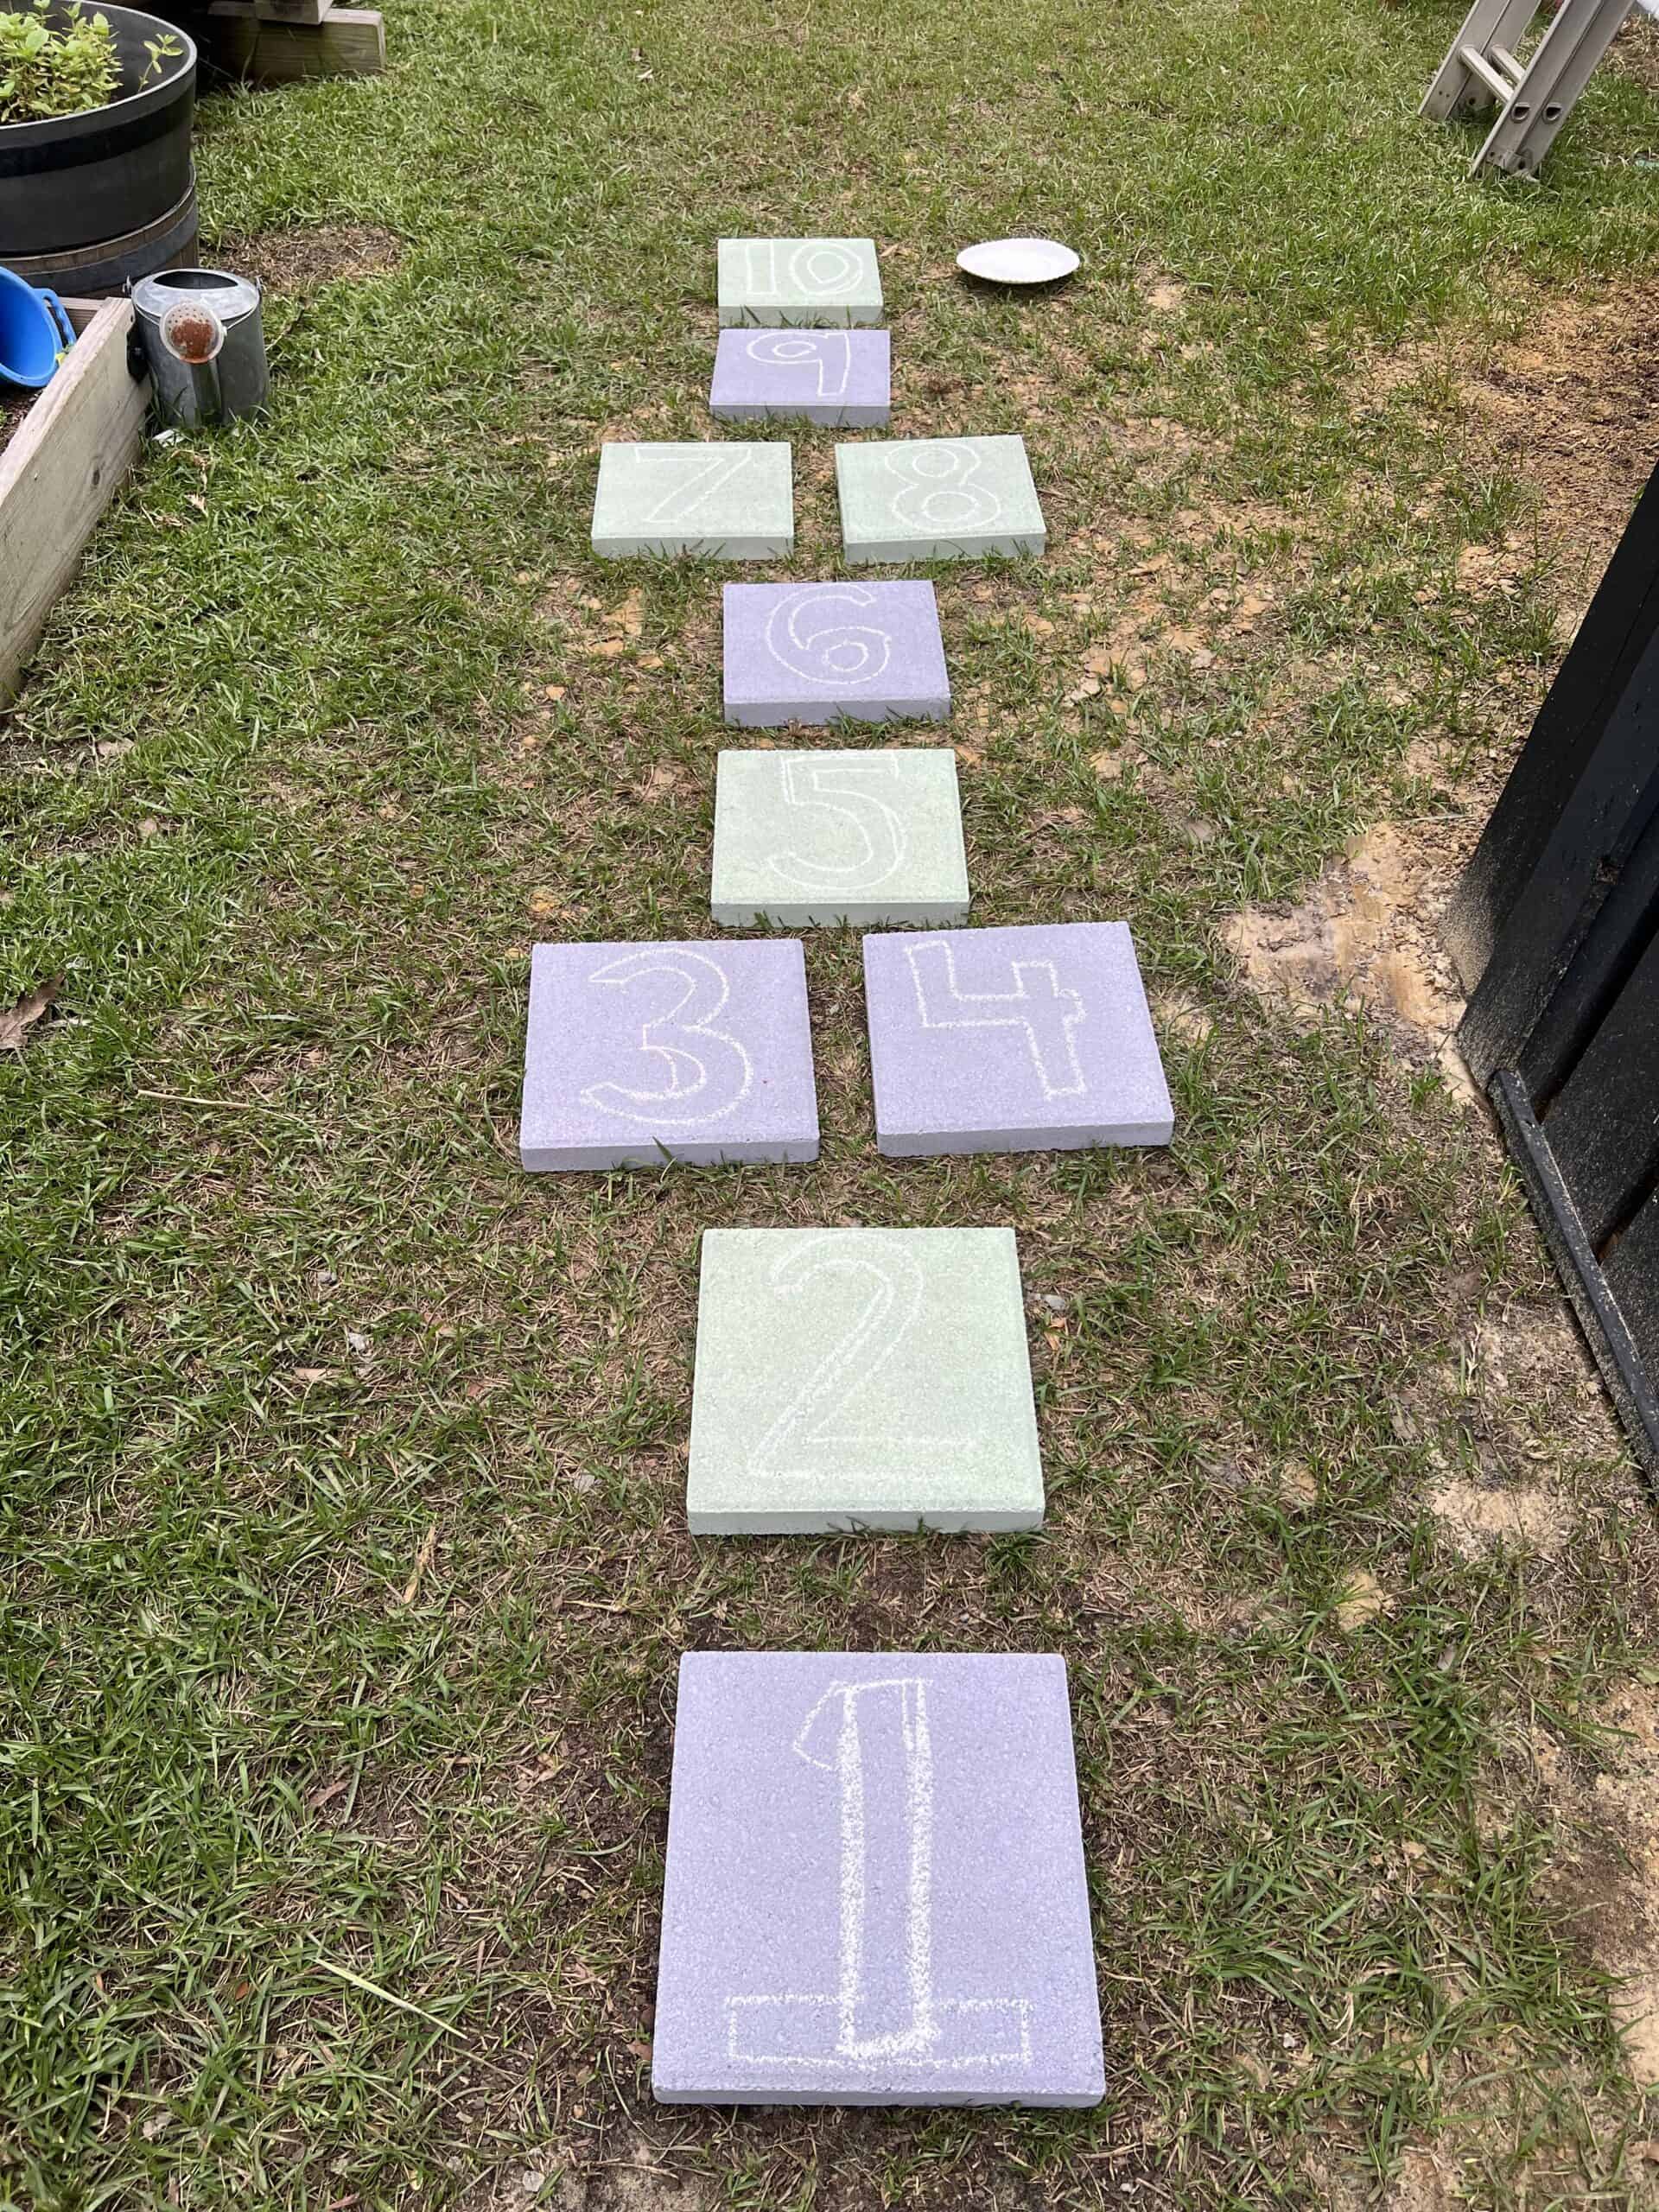
Using white chalk, sketch numbers 1–10 onto the stones.
I did one number per stone to create a full hopscotch path.
Don’t worry about making them perfect — the chalk makes it really easy to adjust before painting.
Step 4: Paint the Numbers
Using white craft paint and a small angled brush, carefully paint over the chalk outlines.
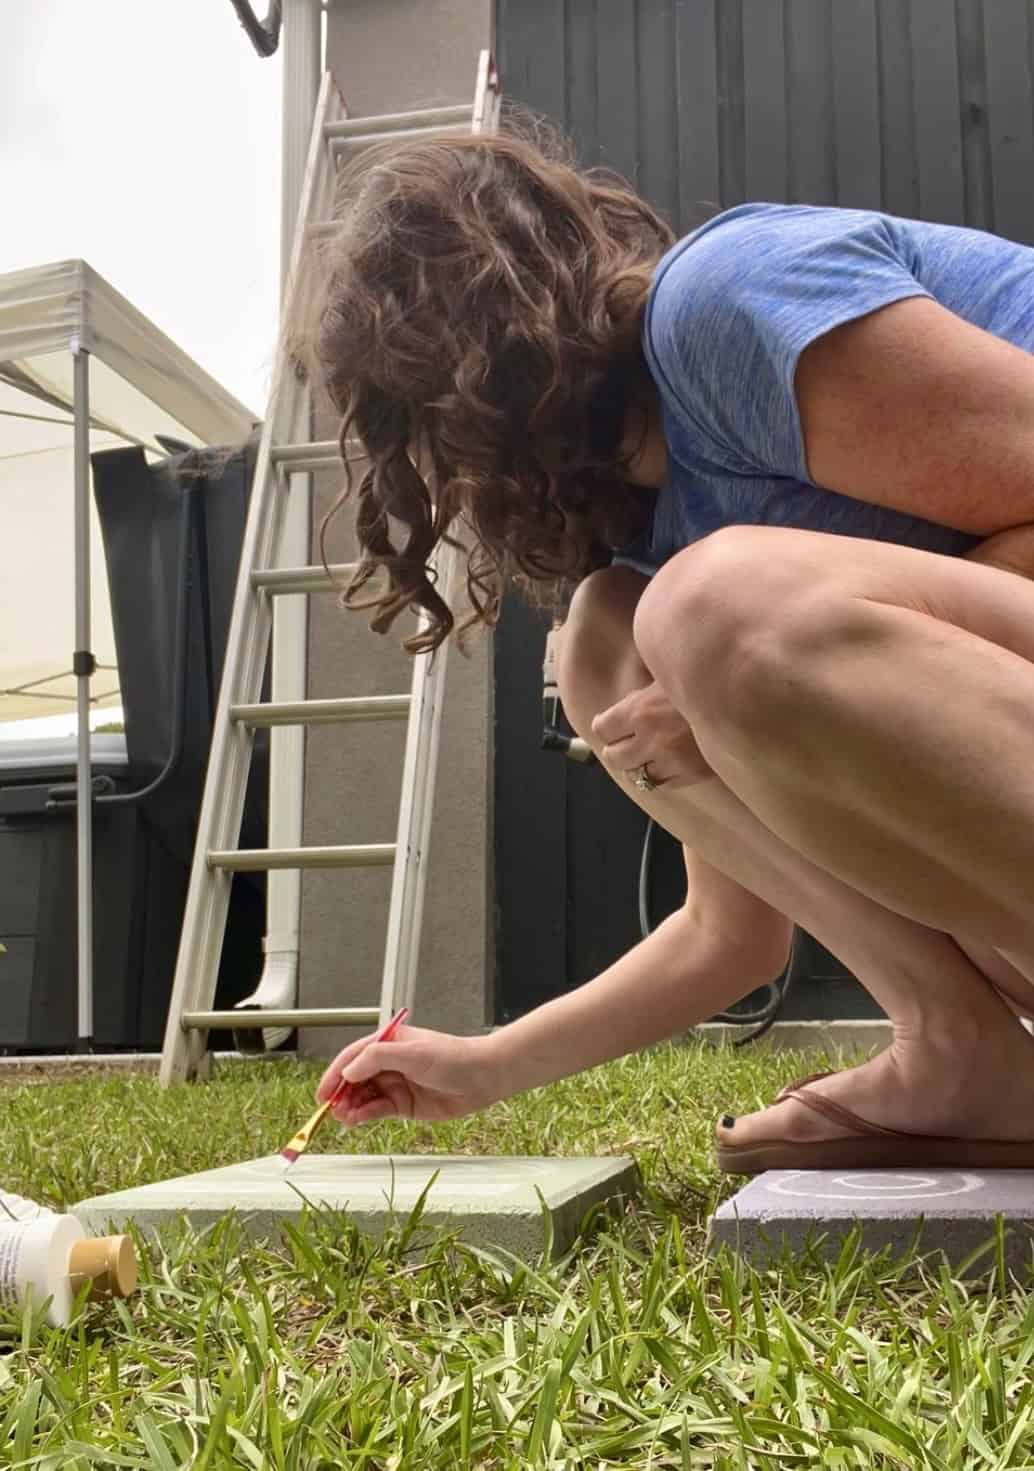
I ended up doing 3 coats of white paint on each number to get really solid coverage.

Let the paint dry fully once finished.
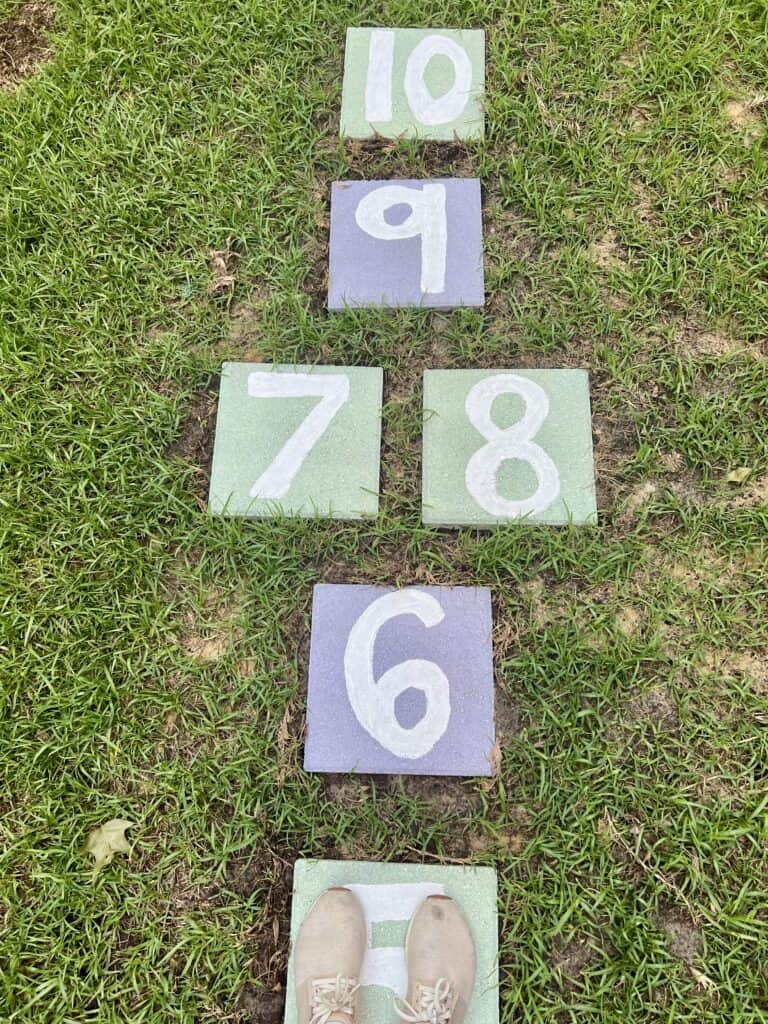
Time to Play!
Once dry, place the stones outside and let the kids have fun!
This ended up being such a fun “silly little magic” addition to our backyard. It encourages outdoor play, gets kids moving, and honestly just makes the yard feel more playful.
And I love that it’s something you can leave out all season long!
Thanks for reading!


Hey there, I'm Morgan, the creative mind behind CelebratingWithKids.com! As a parent of two lively little ones, I've made it my mission to turn ordinary days into extraordinary adventures, sharing playful activities, thoughtful toy reviews, and delightful printables to help families celebrate every moment together. 🎉👨👩👧👦🎈