Planning a lego-themed party? Here's an easy tutorial on how to make cardboard lego party decorations!
My son recently turned six and he requested a Lego themed birthday party. This is actually his second year in a row having a Lego party.
Last year we made some cardboard Legos, but they didn't really turn out that well. I learned a lot during the process, and this year decided to have a re-do.
This time, they turned out so cute! My only regret is that I didn't make more.
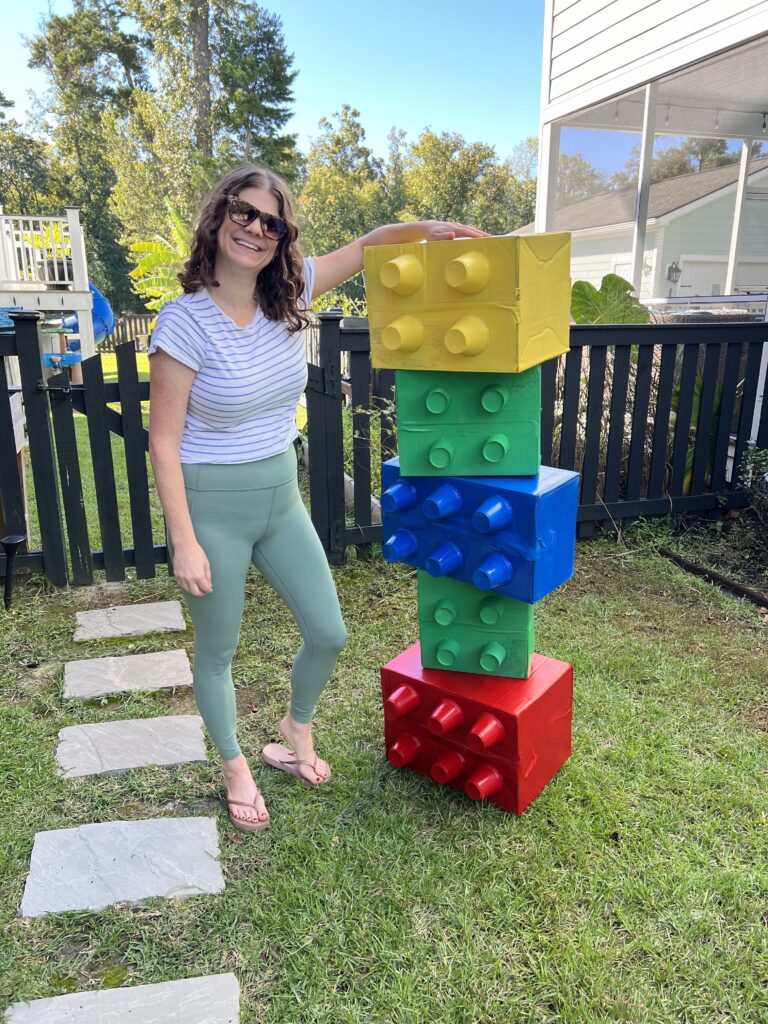
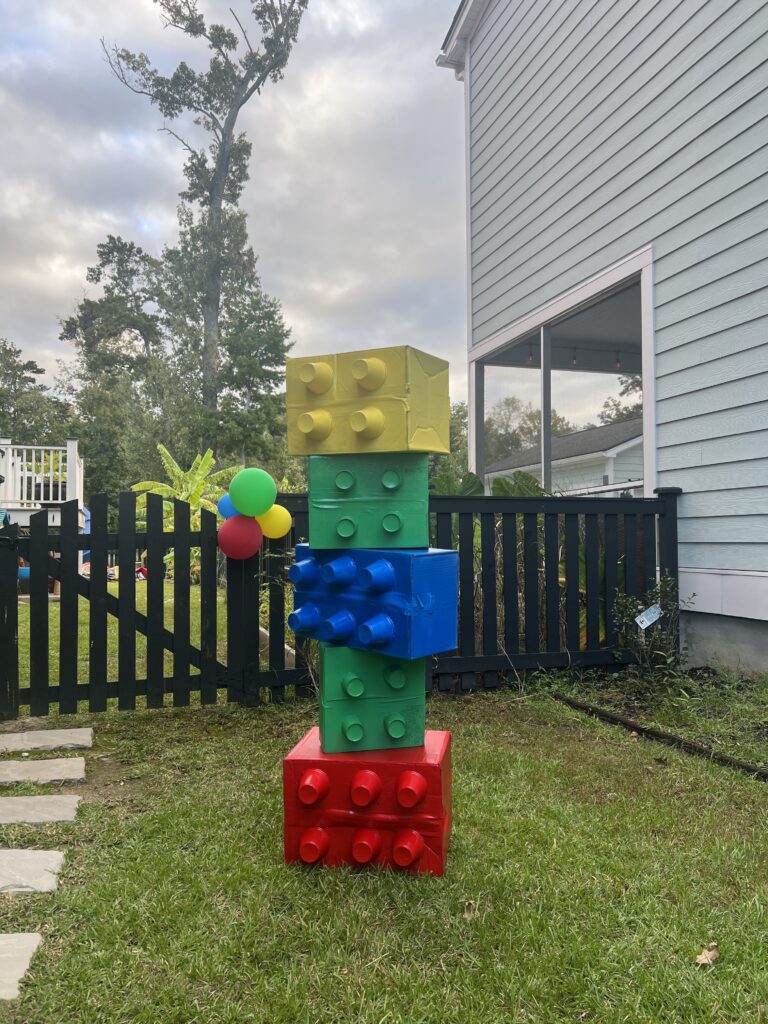
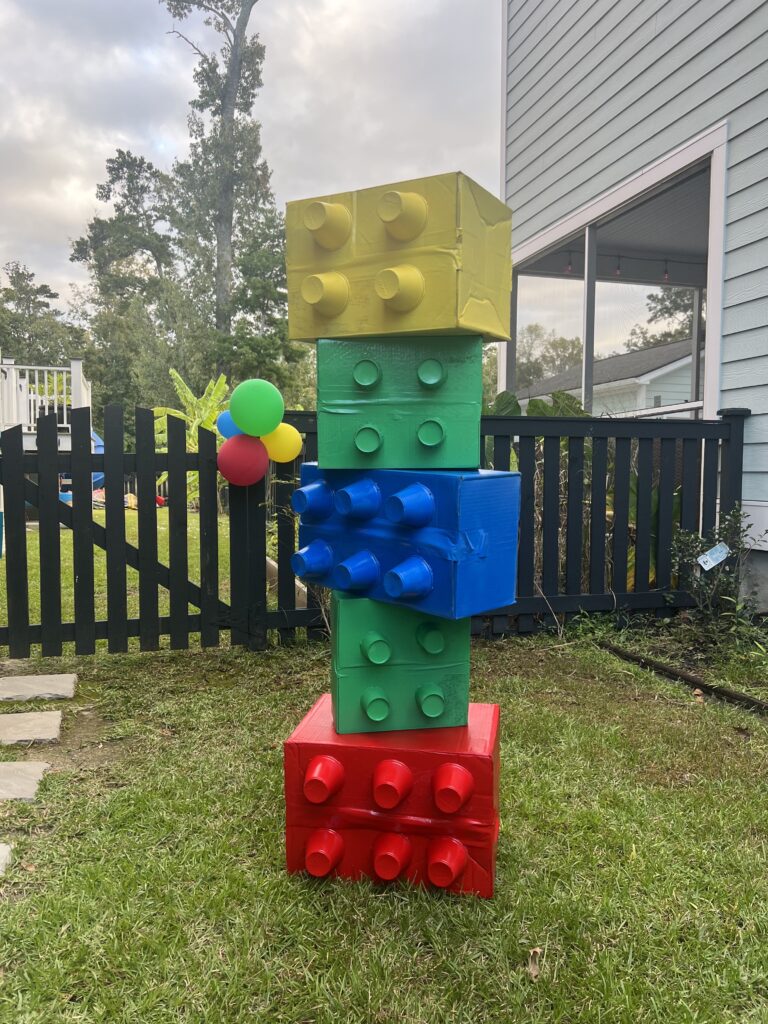
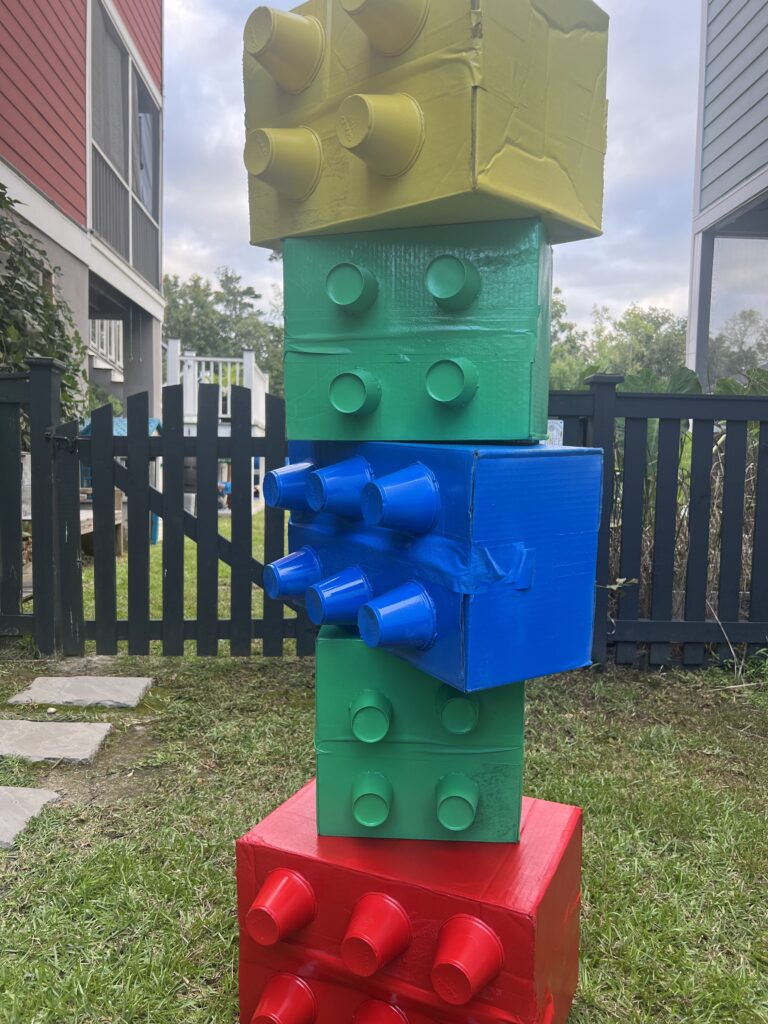
We stacked them on a rebar pole to make a really cute party decoration.
We had our party in the backyard on a fairly windy day. If it wasn't so windy, I would've put balloons on top.
Anyways, this was a basically free project for me because I used everything I already had on hand, the only thing that I had to buy was some spray paint.
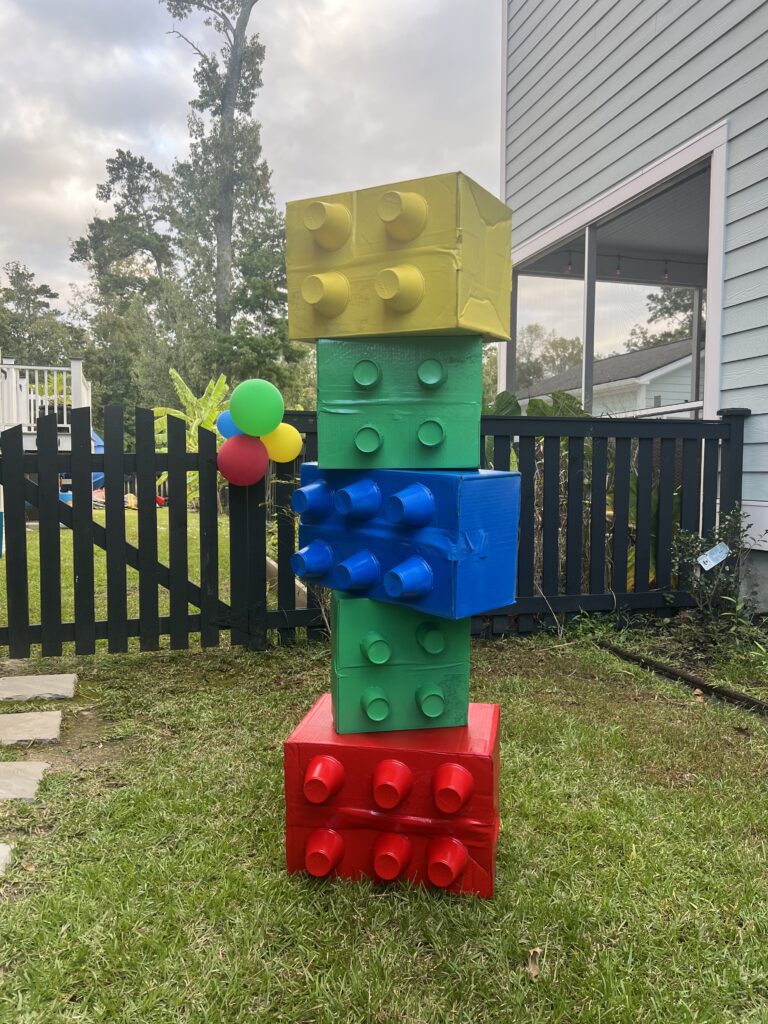
It is very easy and you could get creative and have these loose in a room, just stacked, or you could even make an arch if you had a very long bendable PVC pipe.
Anyways, here's how to make them!
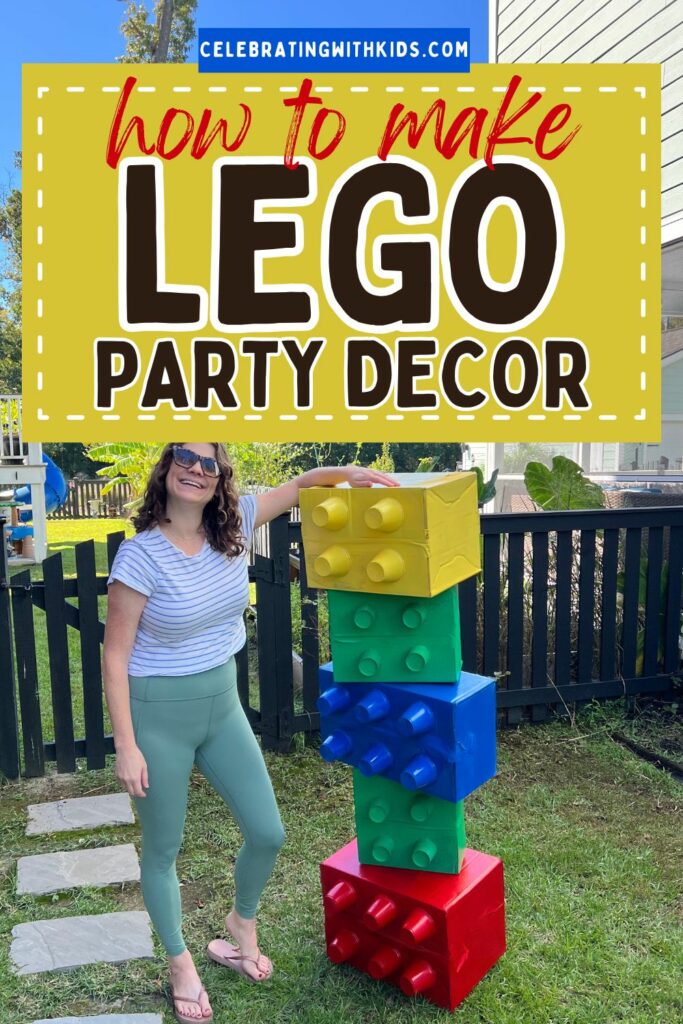
How to make cardboard lego party decorations
These giant cardboard legos are easy to make and look so fun for a party!
Supplies needed:
- cardboard boxes
- packing tape
- hot glue
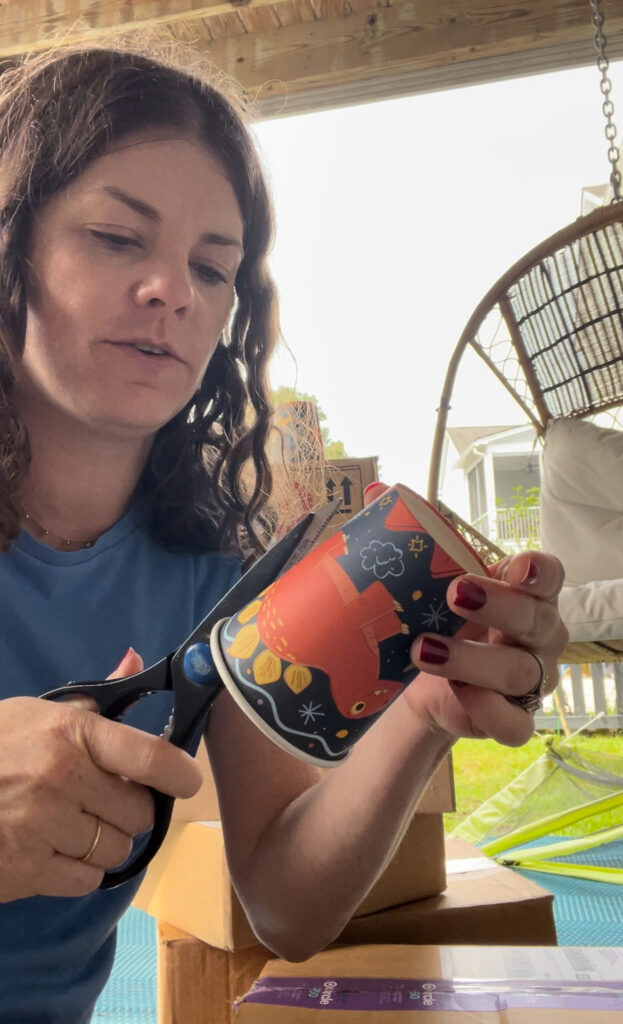
- disposable cups
- spray paint - I used primer + paint separately
Supplies/tools to turn the boxes into a stack:
- drill with 1" drill bit
- Rebar, PVC pipe, or dowel rod
- Hammer or mallet
Steps to make them:
Step 1: Tape the boxes closed
Use packing tape to close the boxes and seal them shut.
Step 2: Add the cups
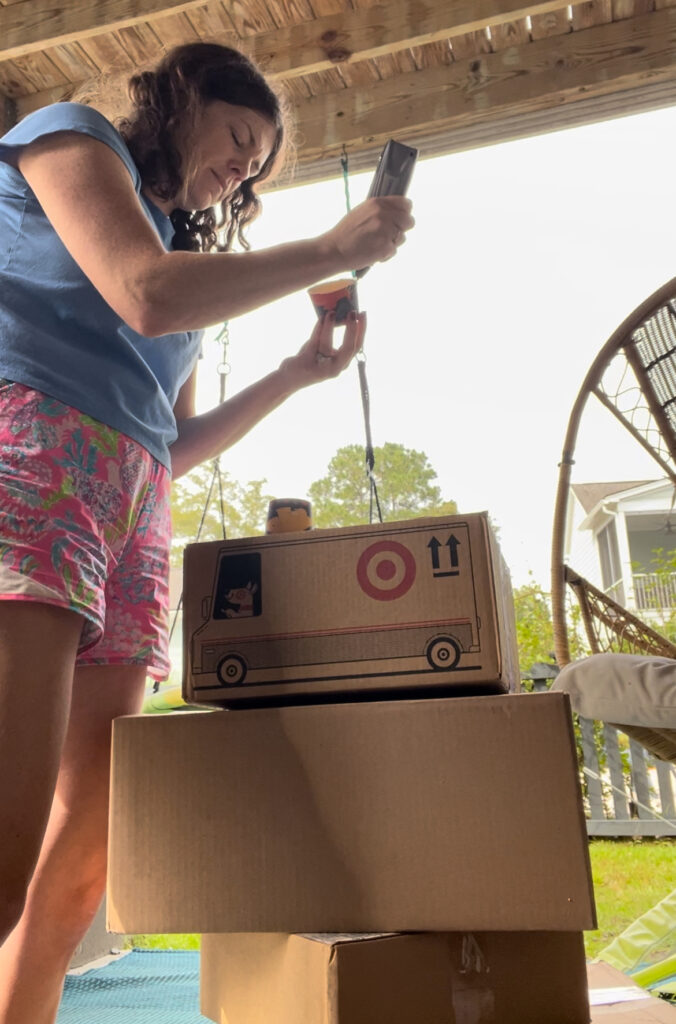
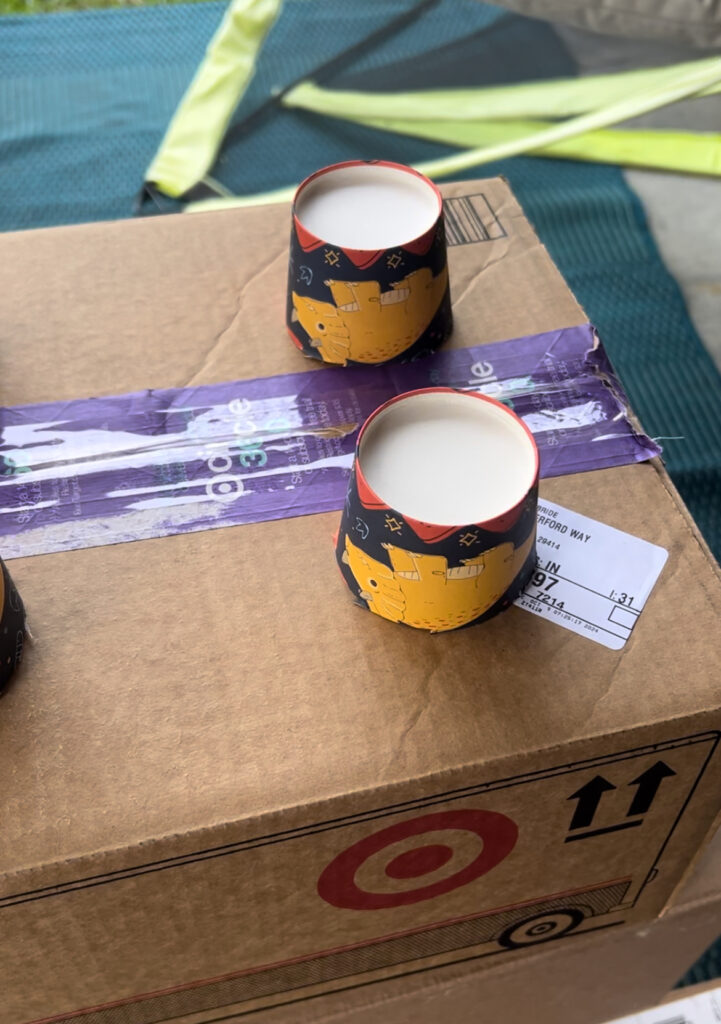
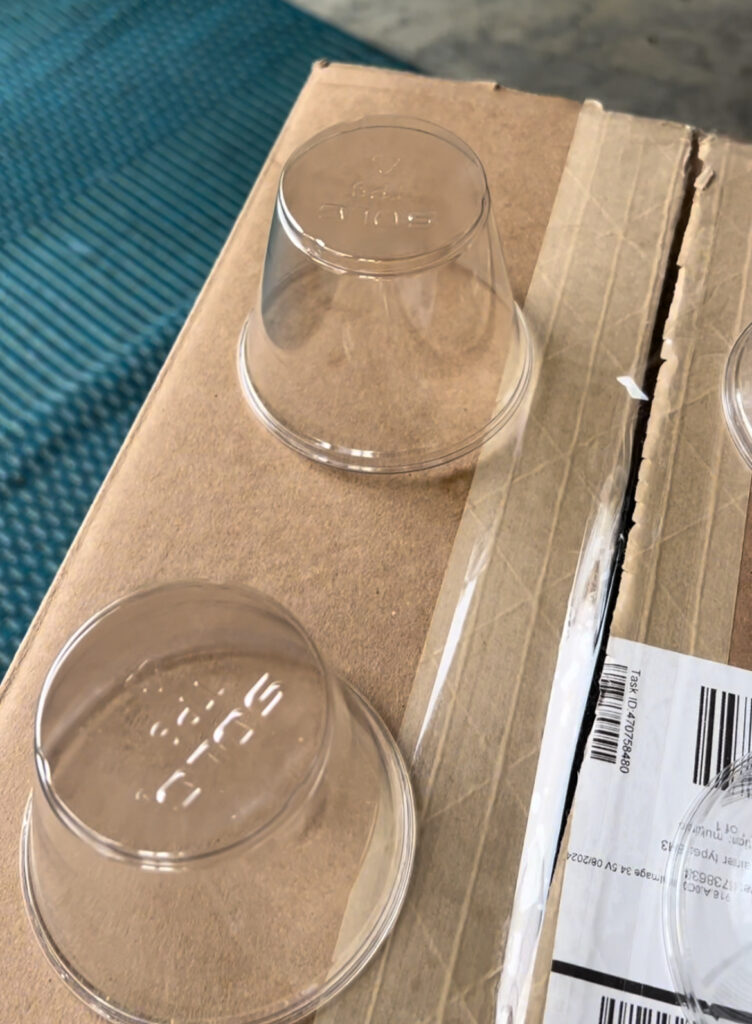
Arrange your cups on top of the box to look like the pegs of the lego. Then, use hot glue on the rim of the cup and place them upside down in place.
Repeat for all boxes.
Step 3: Paint
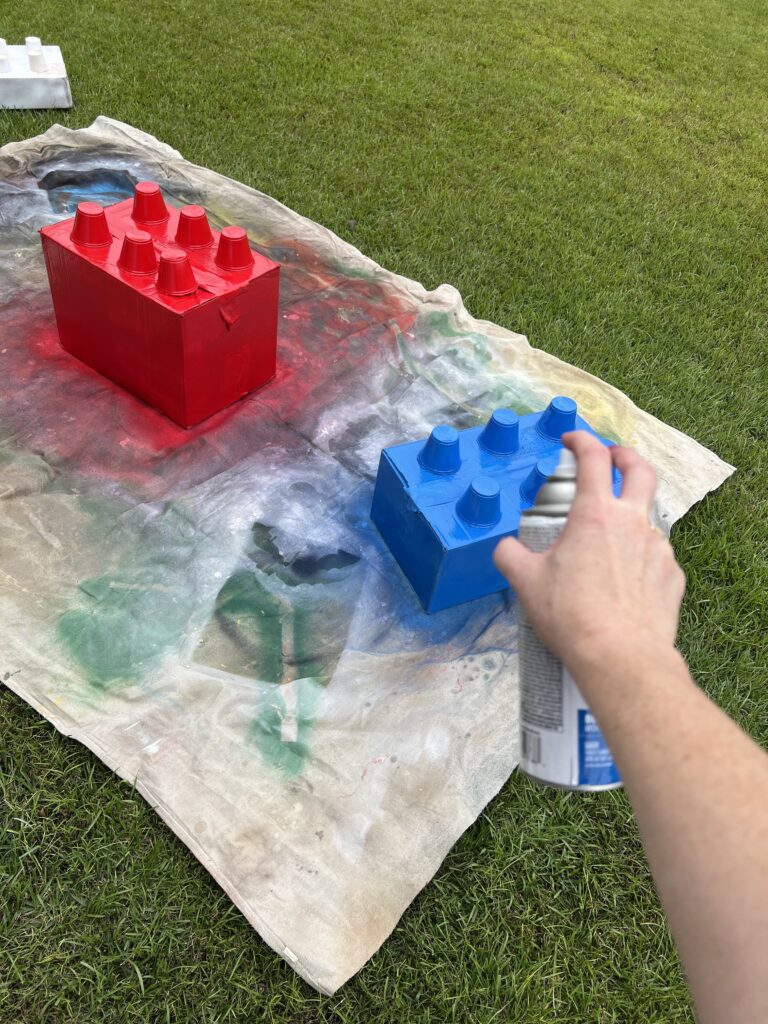
Use spray paint to paint your boxes completely. I did yellow, red, blue, and green which are kind of traditional lego colors, but as my son said - legos can be any color. Go wild!
I suggest doing a spray primer first if your boxes have writing on them. It makes it easier to cover them.
Spray from all angles, then let dry, flip upside down, and repeat! You want all sides painted, they will all show in this display, even the bottom.
Step 4: Let Dry
Let the paint dry completely.
Step 5: Drill holes
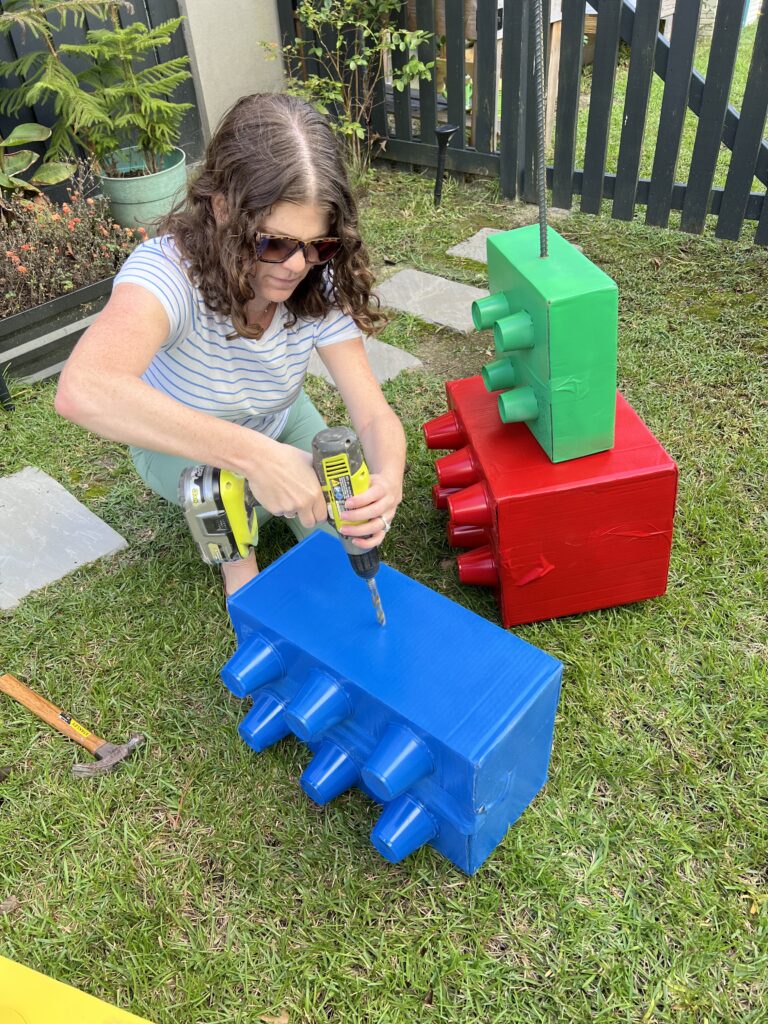
Use a drill with a 1" drill bit (or size according to your rod diameter) to drill 2 holes into your box.
The holes should be opposite each other and aligned so a pole can go through both.
Note that I did this so my legos would lay on their side. You could do them slightly diagonal or at an angle if that's the look you prefer.
Also note that I only put 1 hole in the top lego on the stack - the pole does not come out the top but ends somewhere inside that yellow box.
Step 6: Hammer in the pole
Use a mallet or hammer to hammer your pole into the ground.
We did re-bar into the grass. You could also do a strong dowel.
We have done something similar where we actually put a piece of PVC pipe into a plastic pot and filled in with concrete around it to create a sturdy base.
Depends on where you are planning to put them!
Step 7: Slide on the pole
Slide the boxes onto the pole one by one. The first hole is easy, then you kind of have to stick your finger in there until you feel the pole and line it up to get the second side one.
Repeat for all your boxes.
Step 8: Enjoy!
Enjoy your awesome party decoration! If you are anything like me, you are going to wish that you made more!
Have a fun party and be sure to check out my favorite Lego party favor ideas, too!

Hey there, I'm Morgan, the creative mind behind CelebratingWithKids.com! As a parent of two lively little ones, I've made it my mission to turn ordinary days into extraordinary adventures, sharing playful activities, thoughtful toy reviews, and delightful printables to help families celebrate every moment together. 🎉👨👩👧👦🎈


