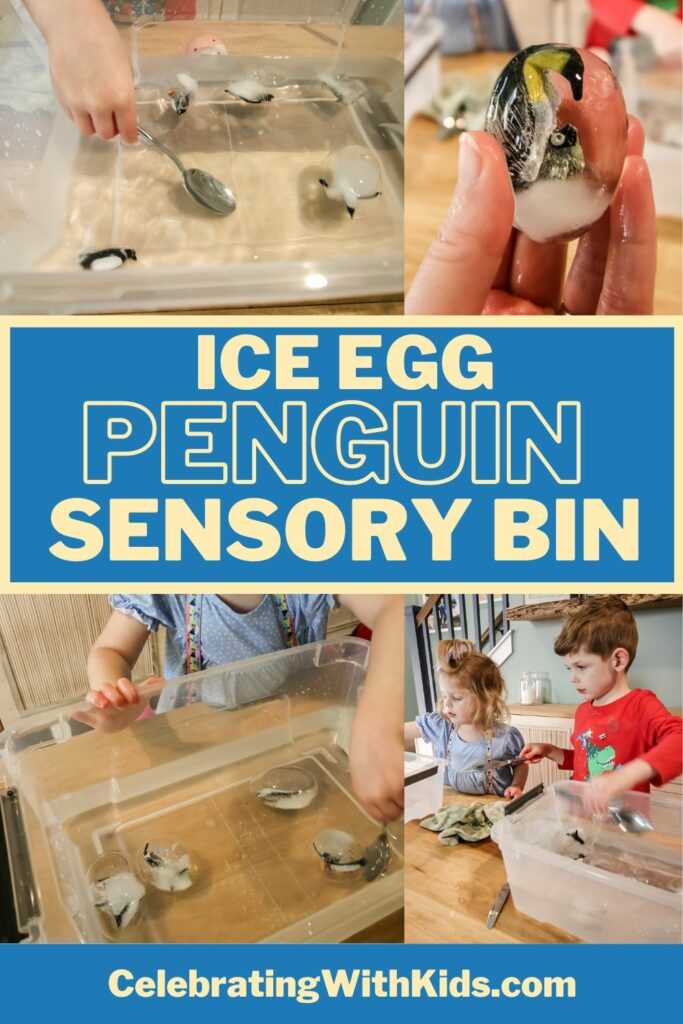
Looking for a fun way to play with arctic animals with your kids? Here's an easy idea for Penguin Ice Sensory Play!
It is currently January, and even though we live in coastal South Carolina where it still doesn't get that cold, it's still too cold for my kids to spend too much time outdoors. So, I've been racking my brain for indoor play ideas for the long afternoons.
This week, I decided to lean into the cold weather and do an ice play activity.
One of my go to activities is an ice excavation dig, basically where you just freeze a bunch of small plastic toys in a container of ice and kids whack at it with a spoon until they free the animals.
My sister came to visit recently and was playing with these little penguin toys we have and suggested that I freeze them in eggs.
If there's one thing I have a lot of, it's Easter eggs. My kids somehow always get invited to multiple egg hunts, and while we often return the eggs, we have somehow ended up with a whole garbage bag full of them in our attic.
So, this was a completely free activity for us to do.
If you don't have penguin toys on hand, no worries, any little plastic figures will do. They just need to fit inside the eggs.
Here's how to do this fun penguin ice sensory play activity with your kiddos.
Want more winter activities? Pair it with these snowflake fine motor printables!
Penguin Ice Sensory Play Activity
Let's get chilly with this fun and simple penguin ice egg sensory activity!
Supplies needed:
- Plastic easter eggs (with no holes in them - many have drainage holes)
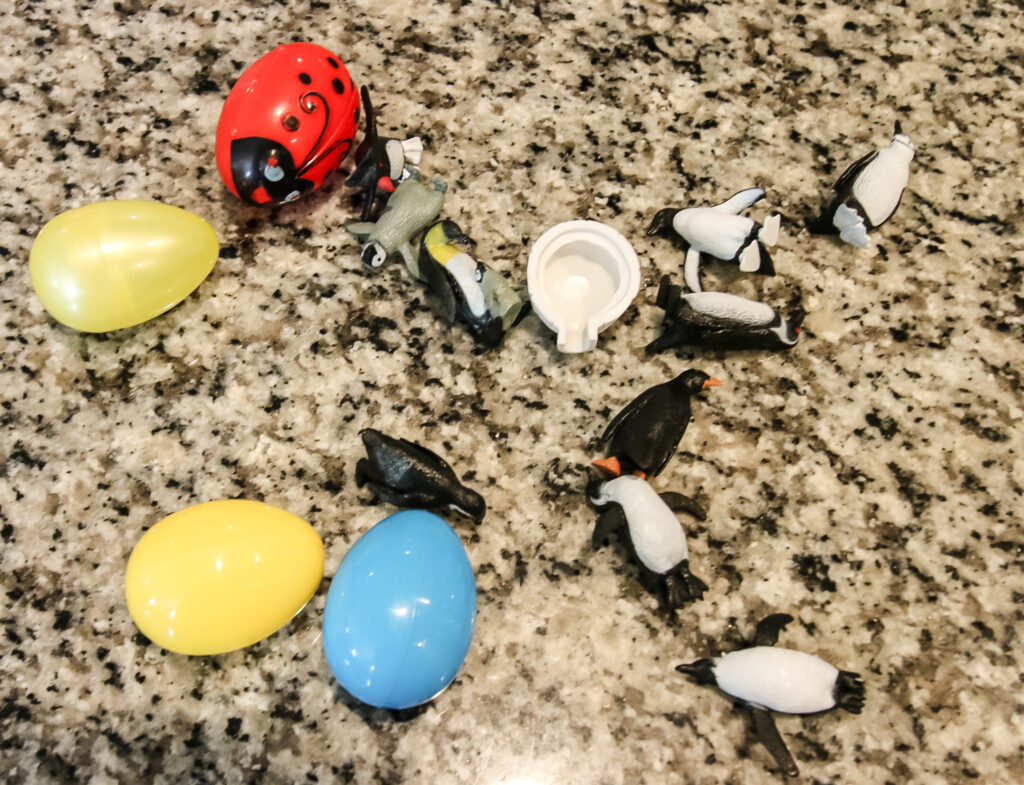
- Plastic penguin toys (or any animal really)
- A bin or container
- Water
- Spoons, butter knives, shovels, or anything to play with
Note: No eggs? You could also do this with water balloons, just slip in the figure, add water, tie off, and freeze. Then, cut off the balloon! Easy peasy!
Love penguins? How about pairing this with a penguin handprint craft!
Steps to set up the activity:
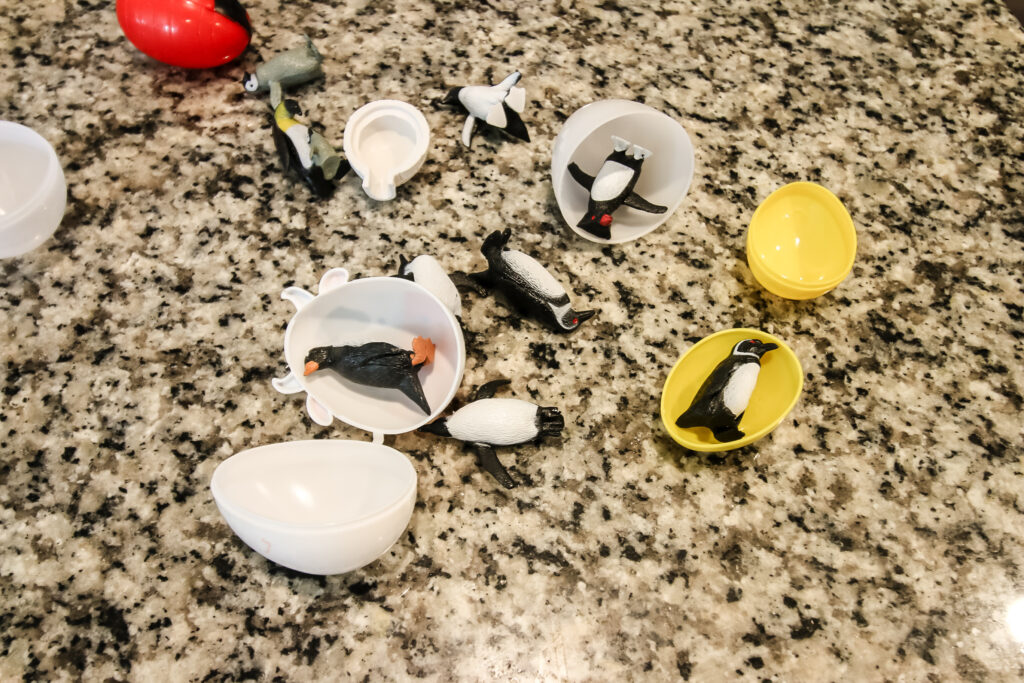
STEP 1: Fill eggs
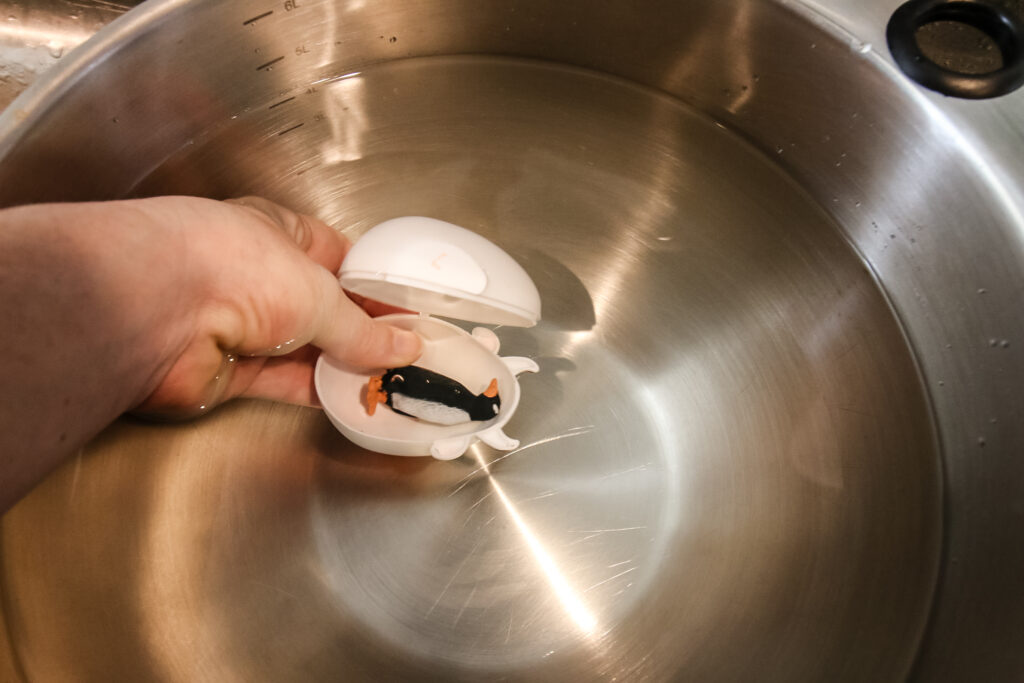
Fill a bowl with water. Place a penguin or toy in each egg. Hold the egg under water and close it. This is the easiest way to close them full of water!
Repeat for all of your eggs/penguins.
STEP 2: Freeze eggs
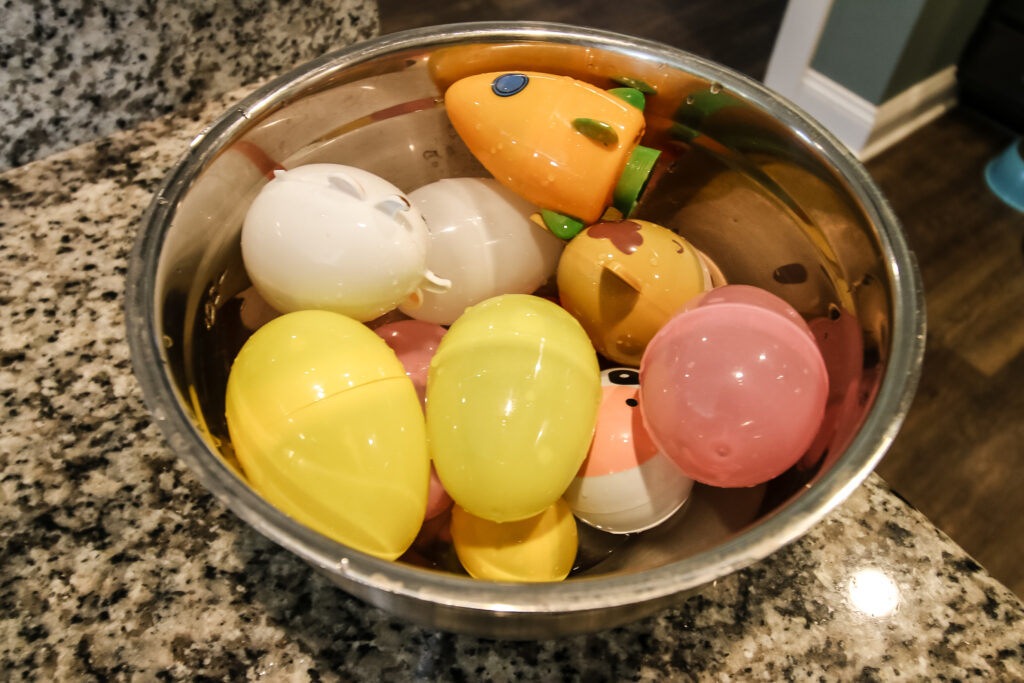
Place in a bowl and place in your freezer overnight.
STEP 3: Prep bin
Get out a plastic bin that can hold water. I used a rubbermaid bin but have also done similar activities with a glass pan like you would bake brownies in.
Fill with water - I added about 3" deep of water to mine and gave 1 bin to each kiddo.
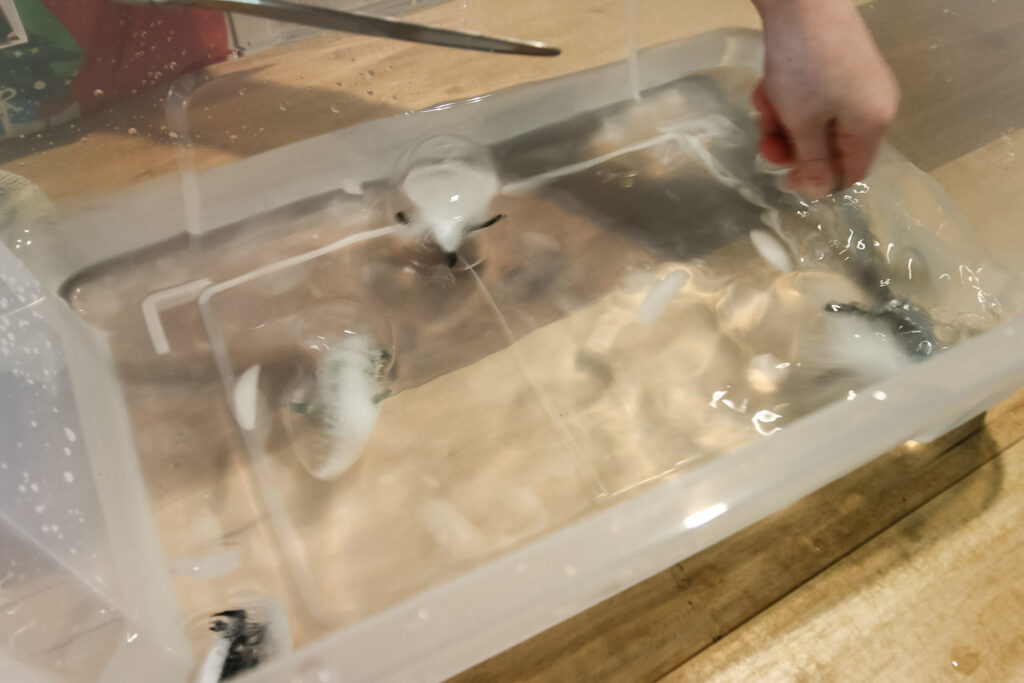
Note: the temperature of your water will dictate how this goes. The ice will melt faster (activity over sooner) in warmer water. I chose colder water (ran cool water + even added some ice cubes!) so the eggs would last as long as possible!
STEP 4: Free the eggs
Pull the bowl of eggs from the freezer. Carefully run each egg under warm water until they have softened enough that you can open the egg.
Note - 3 of our plastic eggs did explode due tot he expansion of the ice. Do not use your best eggs that you would be sad to lose for this activity!
This could be prevented by slightly under filling the egg, but I find water to ice expansion unpredictable and hard to plan for precisely! Don't worry, you'll get more eggs at the next egg hunt!
STEP 5: Play!
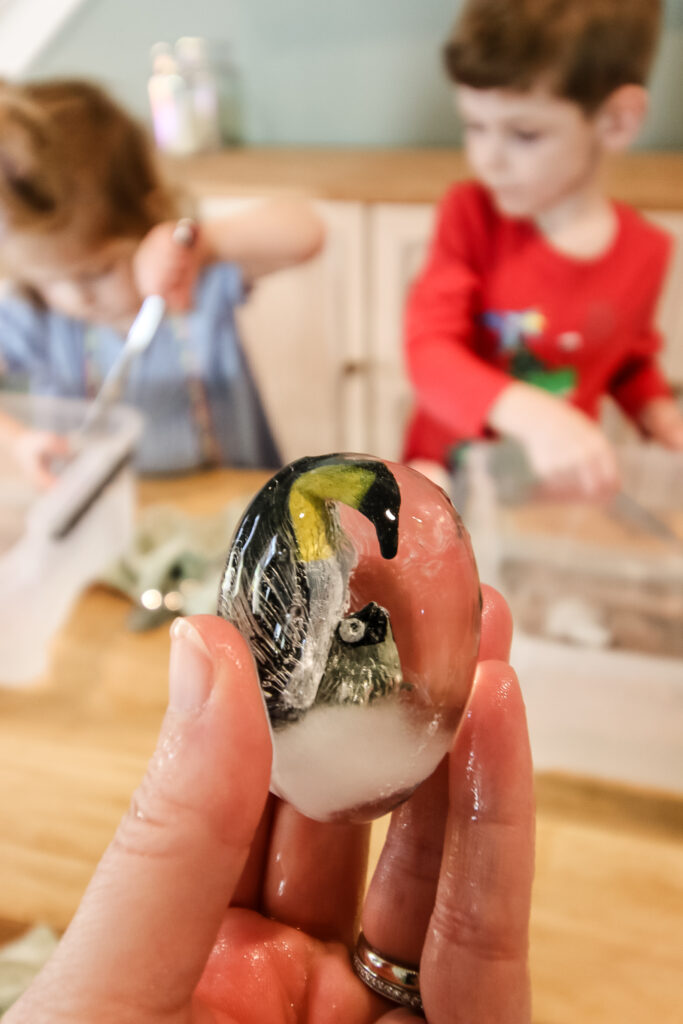
Place the eggs in the water and let kids go wild playing. My daughter loved using a spoon to scoop up the ice eggs and splash with them, putting them in and out of the container.
My son loved using a butter knife to try to hack the penguins out of there.
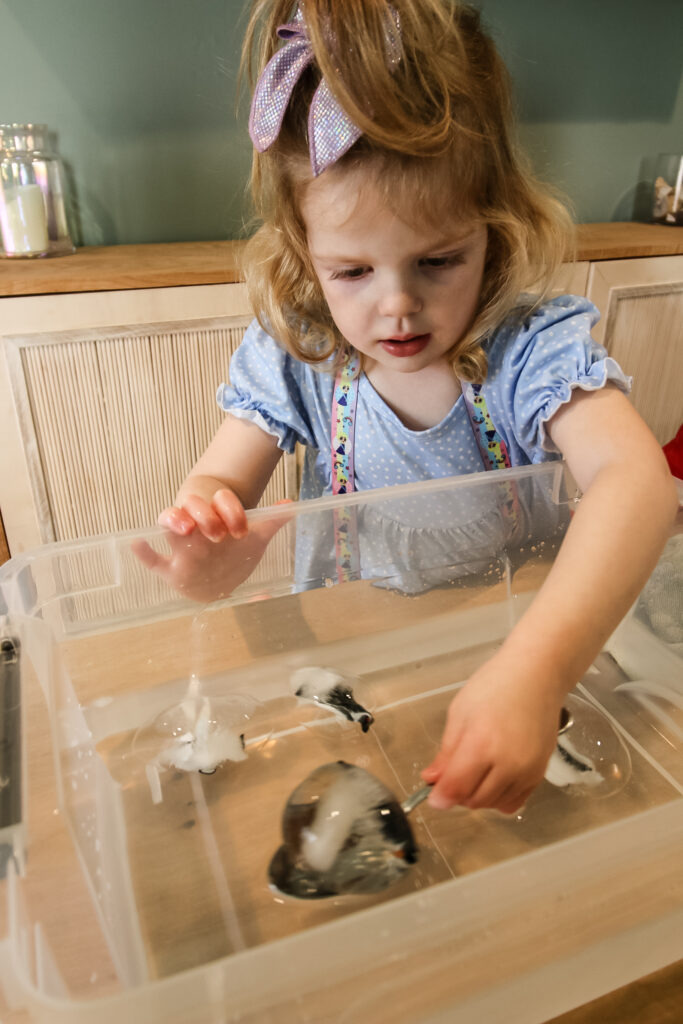
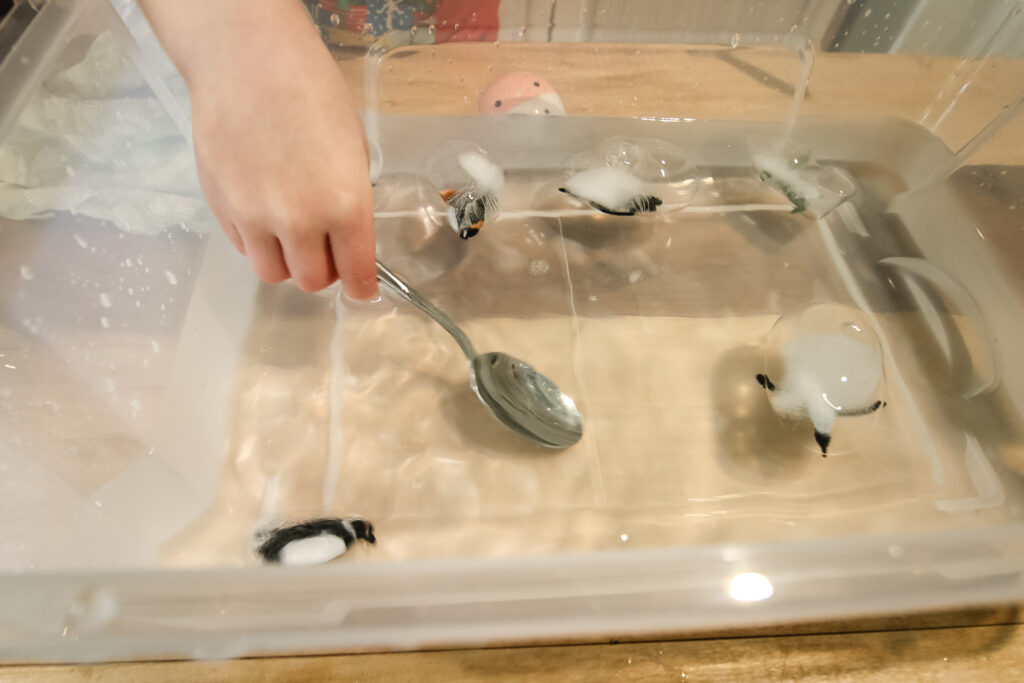
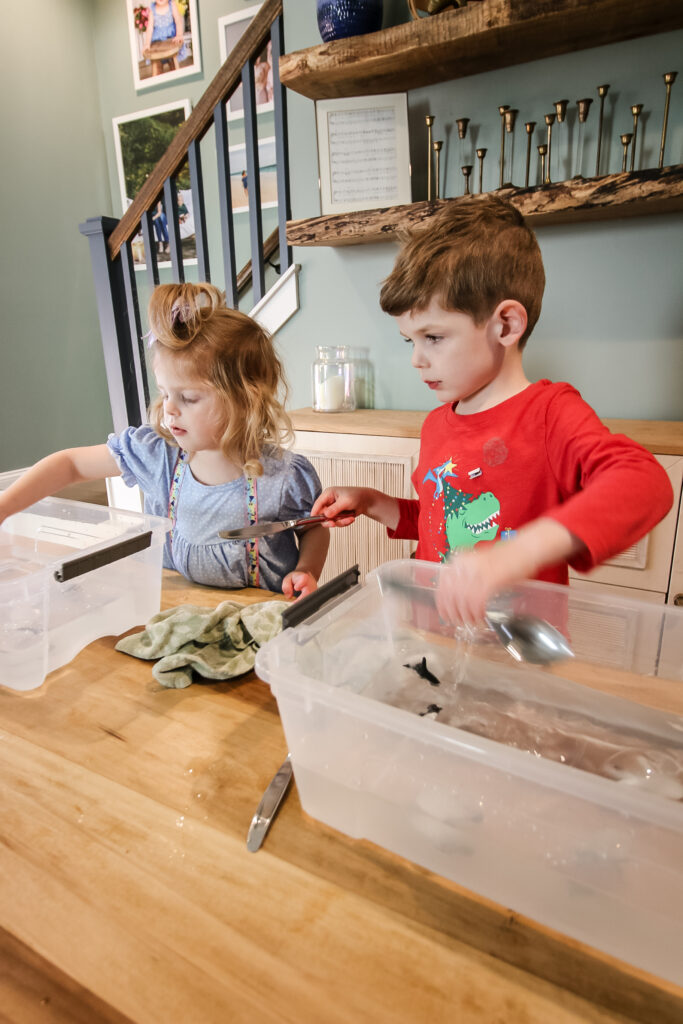
I love activities like this because it really lets kids play to their own style. It's so fun to see their different MOs, even for siblings so close in age.
Have fun and happy playing!!

Hey there, I'm Morgan, the creative mind behind CelebratingWithKids.com! As a parent of two lively little ones, I've made it my mission to turn ordinary days into extraordinary adventures, sharing playful activities, thoughtful toy reviews, and delightful printables to help families celebrate every moment together. 🎉👨👩👧👦🎈


