Make this easy DIY Pool Noodle Pumpkin Garland for a fun and simple way to decorate for fall! All you need is an orange pool noodle, craft sticks, and twine to make this pumpkin decoration.
I LOVE a seasonal decoration that looks like I put in way more effort than I actually did.
And this pool noodle pumpkin garland is exactly that!
I've made a few pool noodle garlands now, including my Pool Noodle Pencil Garland and Pool Noodle Popsicle Banner, and they are always such a fun way to make a BIG decoration without spending a ton of money or time.
So, when I finally found orange pool noodles, I knew immediately that I wanted to turn them into pumpkins!
The best part? These are ridiculously easy.
There is no painting, shaping, melting, or complicated crafting involved. We're basically slicing up a pool noodle, adding stems, and stringing the pumpkins together.
That's my kind of fall craft!
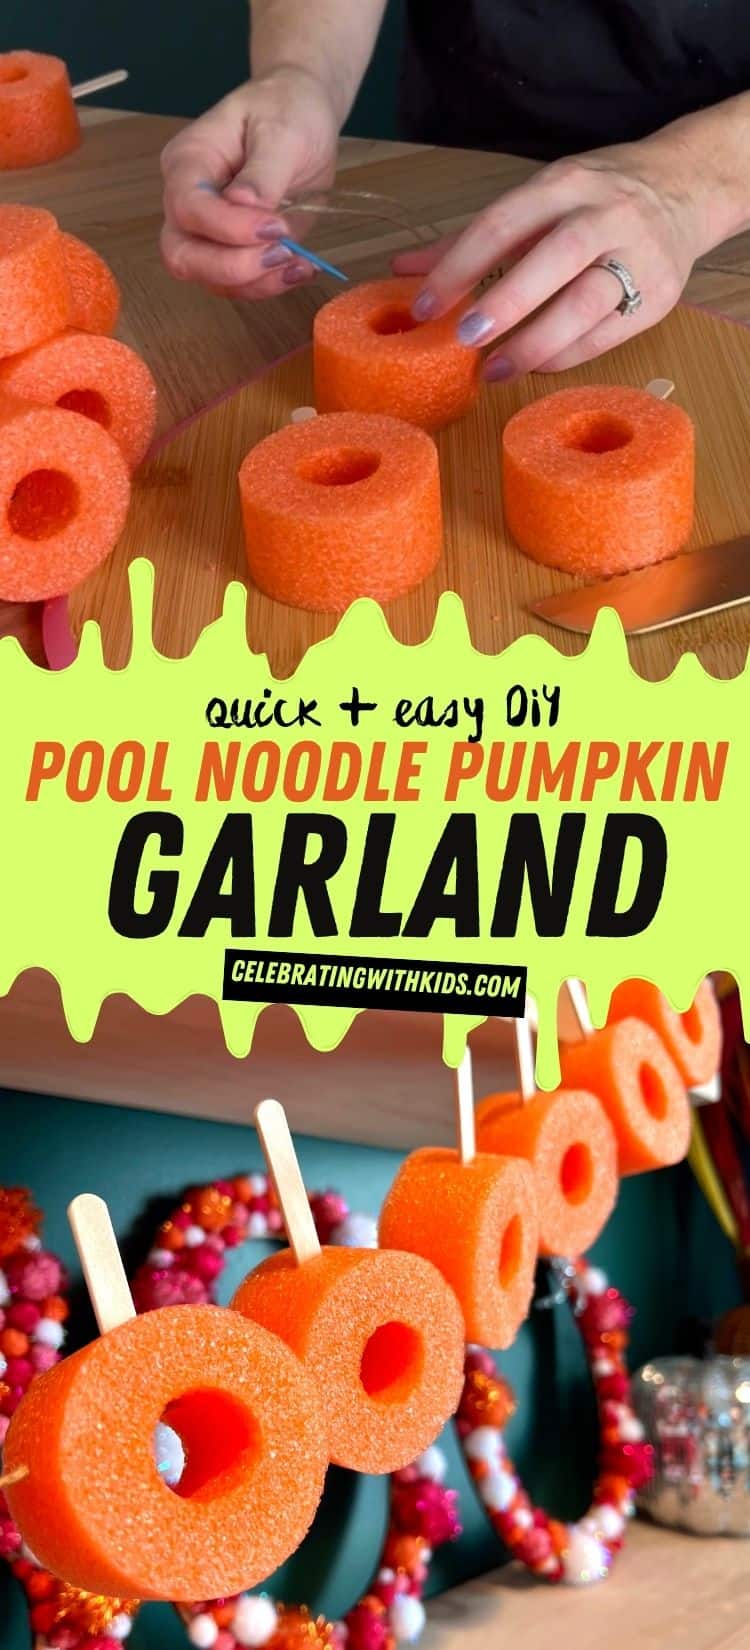
Easy DIY Pool Noodle Pumpkin Garland
Here's how easy it is to turn an orange pool noodle into a cute oversized pumpkin garland for fall!
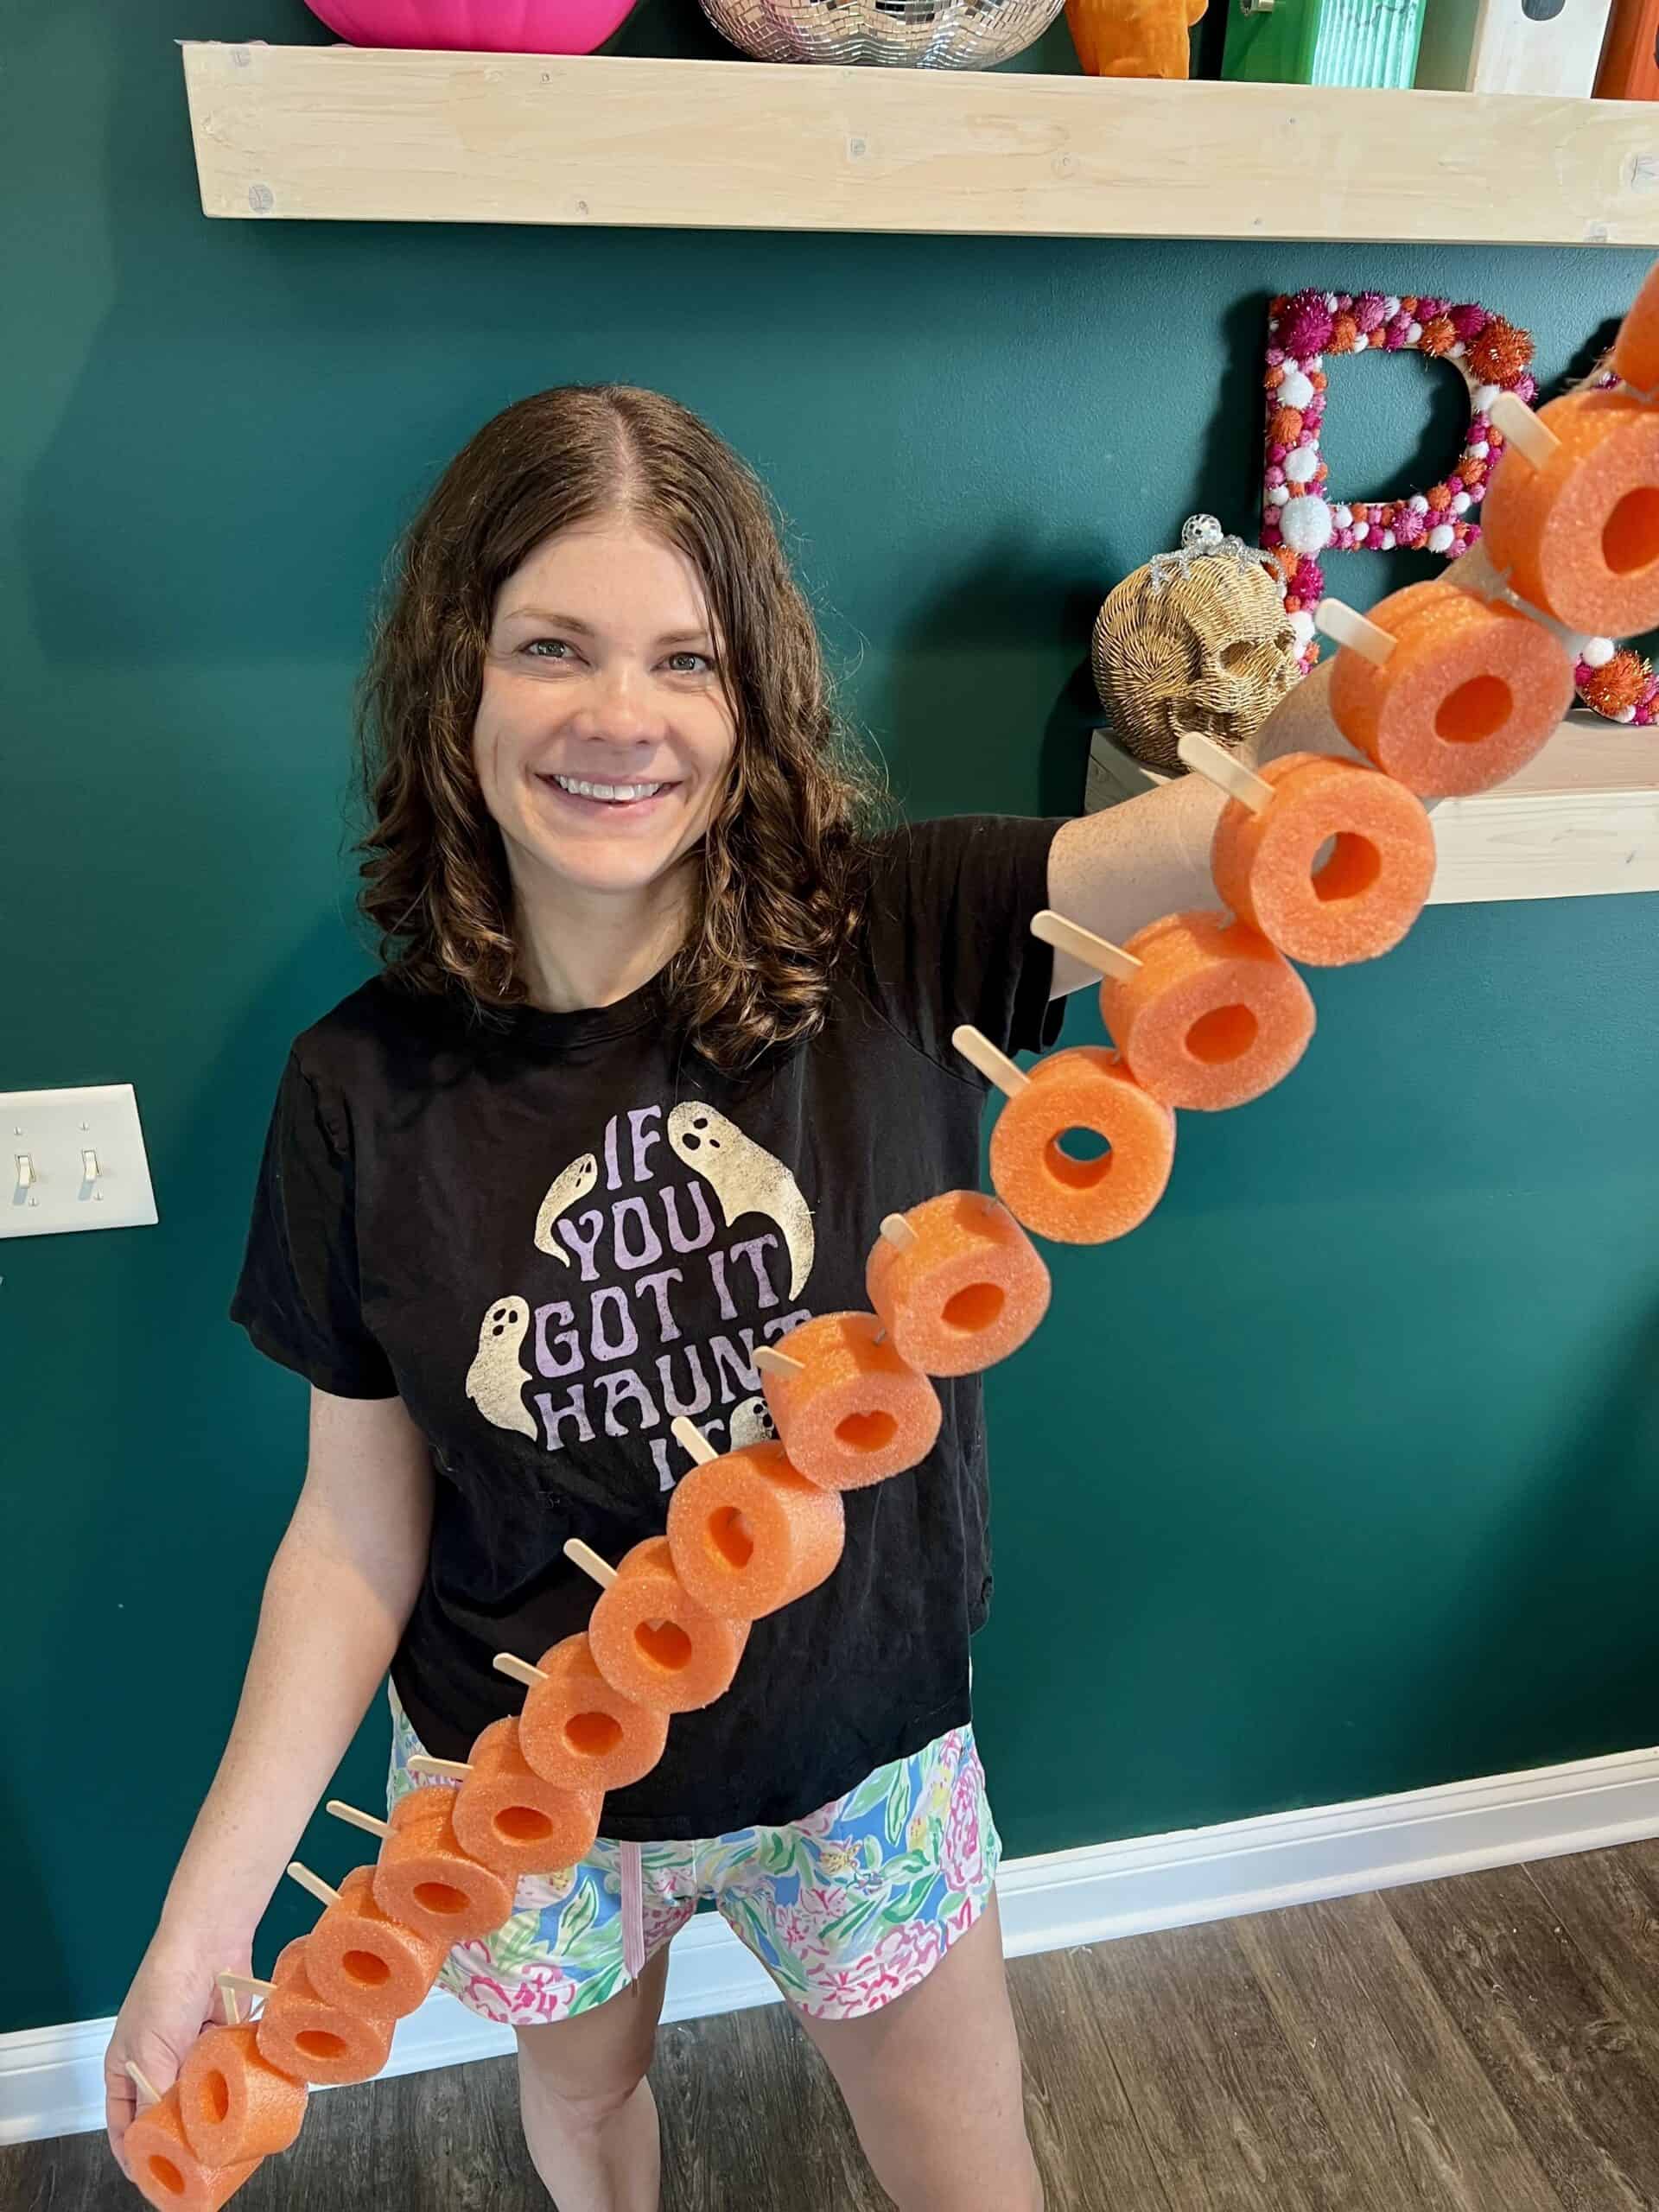
Supplies needed:
- Orange pool noodle
- Serrated knife (like a bread knife)
- Cutting board
- Popsicle/craft sticks
- Scissors or craft shears to cut the sticks
- Twine
- Large-eye embroidery needle
Instructions:
STEP 1: Cut the pool noodle
Place your orange pool noodle on a cutting board and use a serrated knife to cut it into slices.
For this project, you want the round cut side of the pool noodle to face forward. This is what gives each piece its little pumpkin shape!
Try to make your slices approximately the same thickness, but don't stress about making them perfect.
Pool noodles cut really easily with a serrated knife, so this part goes quickly!
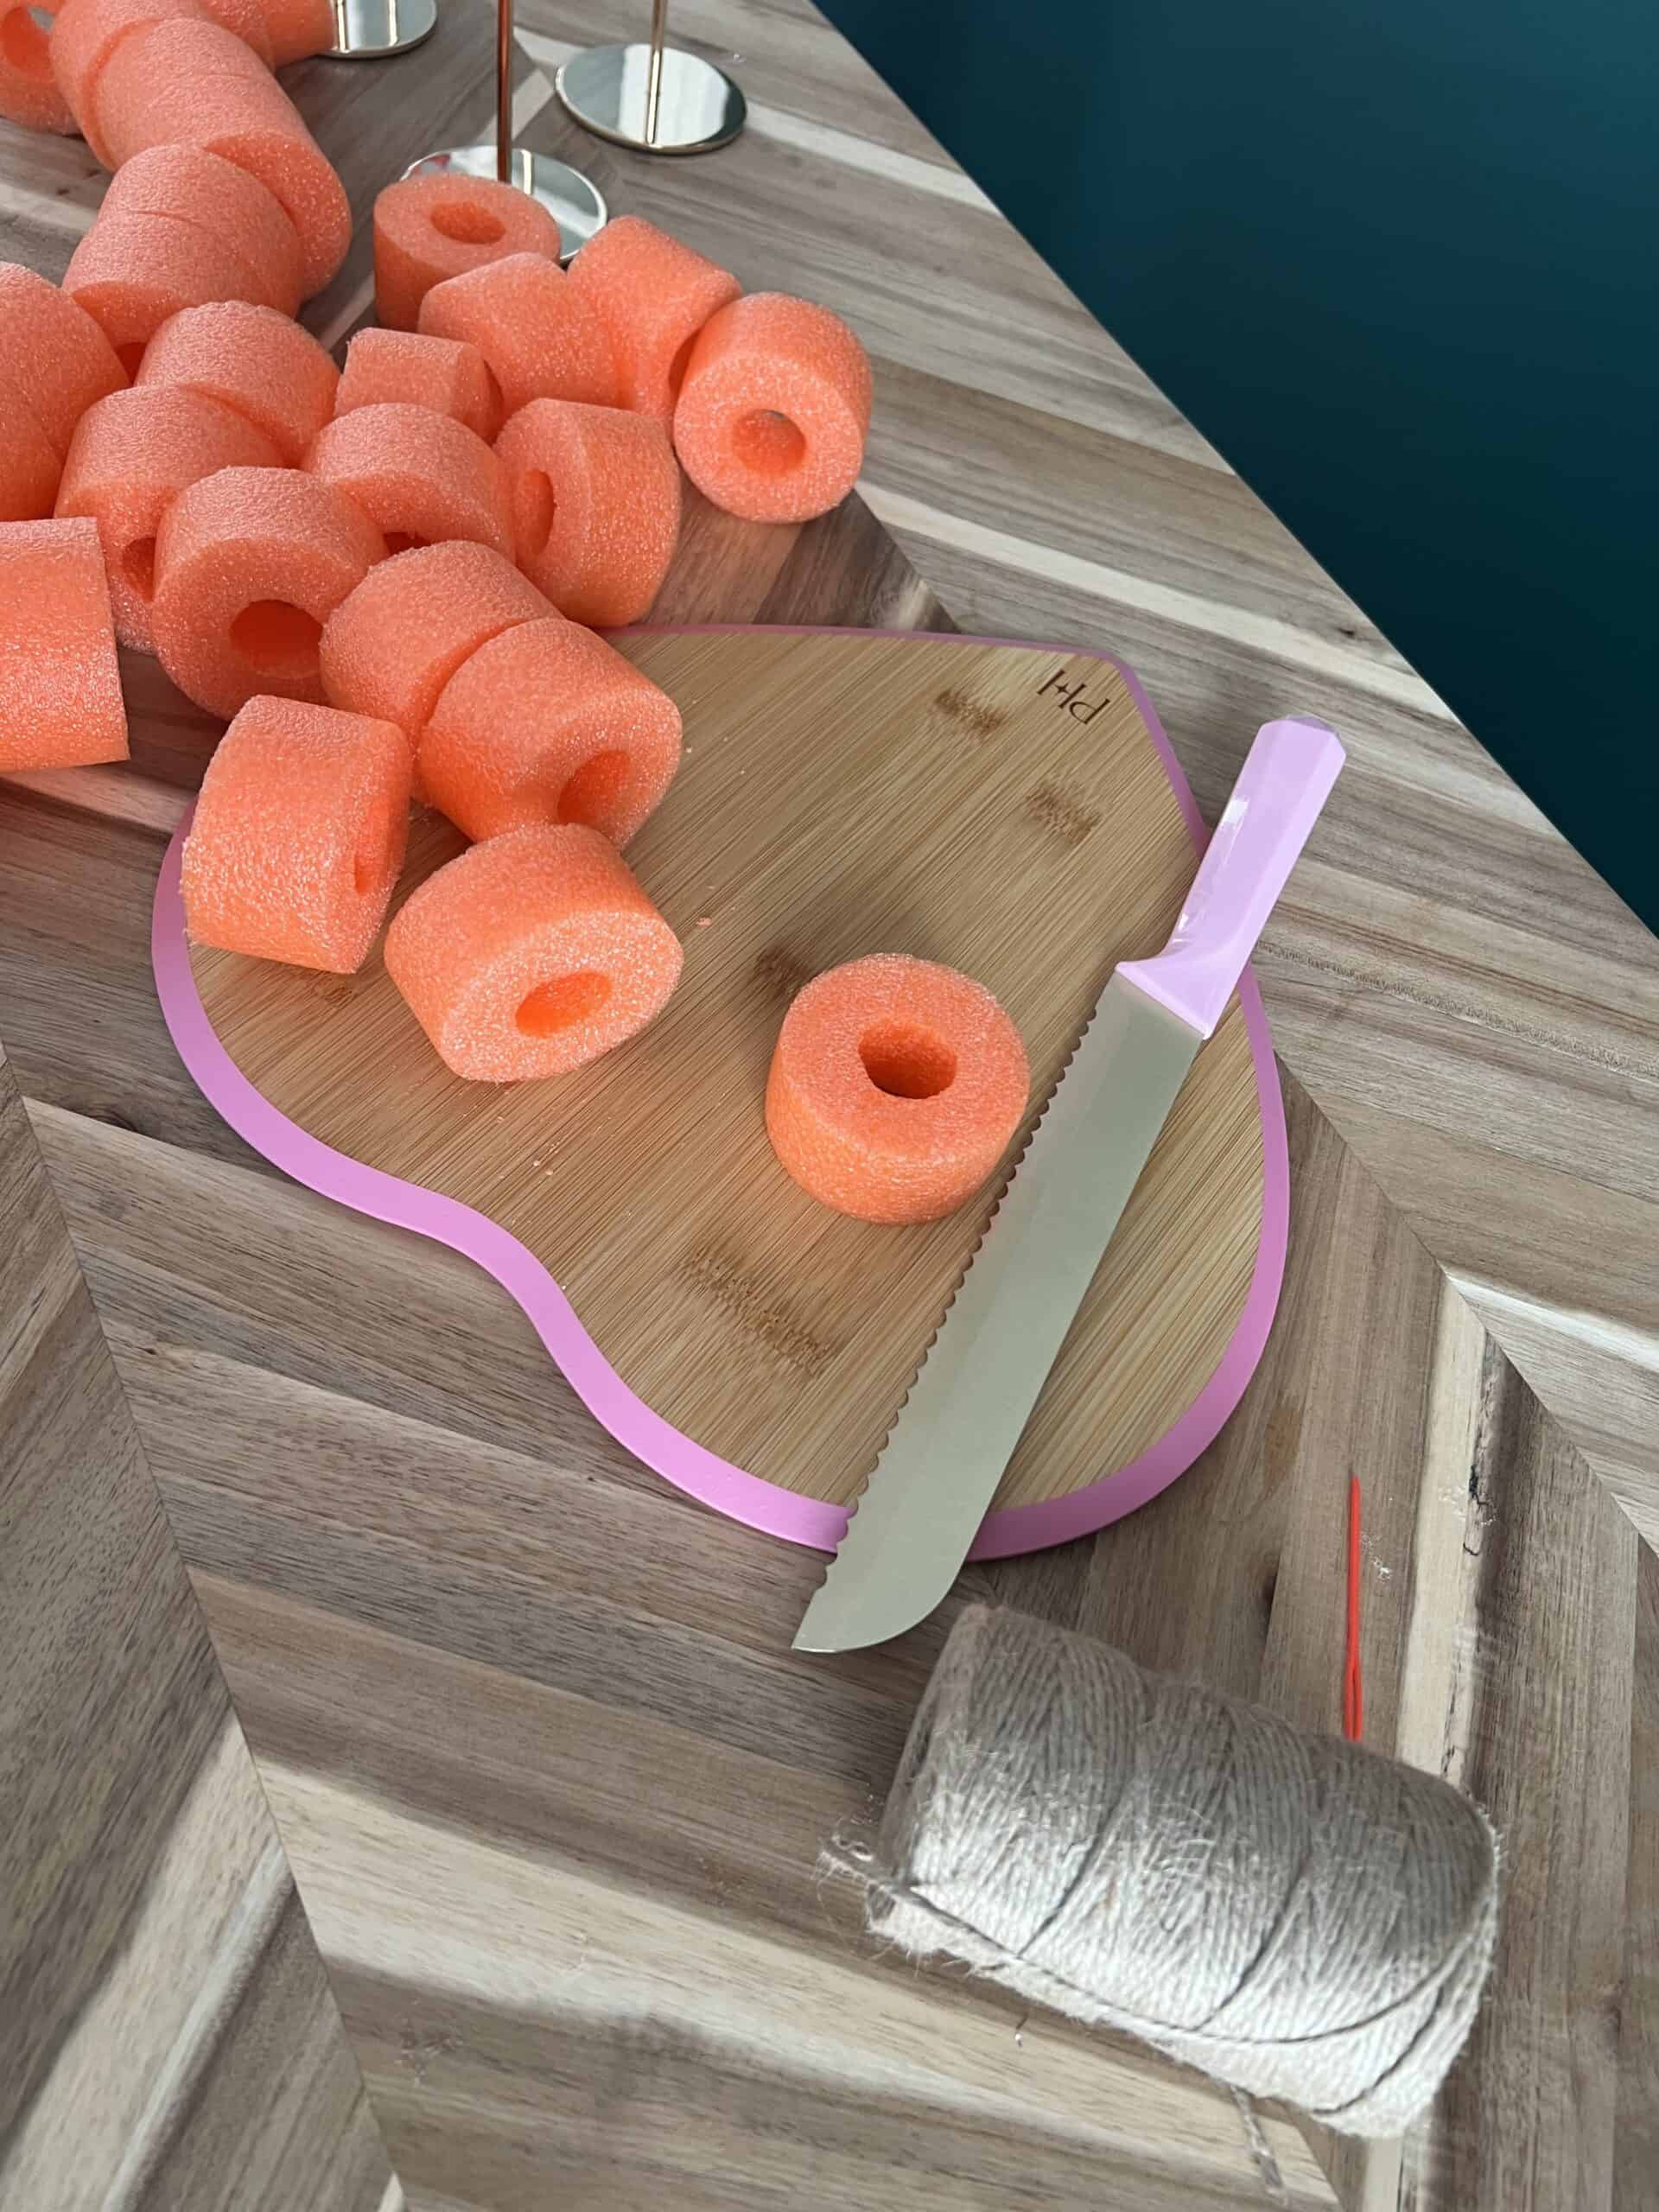
STEP 2: Make the pumpkin stems
Next, grab your wooden craft sticks.
Cut each craft stick in half to create little pumpkin stems. I used the rounded ends of the sticks so the finished stems had a nice, smooth top.
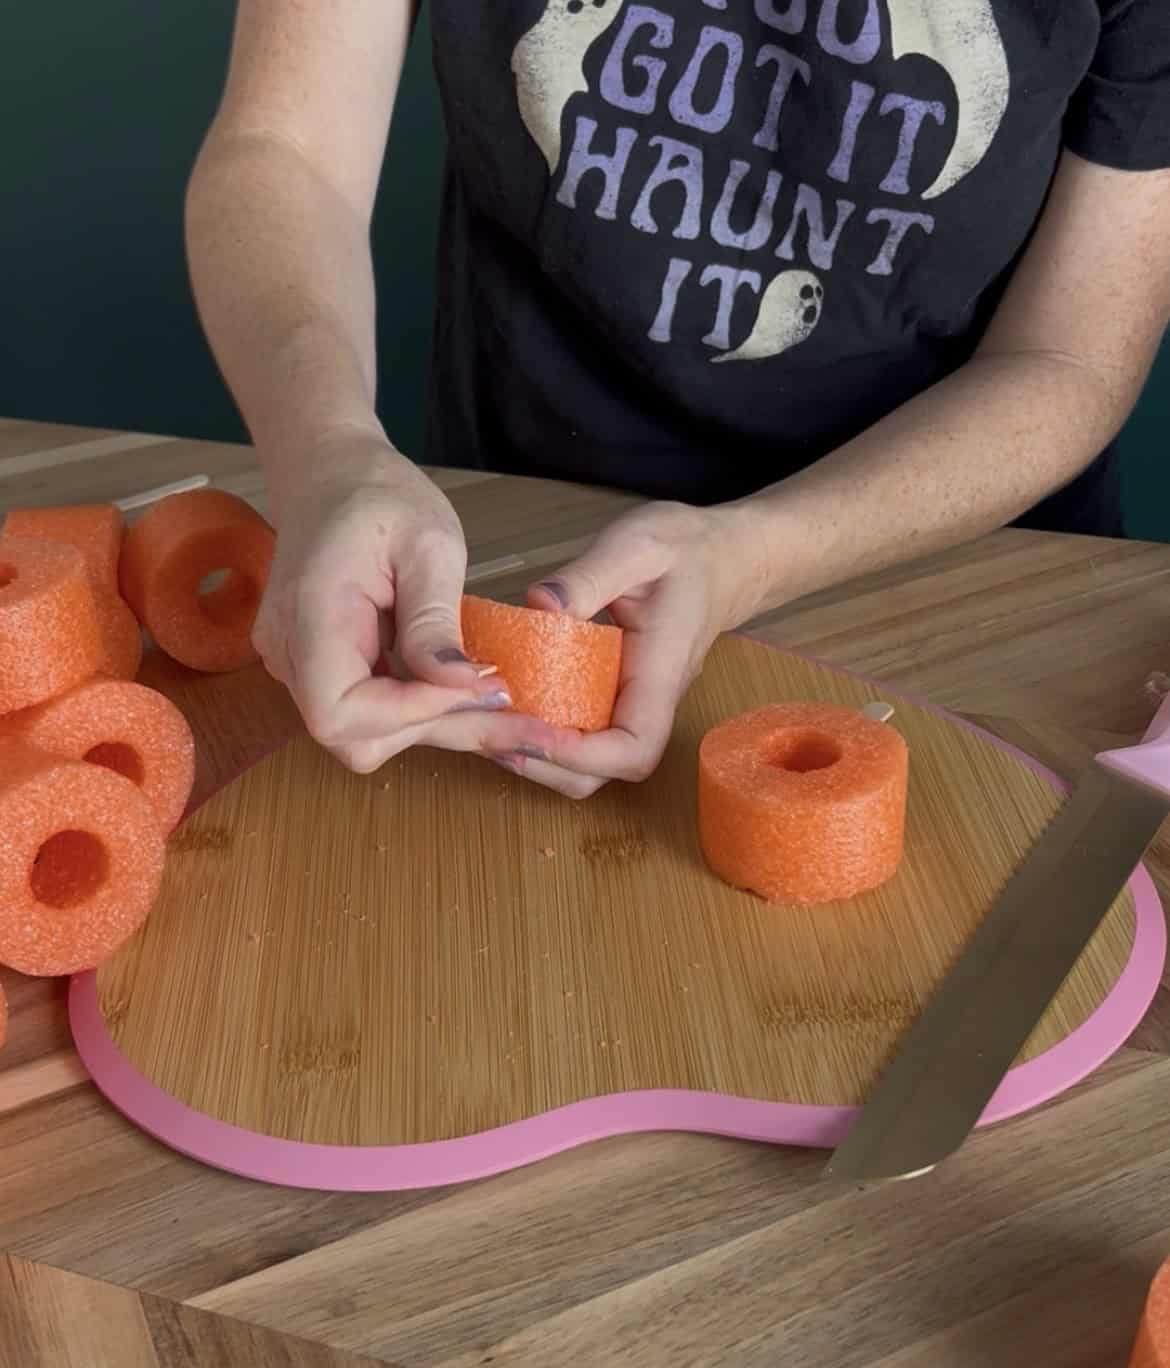
STEP 3: Add the stems
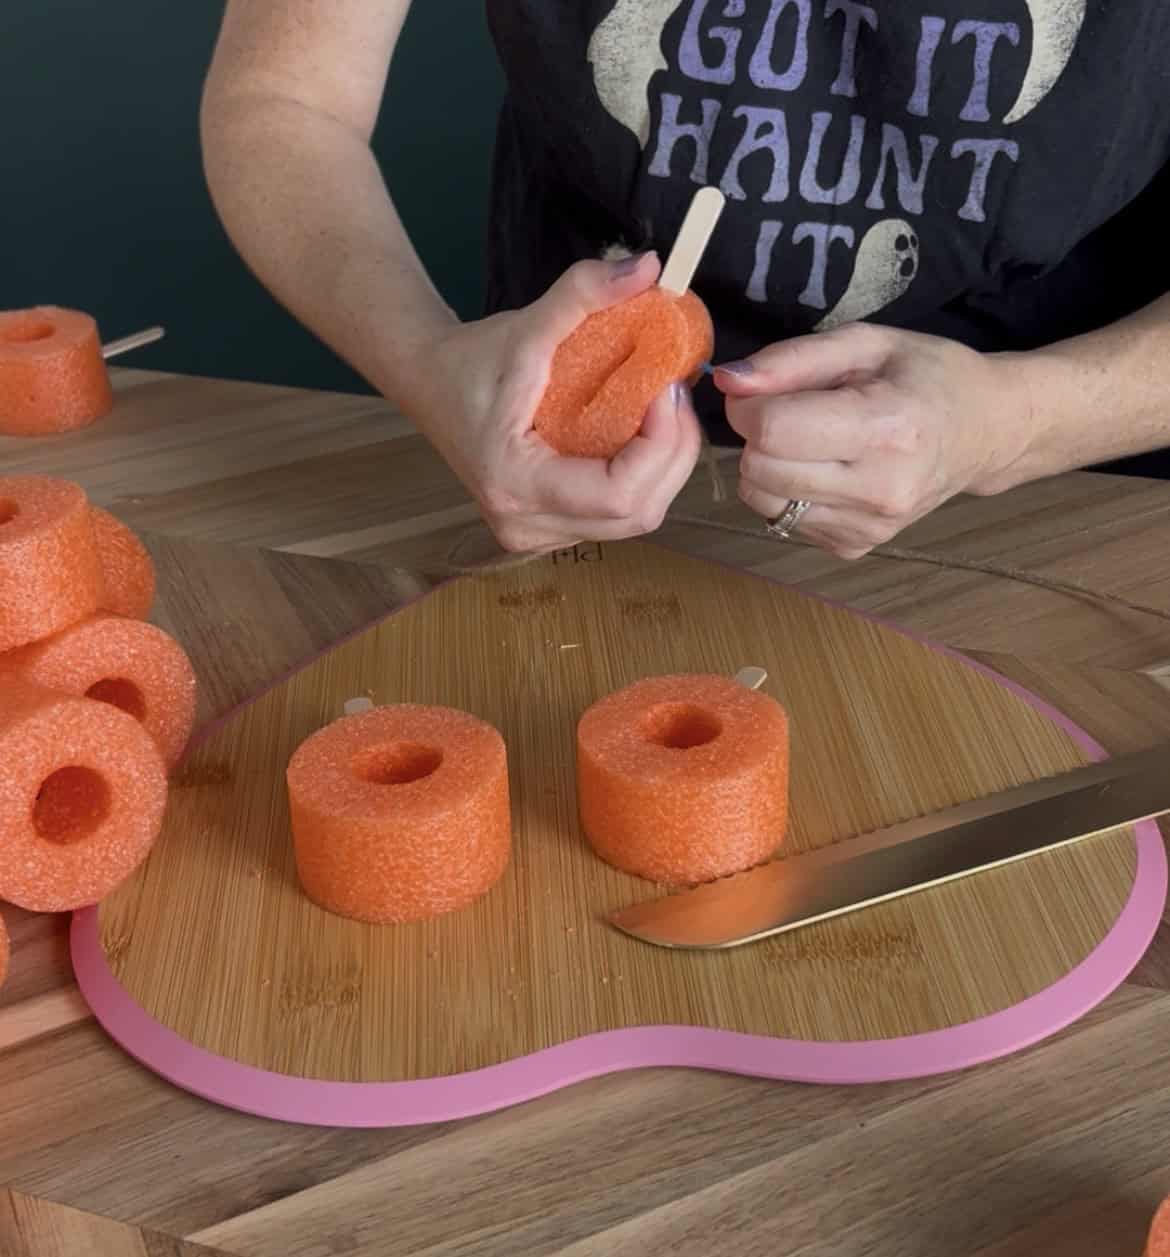
Poke the cut end of a craft stick directly into the curved edge of each pool noodle slice.
Position the stem at the top so that when you look at the round side of the noodle, it starts looking like a little pumpkin!
Depending on your pool noodle and craft sticks, they may stay securely in place on their own.
If yours feel loose, add a small amount of hot glue before inserting the stem. (I did not add glue).
That's it, your pumpkins are made!
STEP 4: String the pumpkins
Now it's time to turn them into a garland.
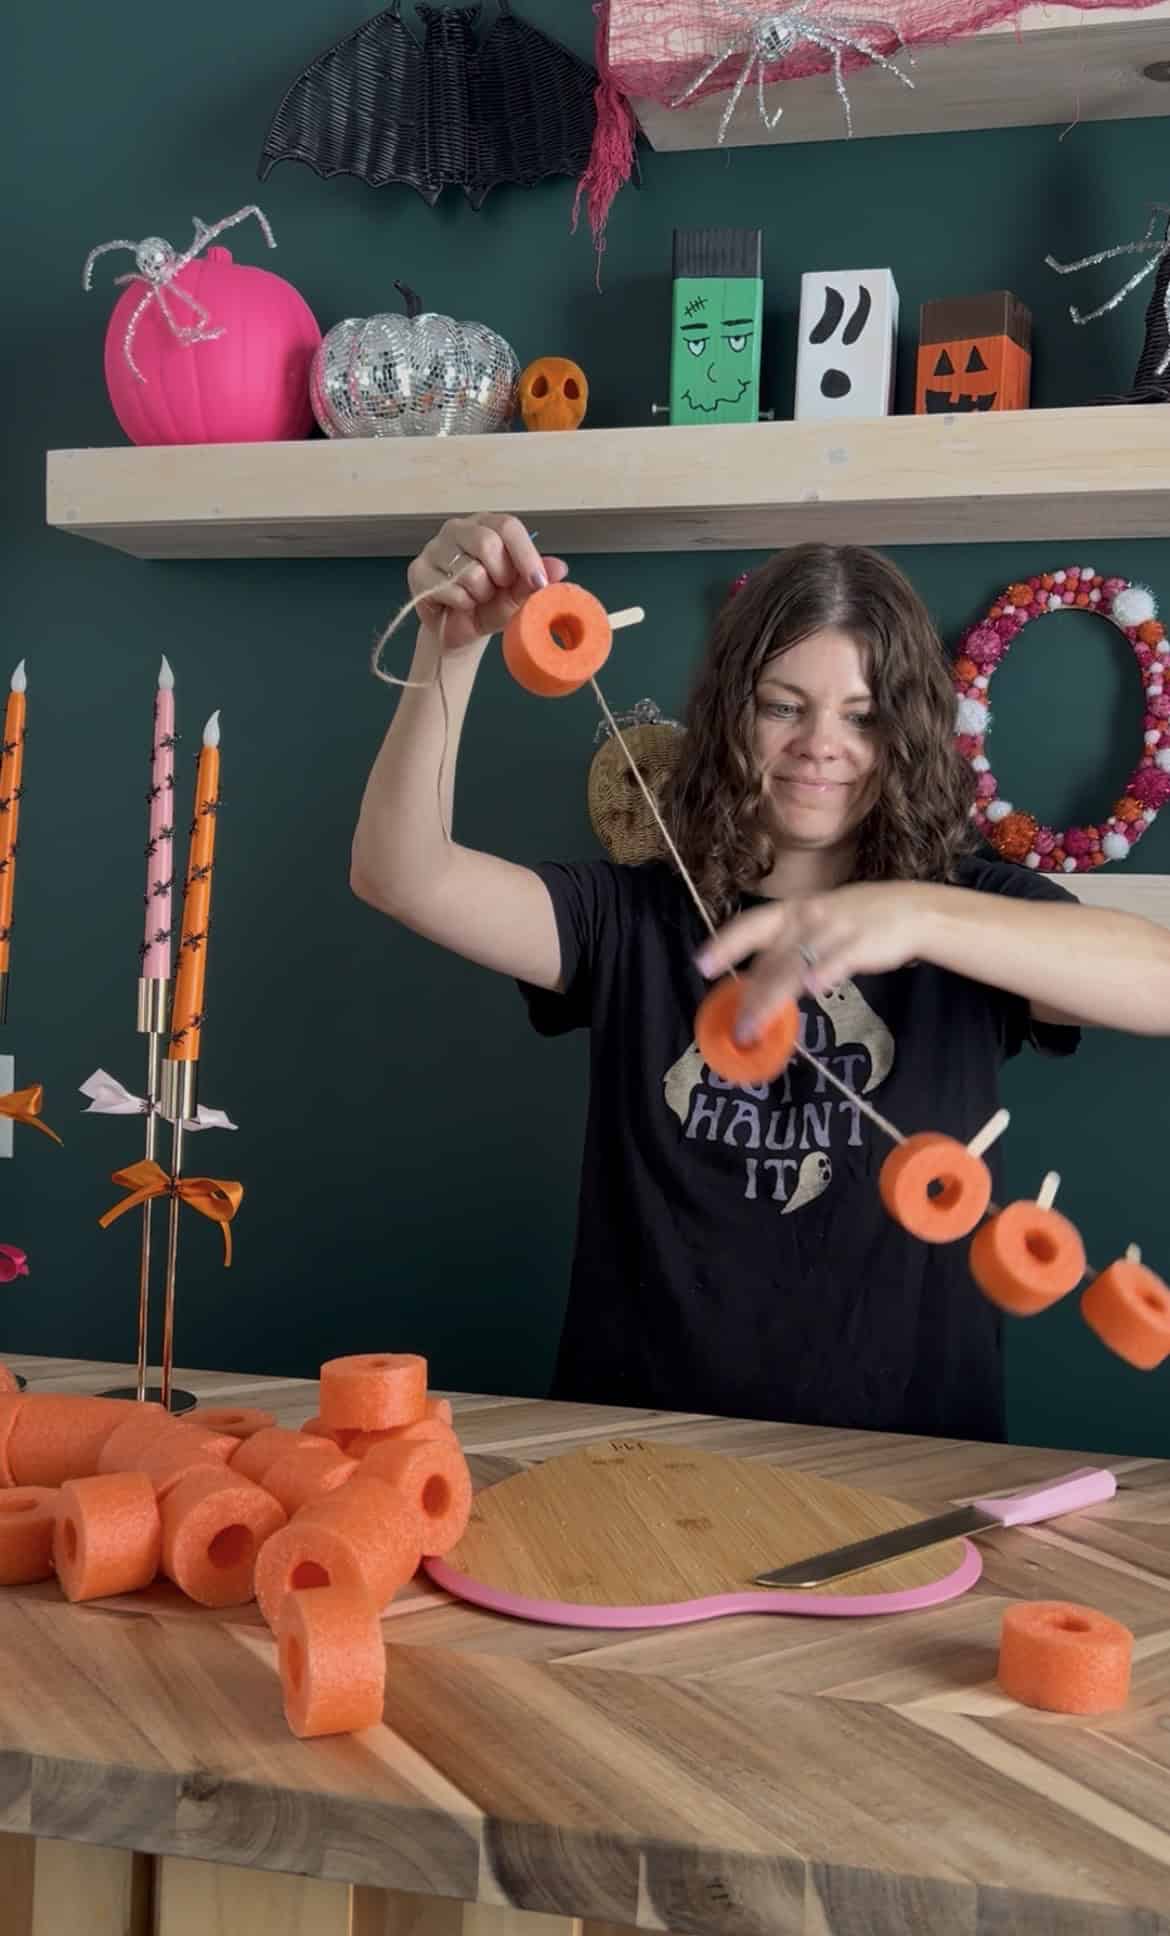
Thread a large-eye needle with baker's twine and run the twine through the center hole of each pool noodle pumpkin.
Leave a few inches of twine between each pumpkin so they look like individual pumpkins instead of one long strand of pool noodle beads.
You can tie a knot on either side of each pumpkin to hold it exactly where you want it on the garland. OR not! Totally optional! You could also add beads between them if that matches your style.
Continue adding pumpkins until your garland is as long as you'd like.
STEP 5: Hang and enjoy!
Leave plenty of extra twine at both ends of the garland for hanging.
I like to tie loops in the ends and hang my pool noodle garlands from Command hooks.
Then you're done!
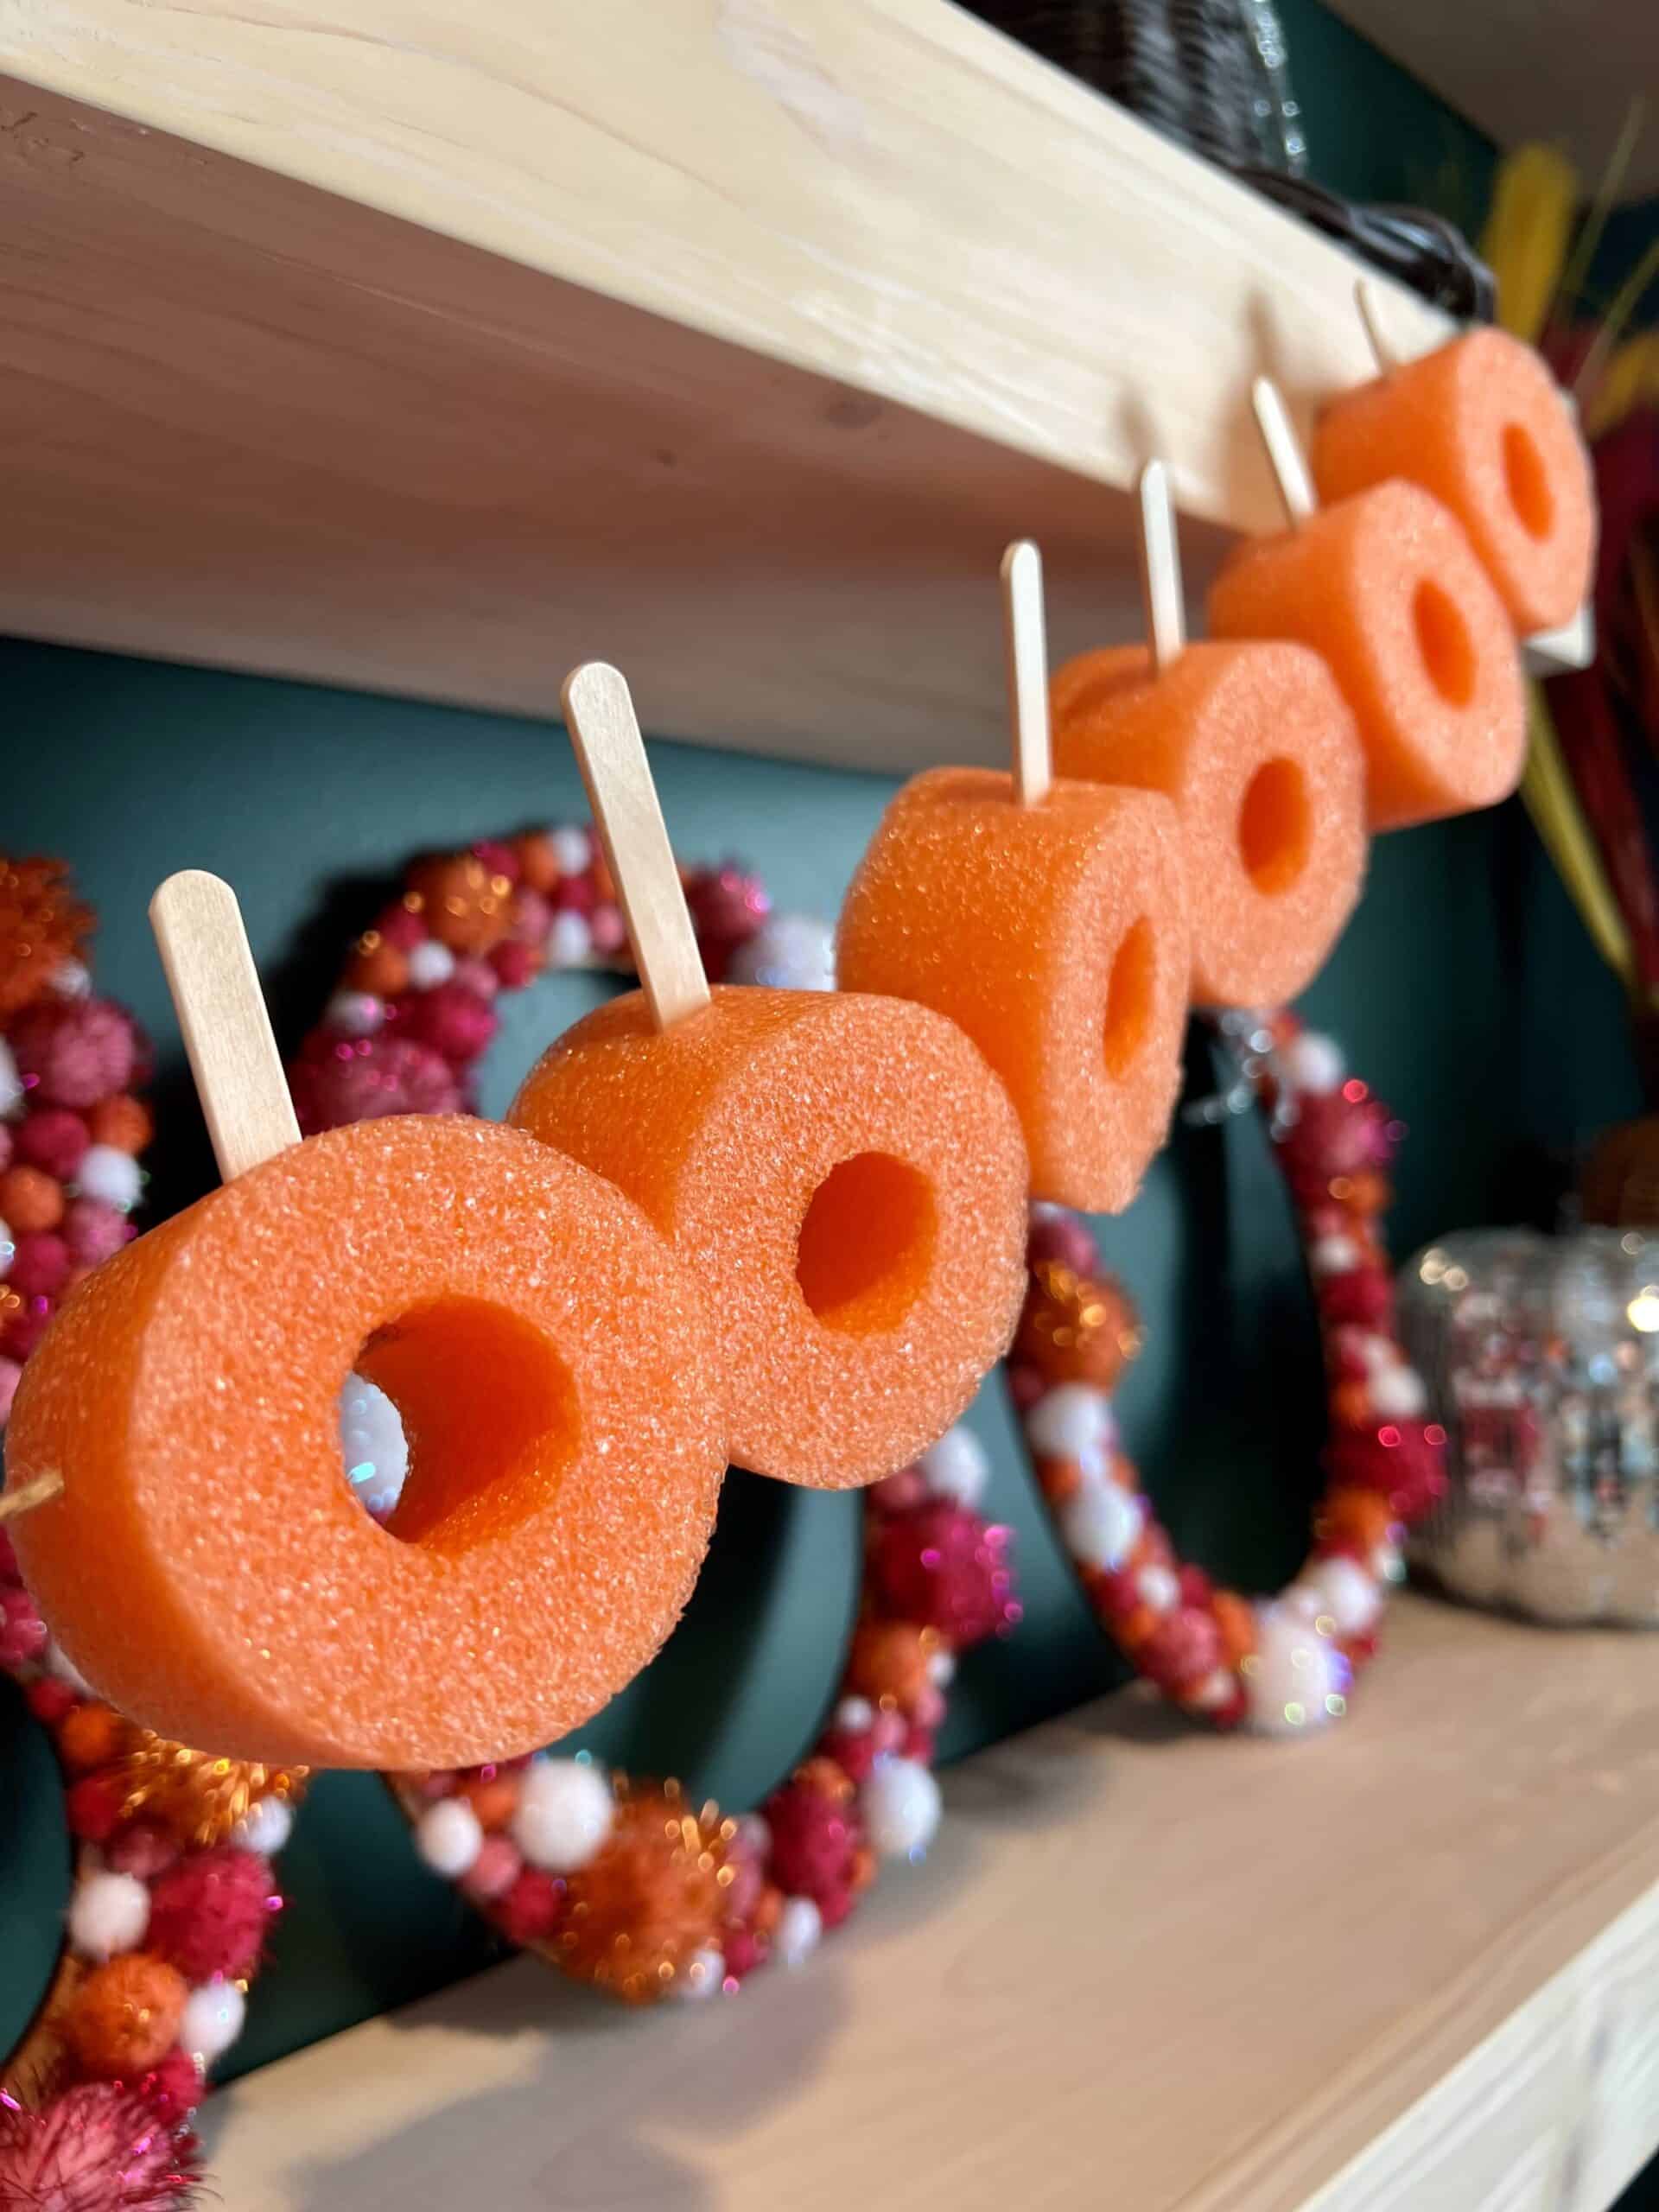
Seriously, how easy is that?!
I love that this adds a BIG pop of orange and fall color without being another complicated seasonal project.
Hang your pumpkin garland across a mantel, bookshelf, playroom shelf, classroom display, or anywhere else that could use a little fall fun.
And because these are plain pumpkins instead of jack-o'-lanterns, you can leave it up all fall long, from September through Thanksgiving!
Simple is allowed to be special - and this is exactly the kind of easy seasonal magic I love.
What are your favorite easy ways to decorate for fall?
Thanks for reading!


Hey there, I'm Morgan, the creative mind behind CelebratingWithKids.com! As a parent of two lively little ones, I've made it my mission to turn ordinary days into extraordinary adventures, sharing playful activities, thoughtful toy reviews, and delightful printables to help families celebrate every moment together. 🎉👨👩👧👦🎈