Try this easy rose painting craft with a plastic bag! A simple, kid-friendly art idea perfect for spring or Mother’s Day cards that turns out beautifully every time.
Looking for a simple craft that turns out really pretty? This rose painting technique is one of those “wait… that’s it?!” ideas that kids can actually do—and love.
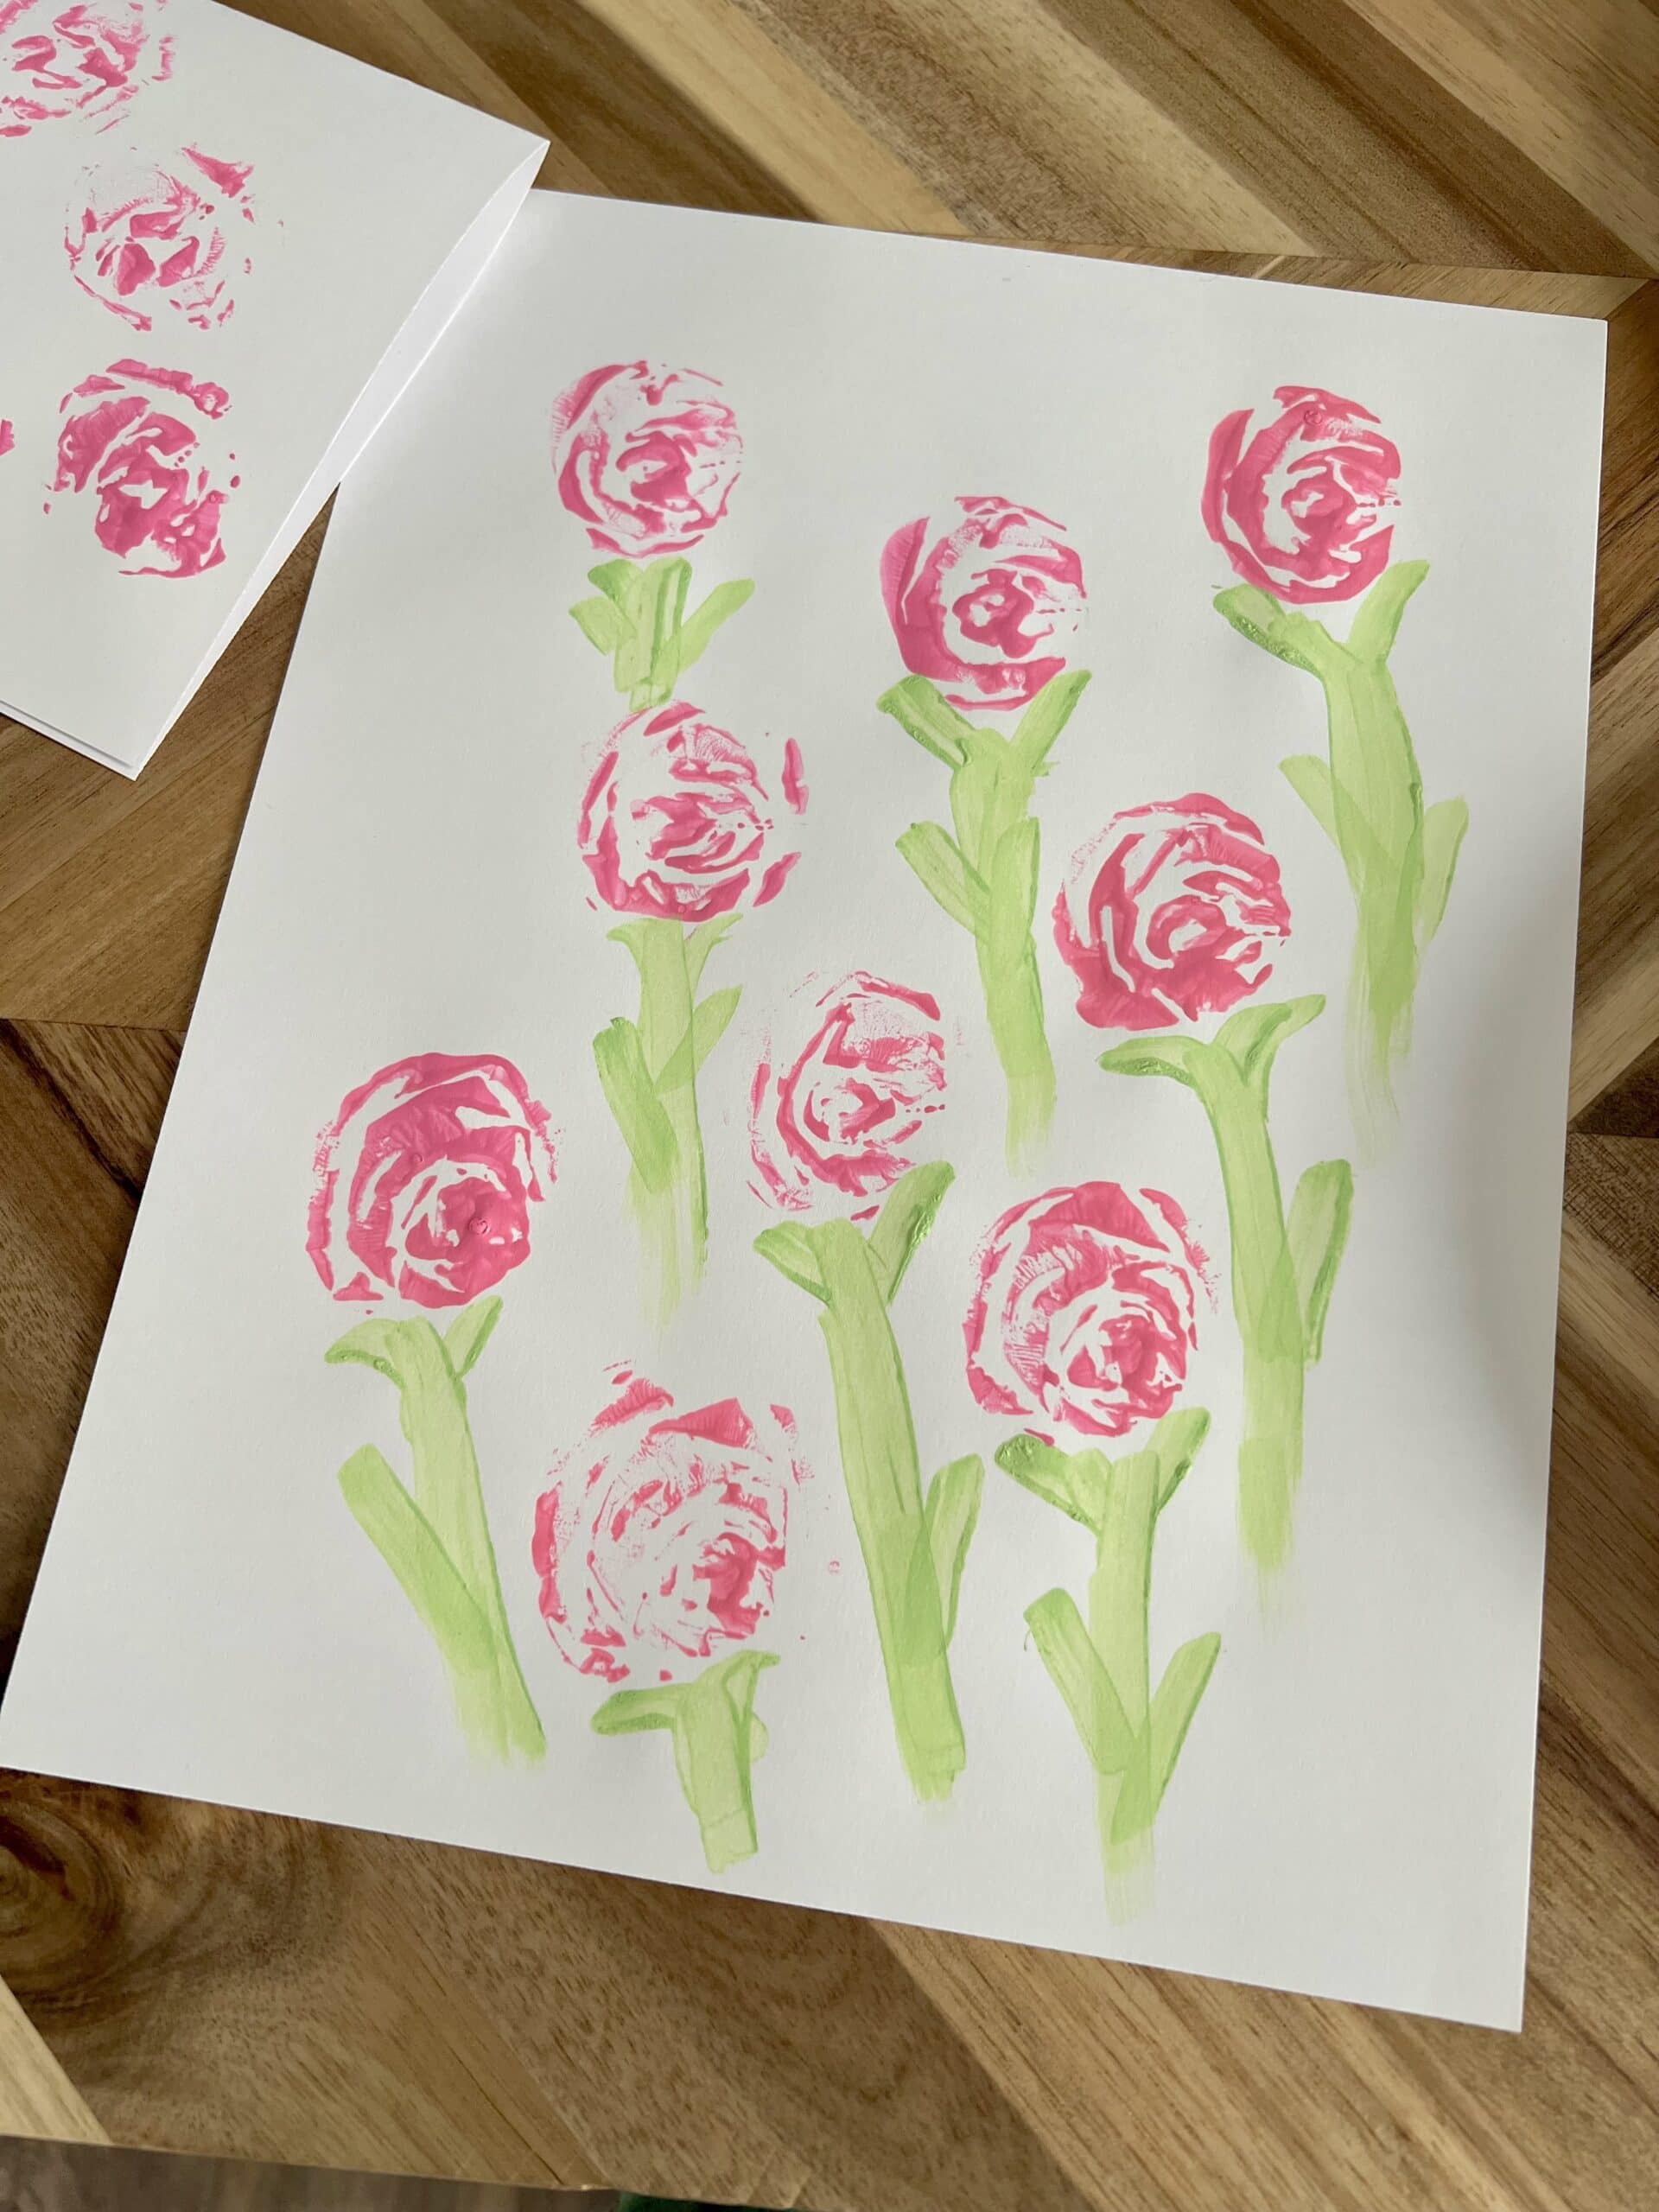
Using just a plastic bag and paint, you can create beautiful rose shapes that are perfect for spring art, homemade cards, or a sweet Mother’s Day gift.
This is one of those crafts that checks every box:
- Easy enough for little kids
- Minimal supplies (you probably already have everything)
- Quick setup and cleanup
- Actually turns out cute (even for beginners!)
And the best part? It feels a little bit like magic the first time you try it.
Easy Rose Painting with a Plastic Bag
Here's how easy this craft is!
Supplies You’ll Need
- Sandwich-sized plastic bags (like Ziploc), one per color
- Craft paint (pink, red, or any flower color you love)
- Green paint (or a green marker for stems/leaves)
- Small paintbrush (for stems and leaves)
- Paper plates or a paint palette
- Paper (cardstock works great, but construction paper or art paper is fine too)
How to Paint Roses with a Plastic Bag
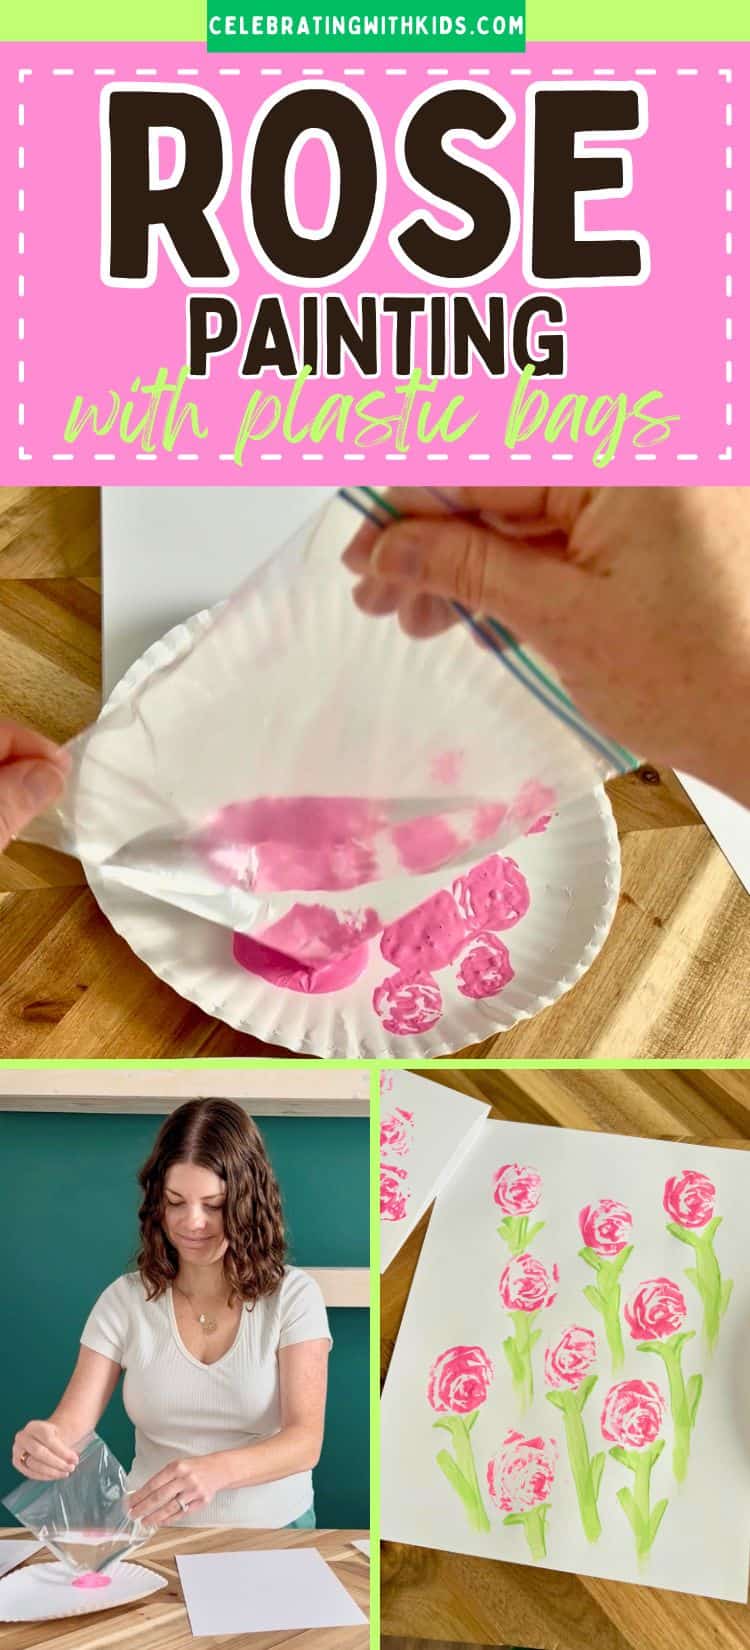
Step 1: Prep your “stamp”
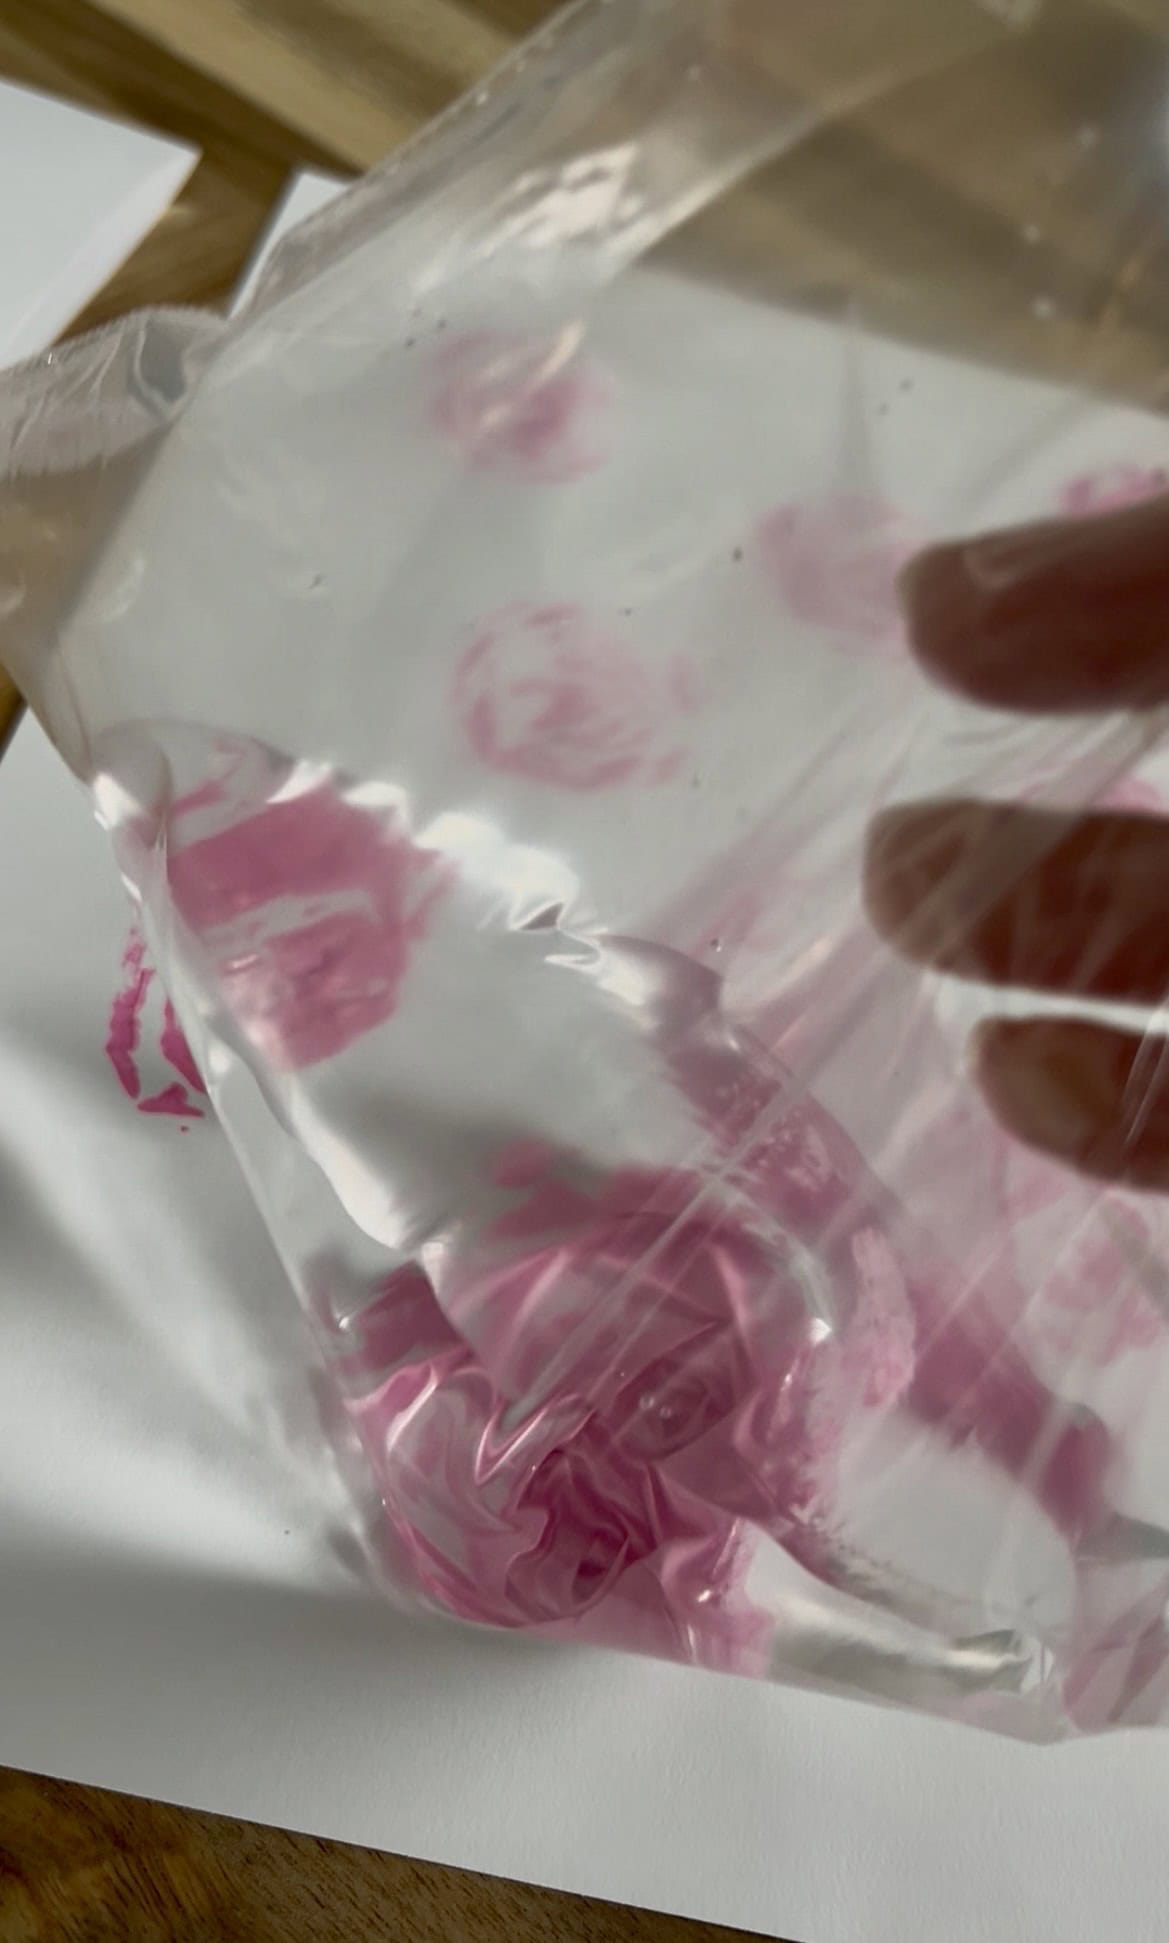
Fill a sandwich bag about ⅓ of the way with water.
Gently press out the extra air and seal it tightly.
This gives the bag a soft, rounded shape that creates the rose effect.
Step 2: Add your paint
Squirt your flower-colored paint (I used pink) onto a paper plate or palette.
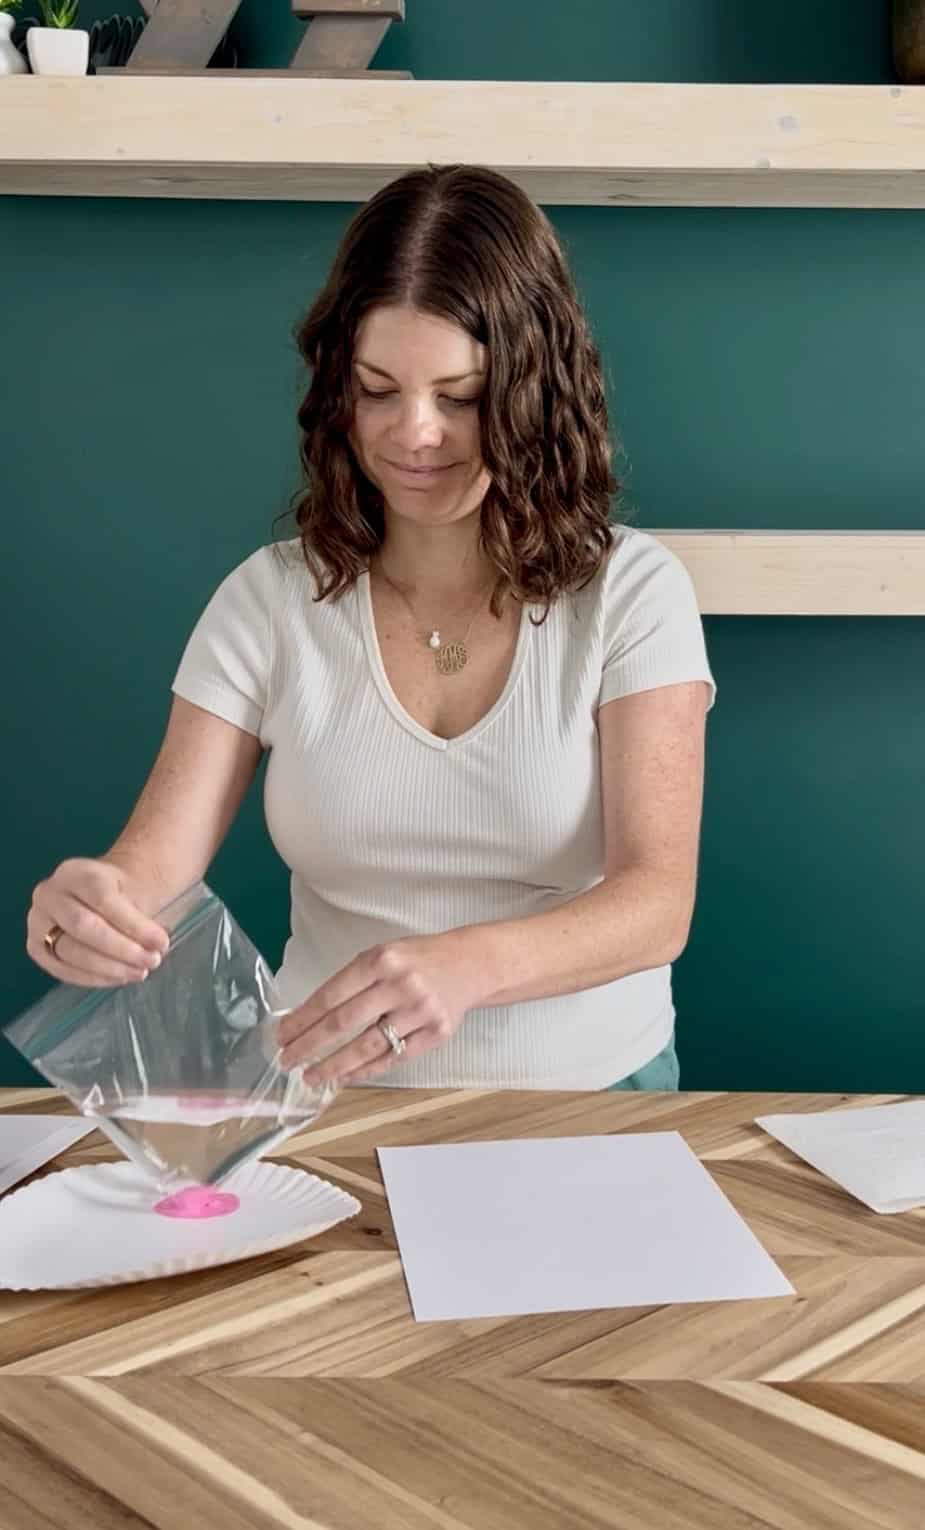
Step 3: Dip the corner
Take one of the bottom corners of the bag (not the zipper side) and dip it into the paint.
Lightly dab it on your plate a couple of times to remove excess paint—you want it coated, but not dripping.
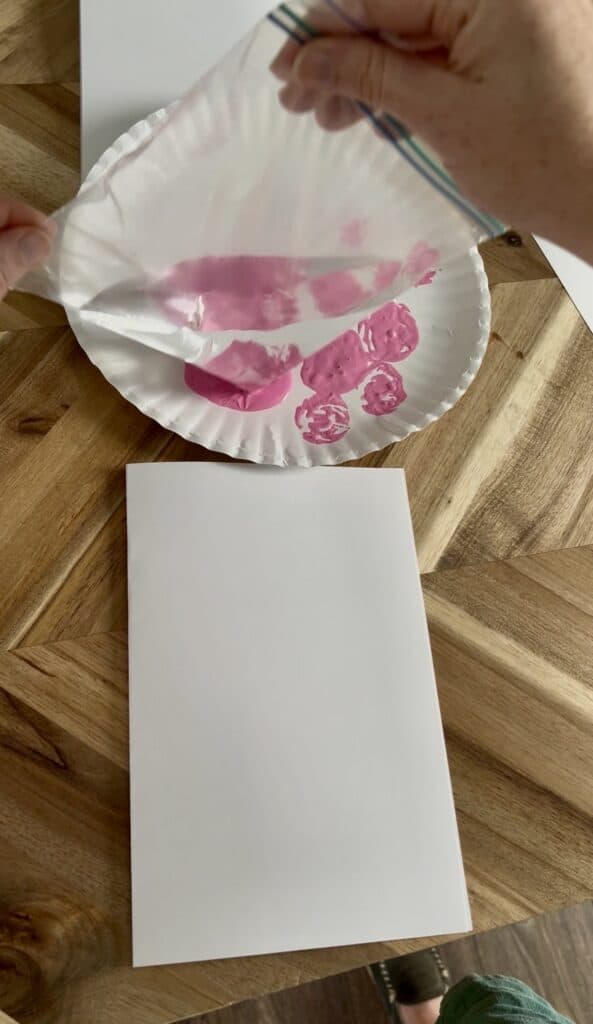
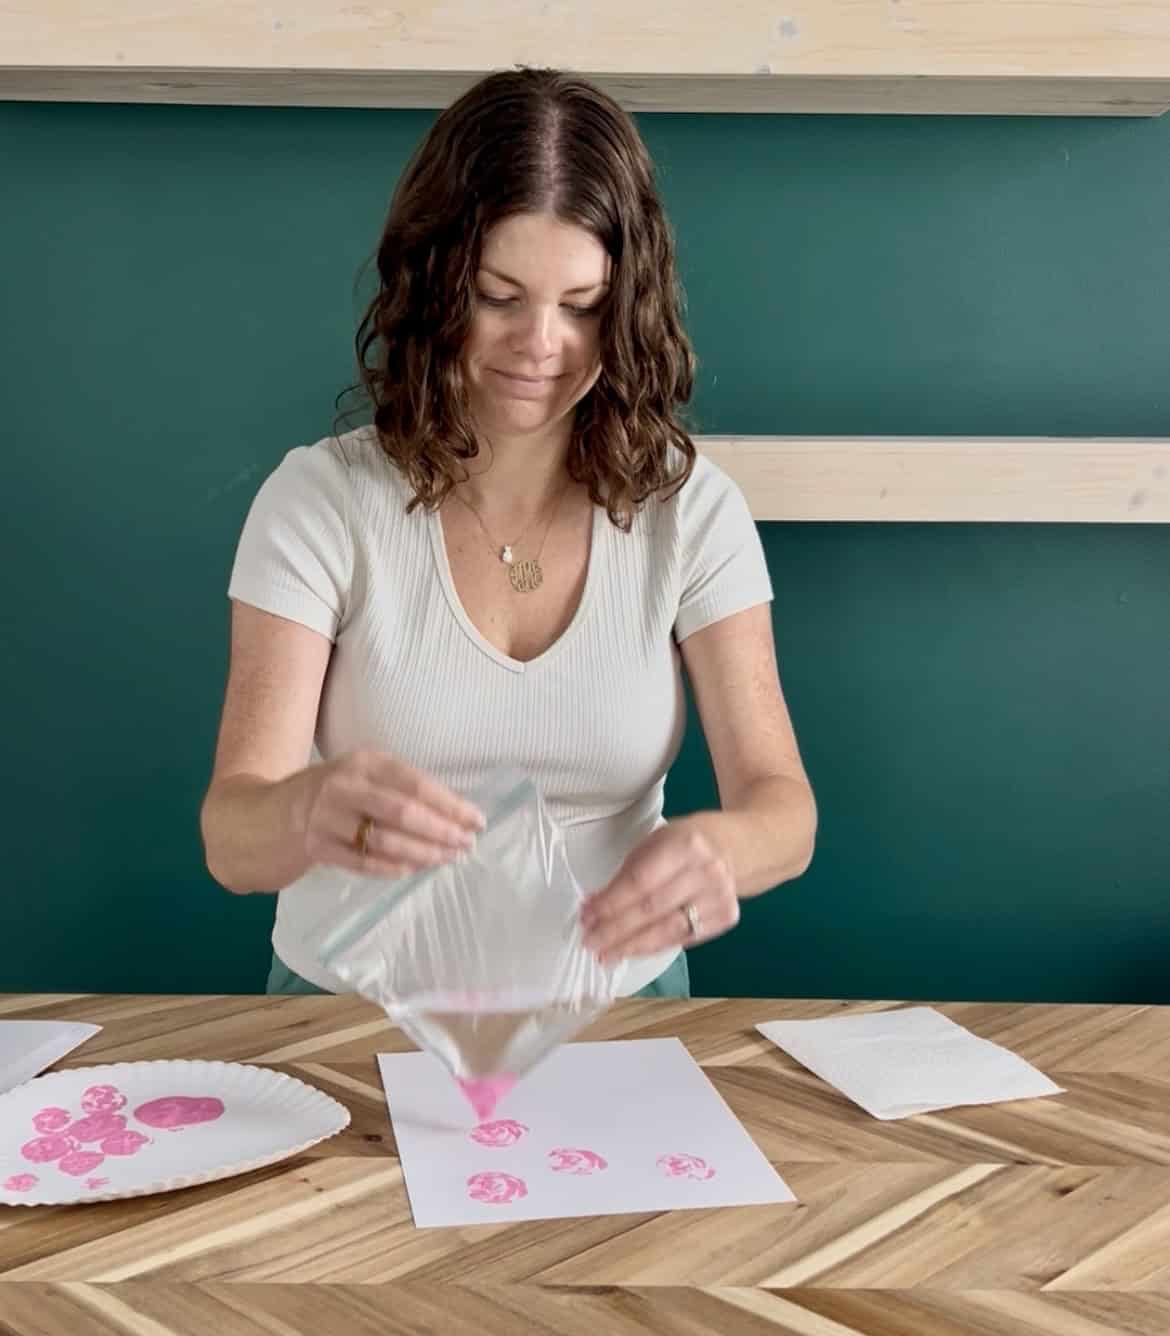
Step 4: Stamp your roses
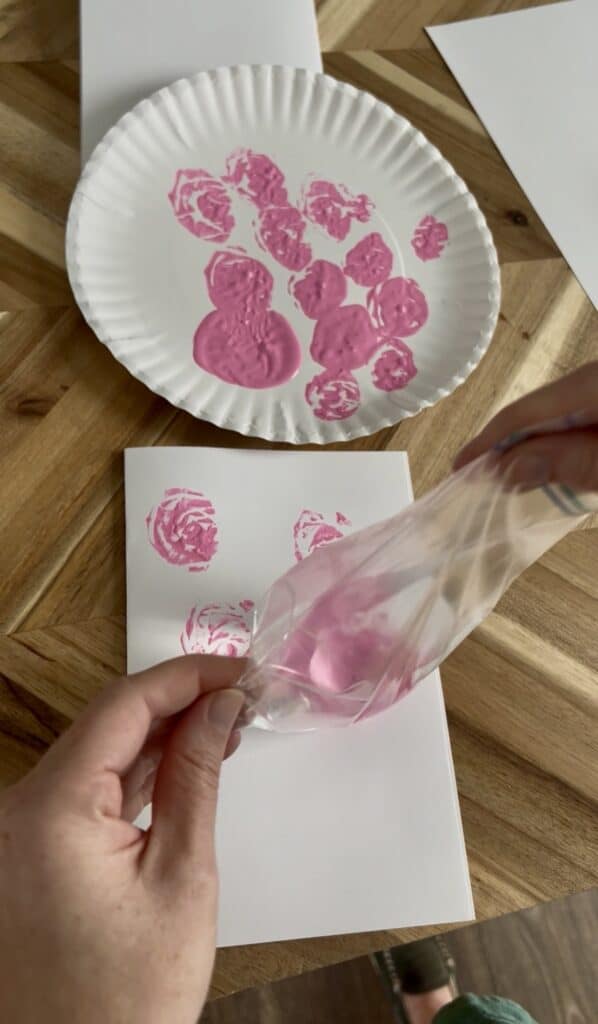
Press the painted corner gently onto your paper.
Just like that… it makes a rose shape! 🌹
Repeat to create a few roses across your page.
Tip: Use a scrap piece of paper first to practice. It’s super easy, but fun to try once before going for it.
Step 5: Add stems and leaves
Once your paint has dried, use green paint (with a small brush) or a green marker to add stems and leaves.
Tips for the Best Results
- Don’t overload the paint—less is more for a clean rose shape
- Press gently instead of smashing the bag down
- Try different colors for fun variations (yellow, purple, even rainbow!)
- Use separate bags if you want multiple flower colors
Ways to Use Your Rose Art
This craft is cute on its own, but it also makes the sweetest keepsake:
- Turn it into a Mother’s Day card
- Make a mini bouquet painting for grandparents
- Create a full page of roses for spring decor
- Add a simple “I love you” message for an easy gift
If you’re looking for a low-effort, high-impact craft, this is it.
It’s simple enough for kids, but pretty enough that you’ll want to keep it—and that’s always a win!
Thanks for reading!


Hey there, I'm Morgan, the creative mind behind CelebratingWithKids.com! As a parent of two lively little ones, I've made it my mission to turn ordinary days into extraordinary adventures, sharing playful activities, thoughtful toy reviews, and delightful printables to help families celebrate every moment together. 🎉👨👩👧👦🎈