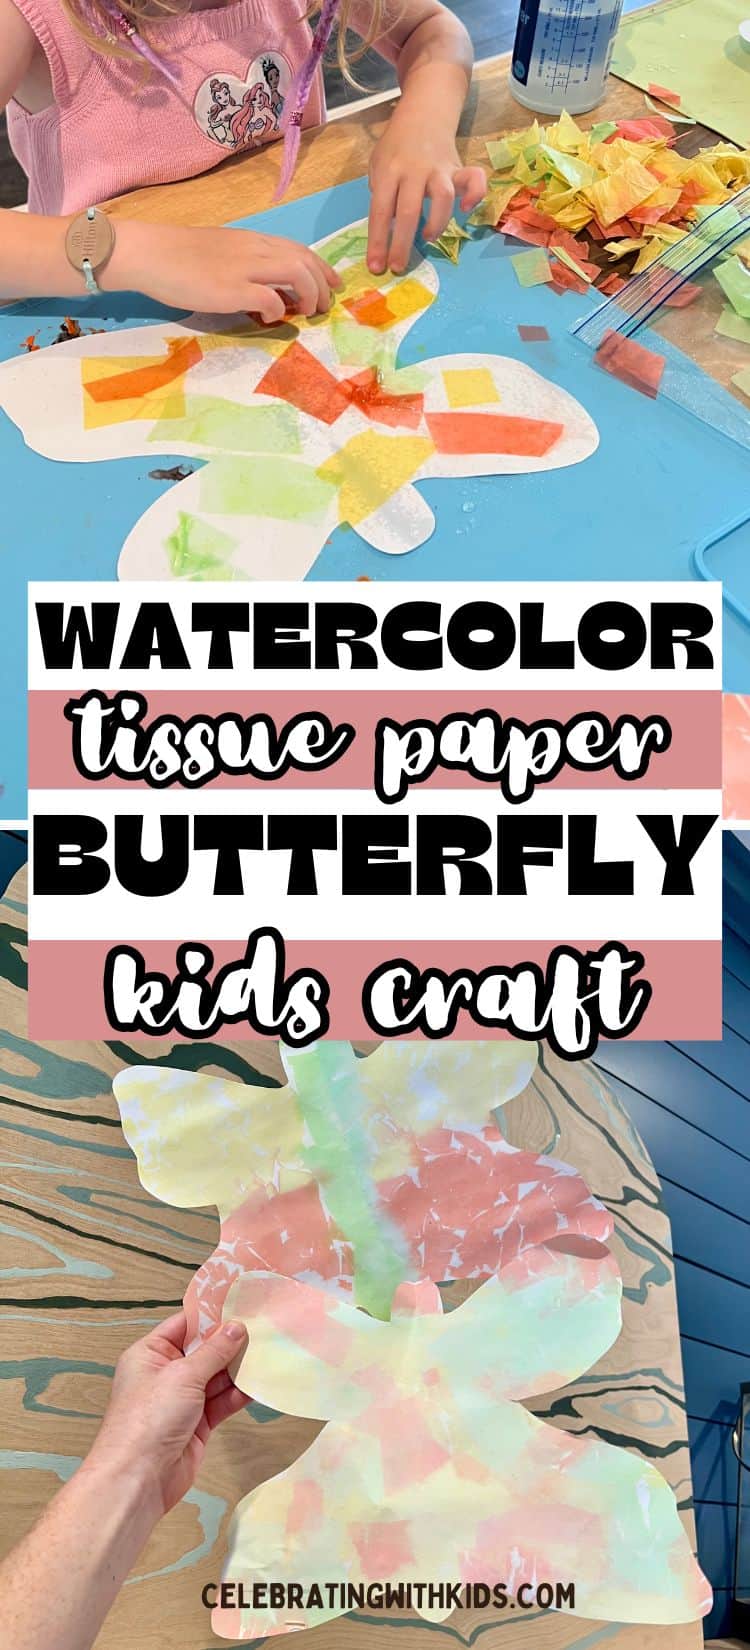
Check out this Tissue Paper Butterfly Craft for kids that creates a beautiful watercolor effect! This easy spring activity is simple, low-prep, and fun for all ages.
If you’re looking for a simple spring craft that turns out really pretty, this tissue paper butterfly is such a fun one to try.
It’s easy enough for little kids, uses just a few supplies, and the final result has that soft, watercolor look that feels way more impressive than the effort involved.
This is one of those crafts that just works:
- Super simple setup
- Great for all ages
- Low mess (just a little water!)
- The final result is always unique and colorful
And the best part? Kids love the reveal when you peel the tissue paper off.
Easy Tissue Paper Butterfly Craft for Kids (Watercolor Effect!)
Here's how to make these pretty butterflies!
Supplies You’ll Need
- White cardstock or craft paper
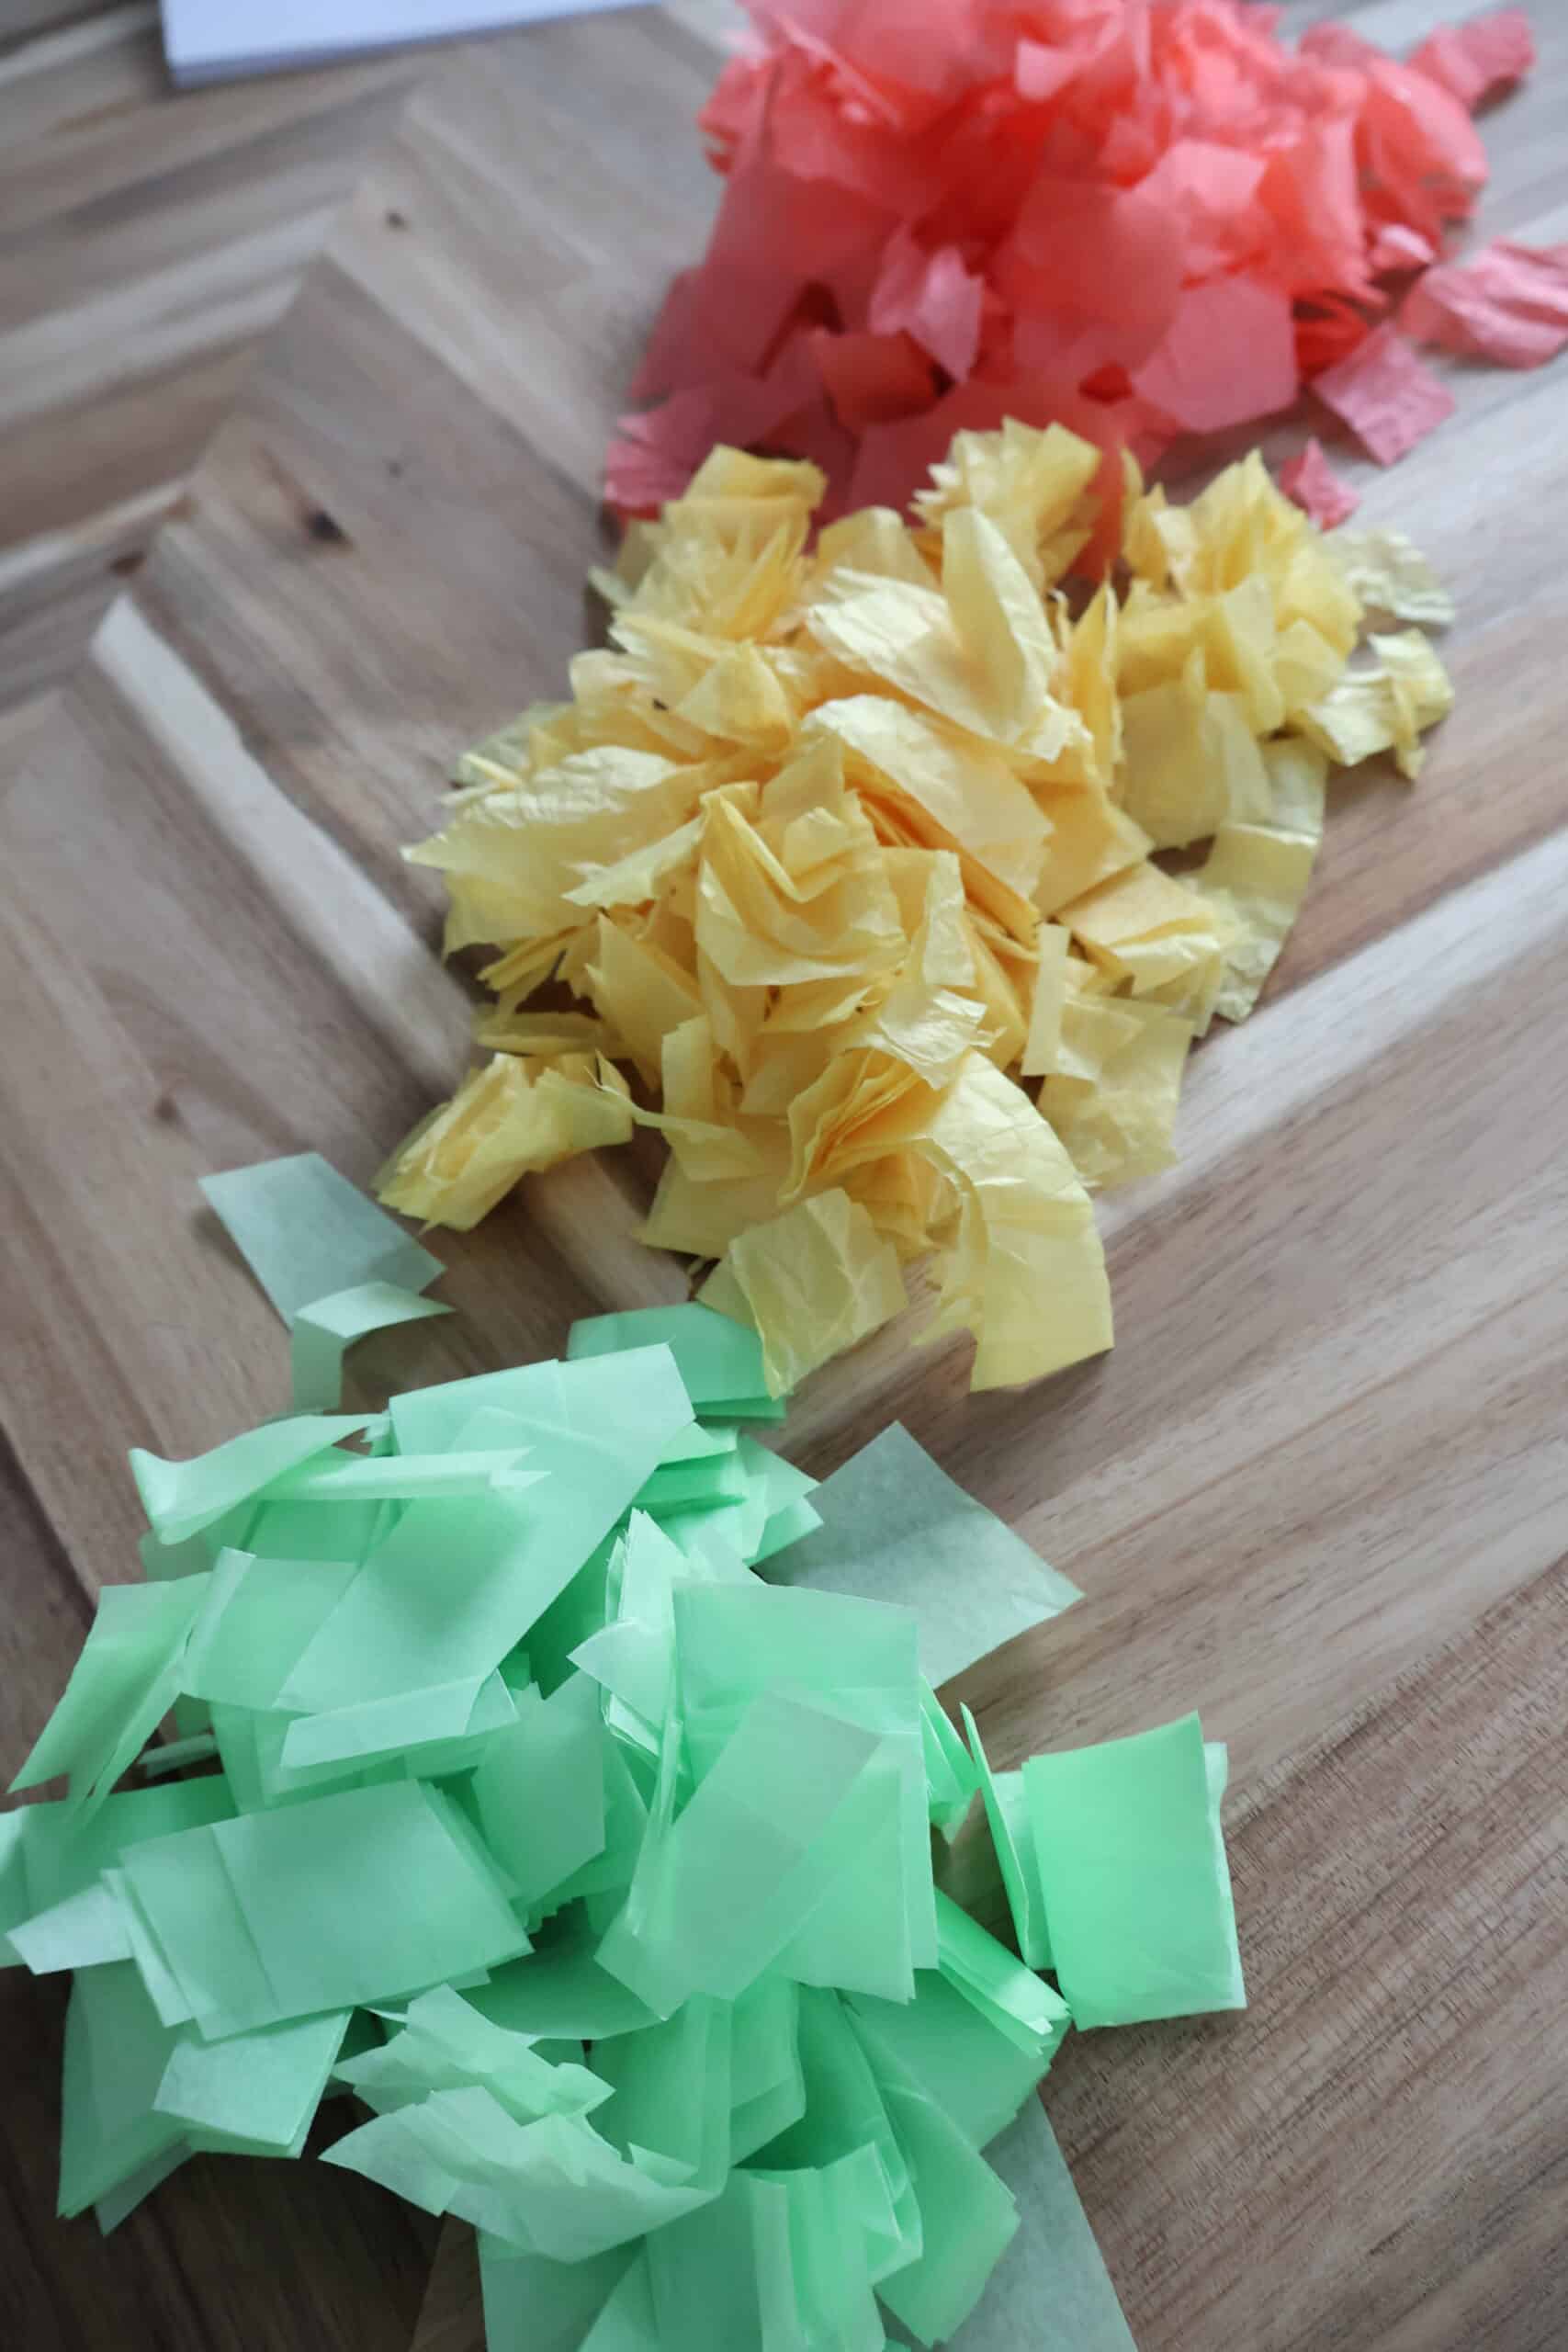
- Tissue paper (a few different colors)
- Spray bottle with water
- Scissors
- Placemat or protected surface
Tip: Pre-cut tissue paper into small rectangles to make it easier for smaller kids to do the craft independently.
How to Make a Tissue Paper Butterfly
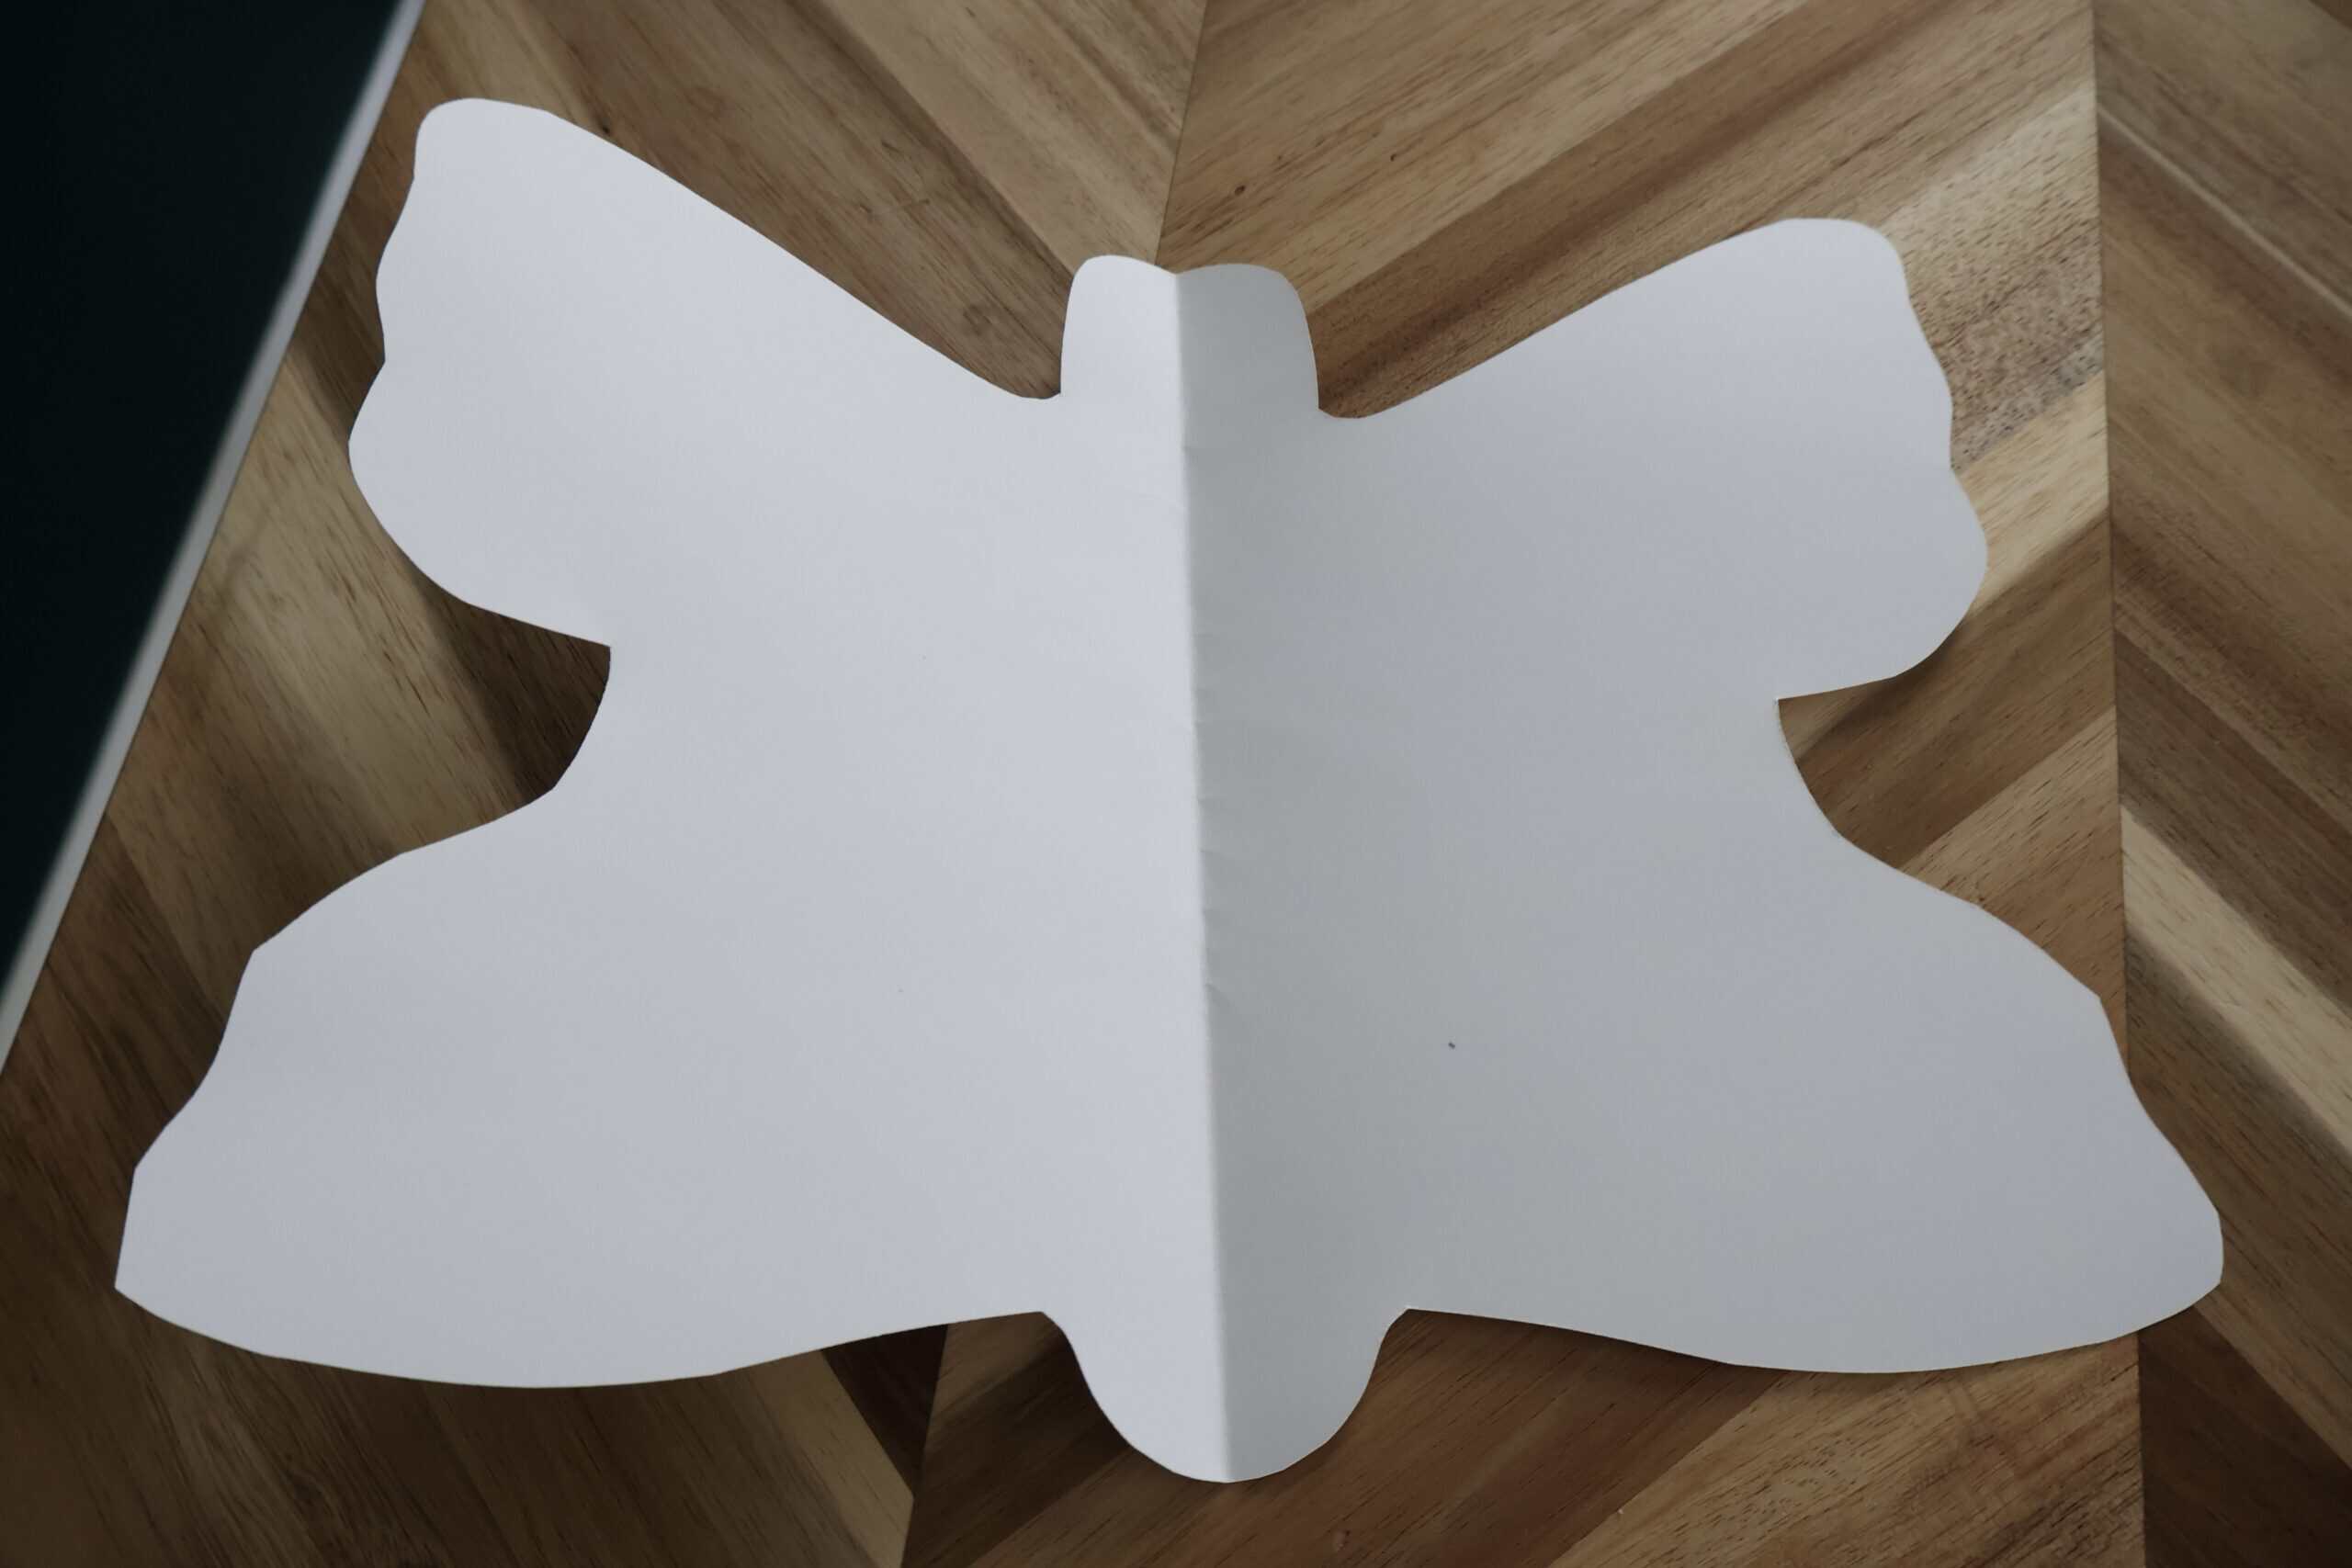
Step 1: Cut your butterfly
Fold your cardstock or paper in half and cut out a butterfly shape.
Depending on the age of your kids, you might want to pre-cut these for them.
Unfold it and lay it flat on your work surface.
Step 2: Prep your space
Place a placemat or something underneath to protect your table—this one gets a little wet and the dye from the tissue could stain a light colored surface!
Step 3: Lightly spray with water
Use a spray bottle to lightly mist the butterfly so the surface is damp.

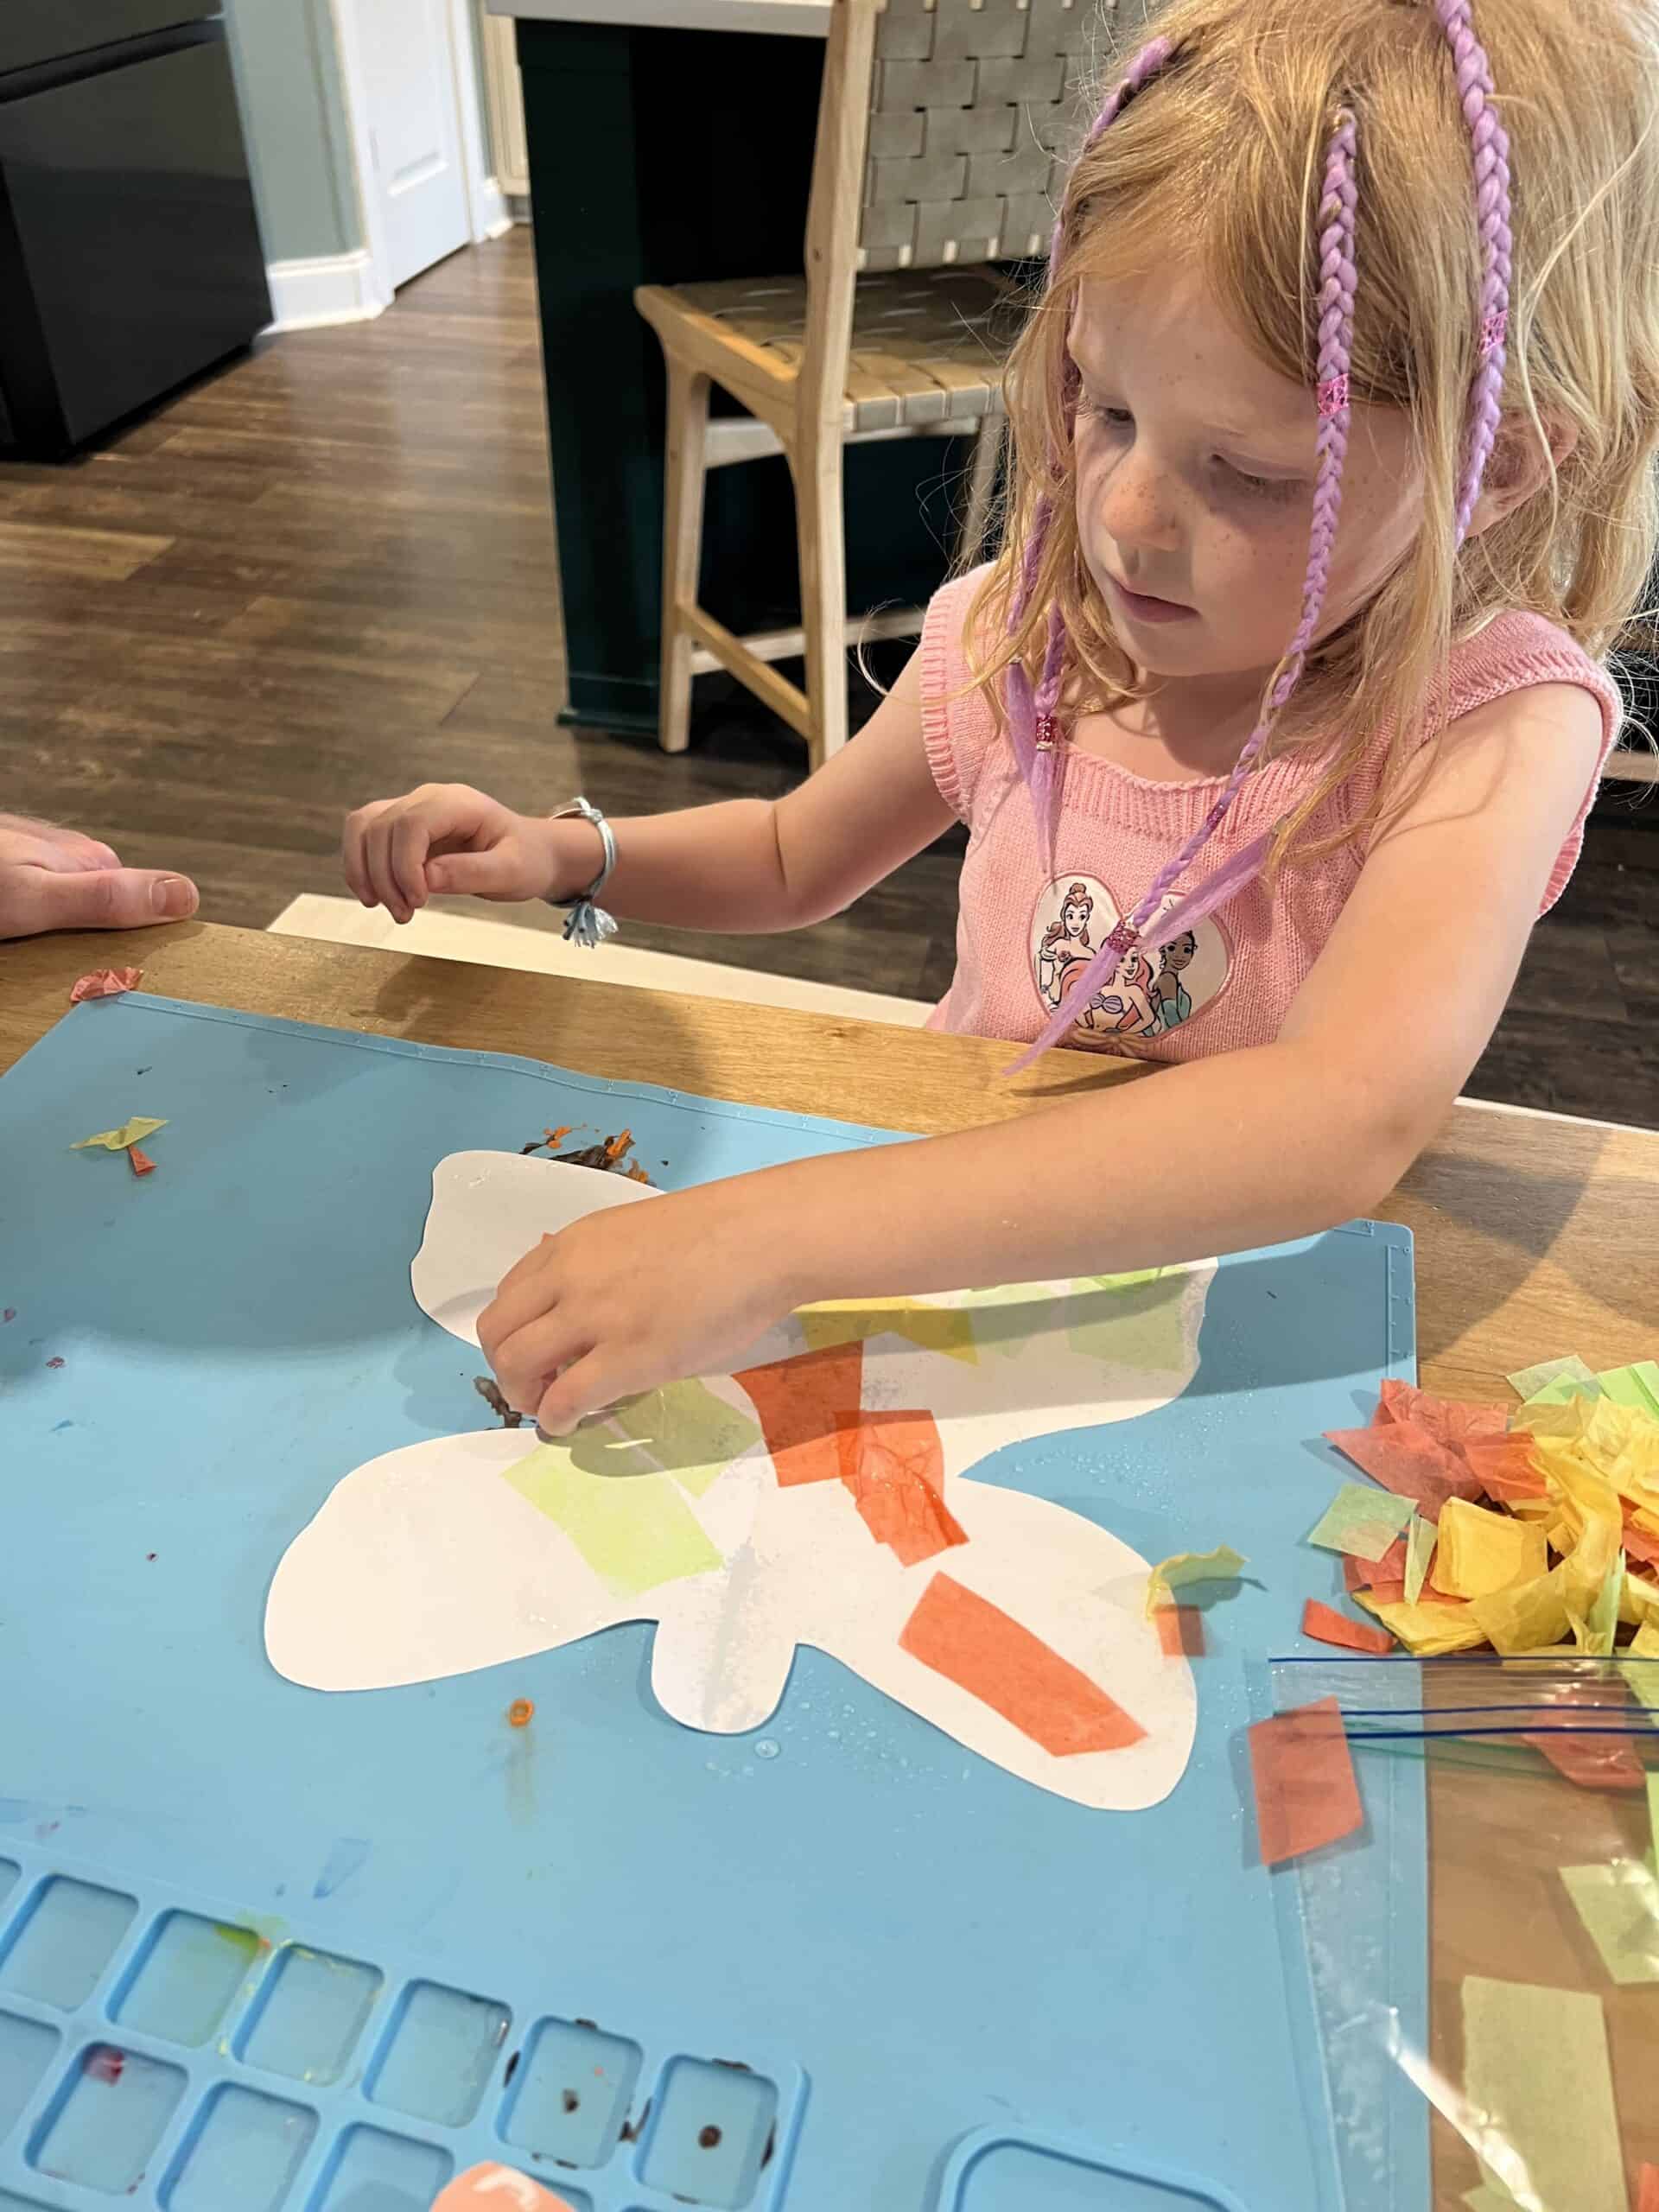
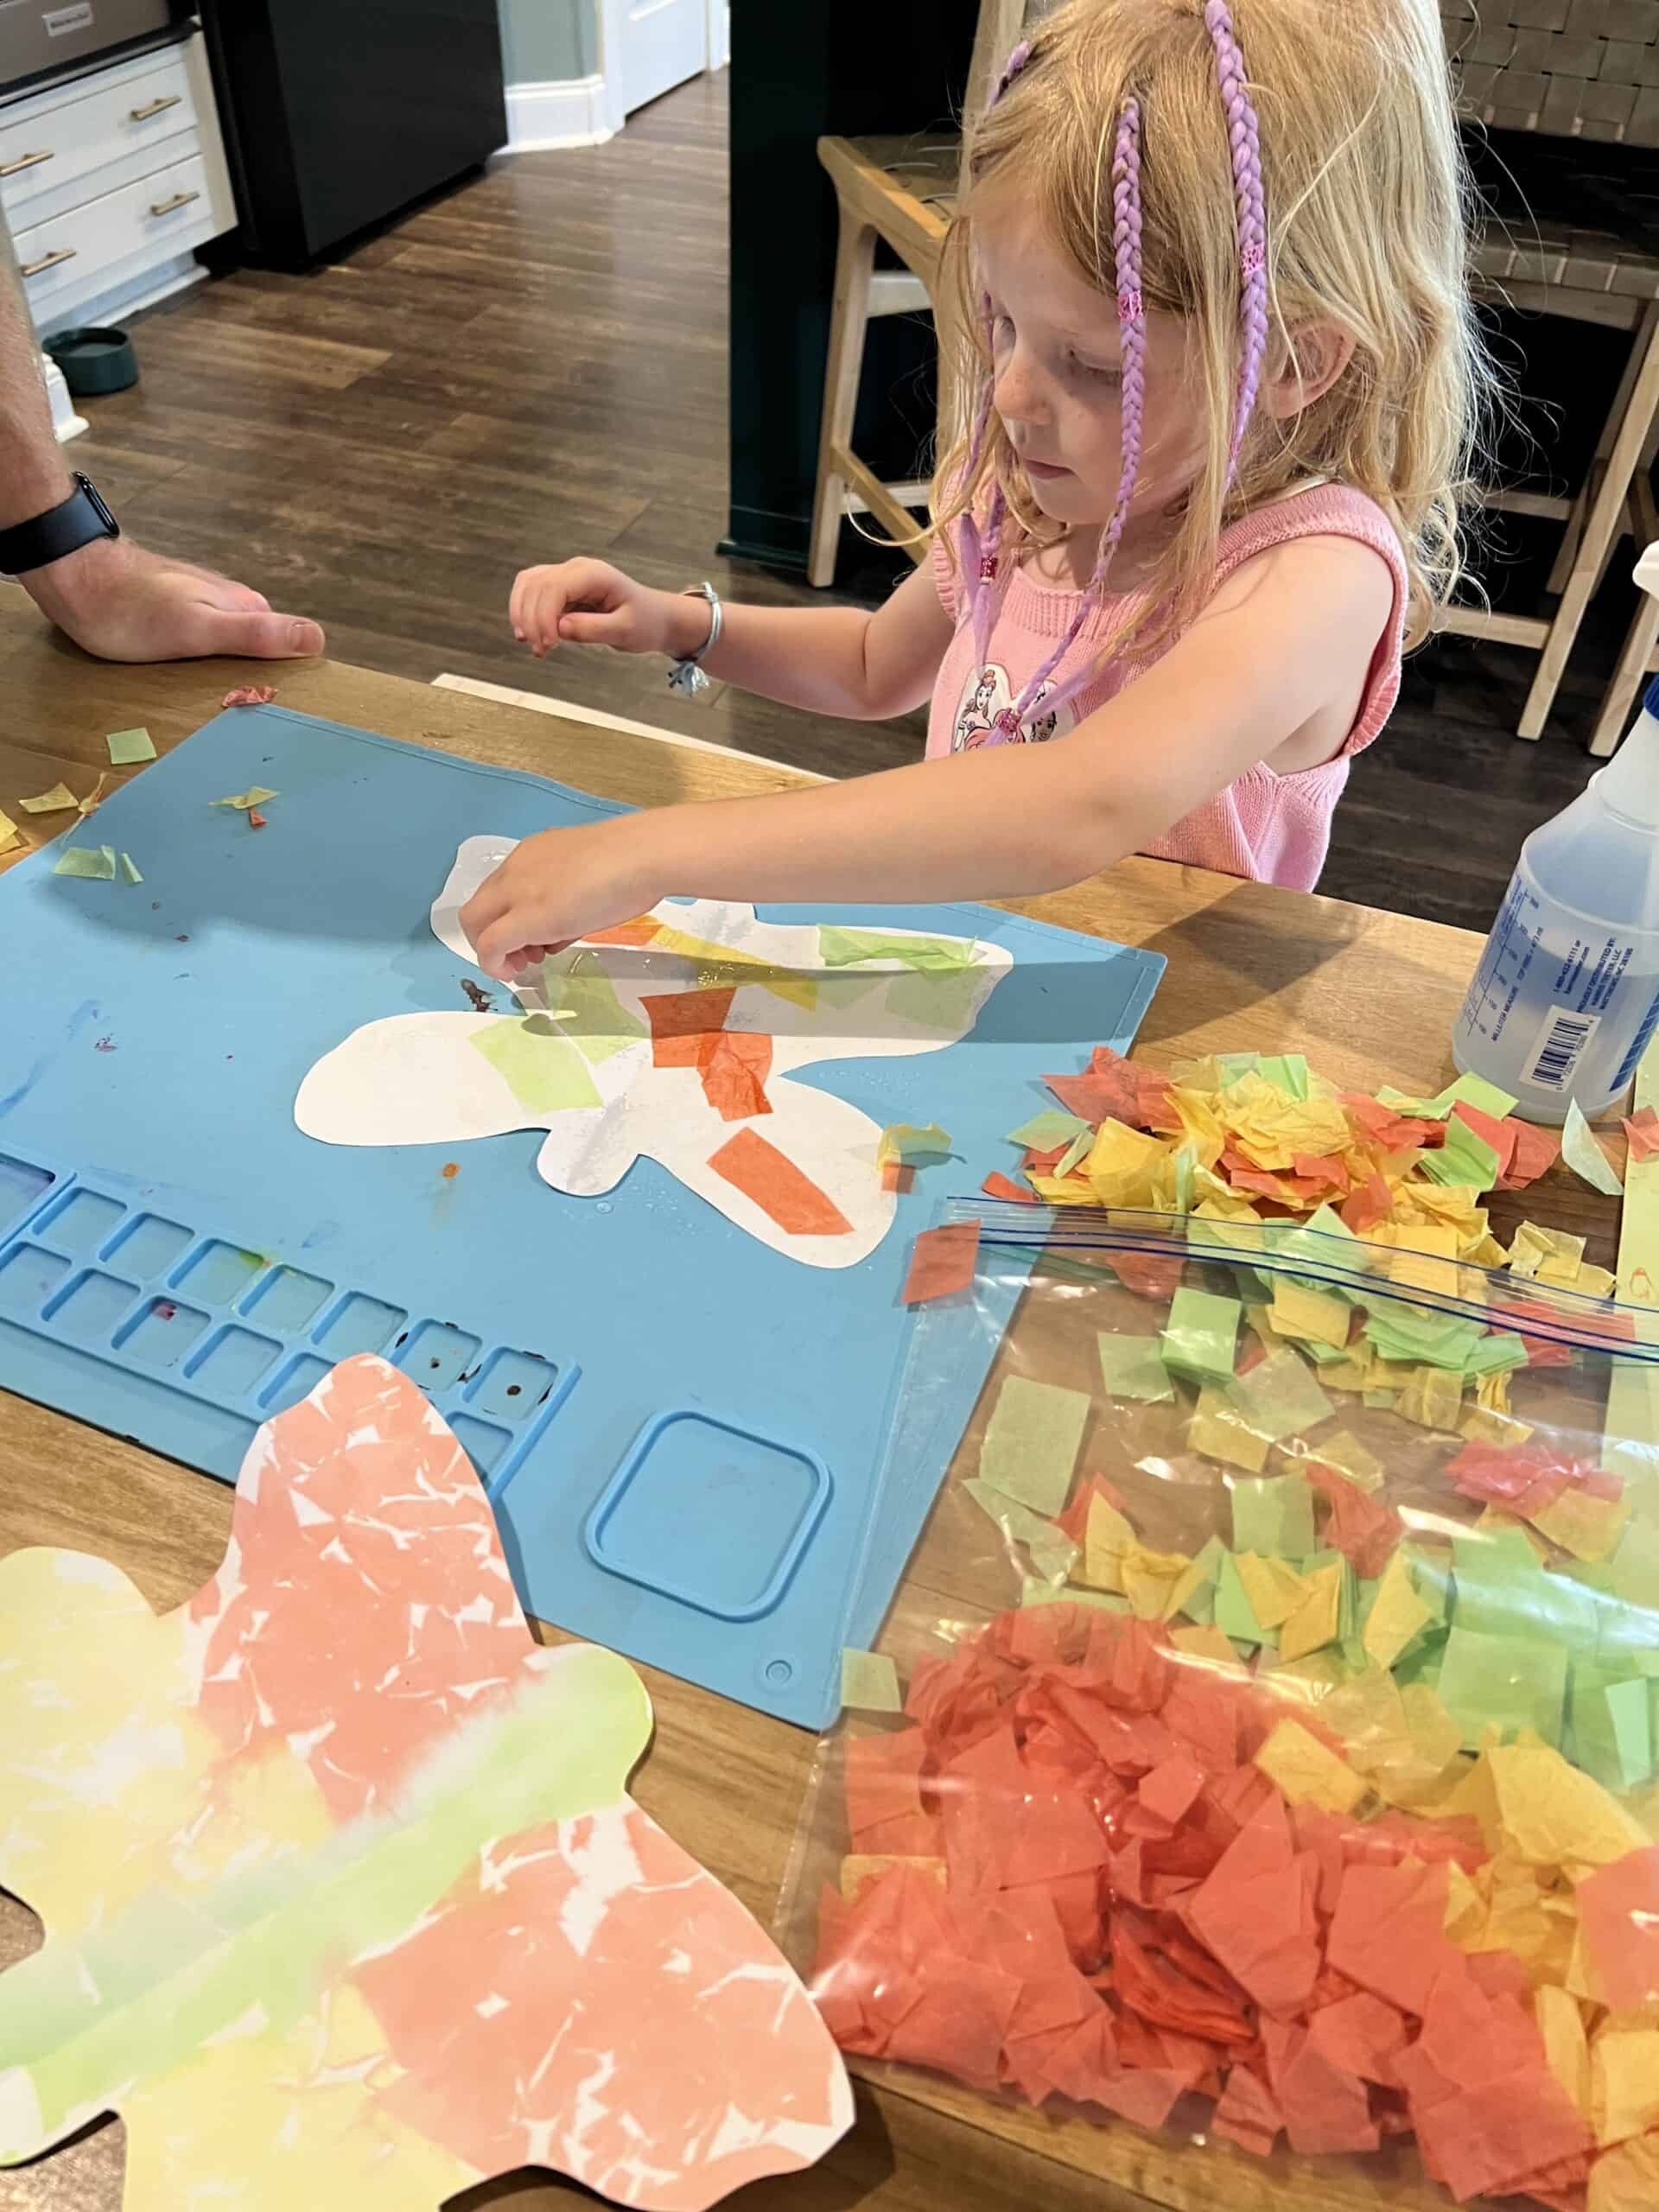
Step 4: Add tissue paper
Cover the entire butterfly with small pieces of tissue paper.
Choose colors that blend well together. (Try to avoid combinations that will turn muddy.) For example, pink + blue will make pretty purple where they overlap!
Darker colors of tissue paper will give you a more vibrant result.
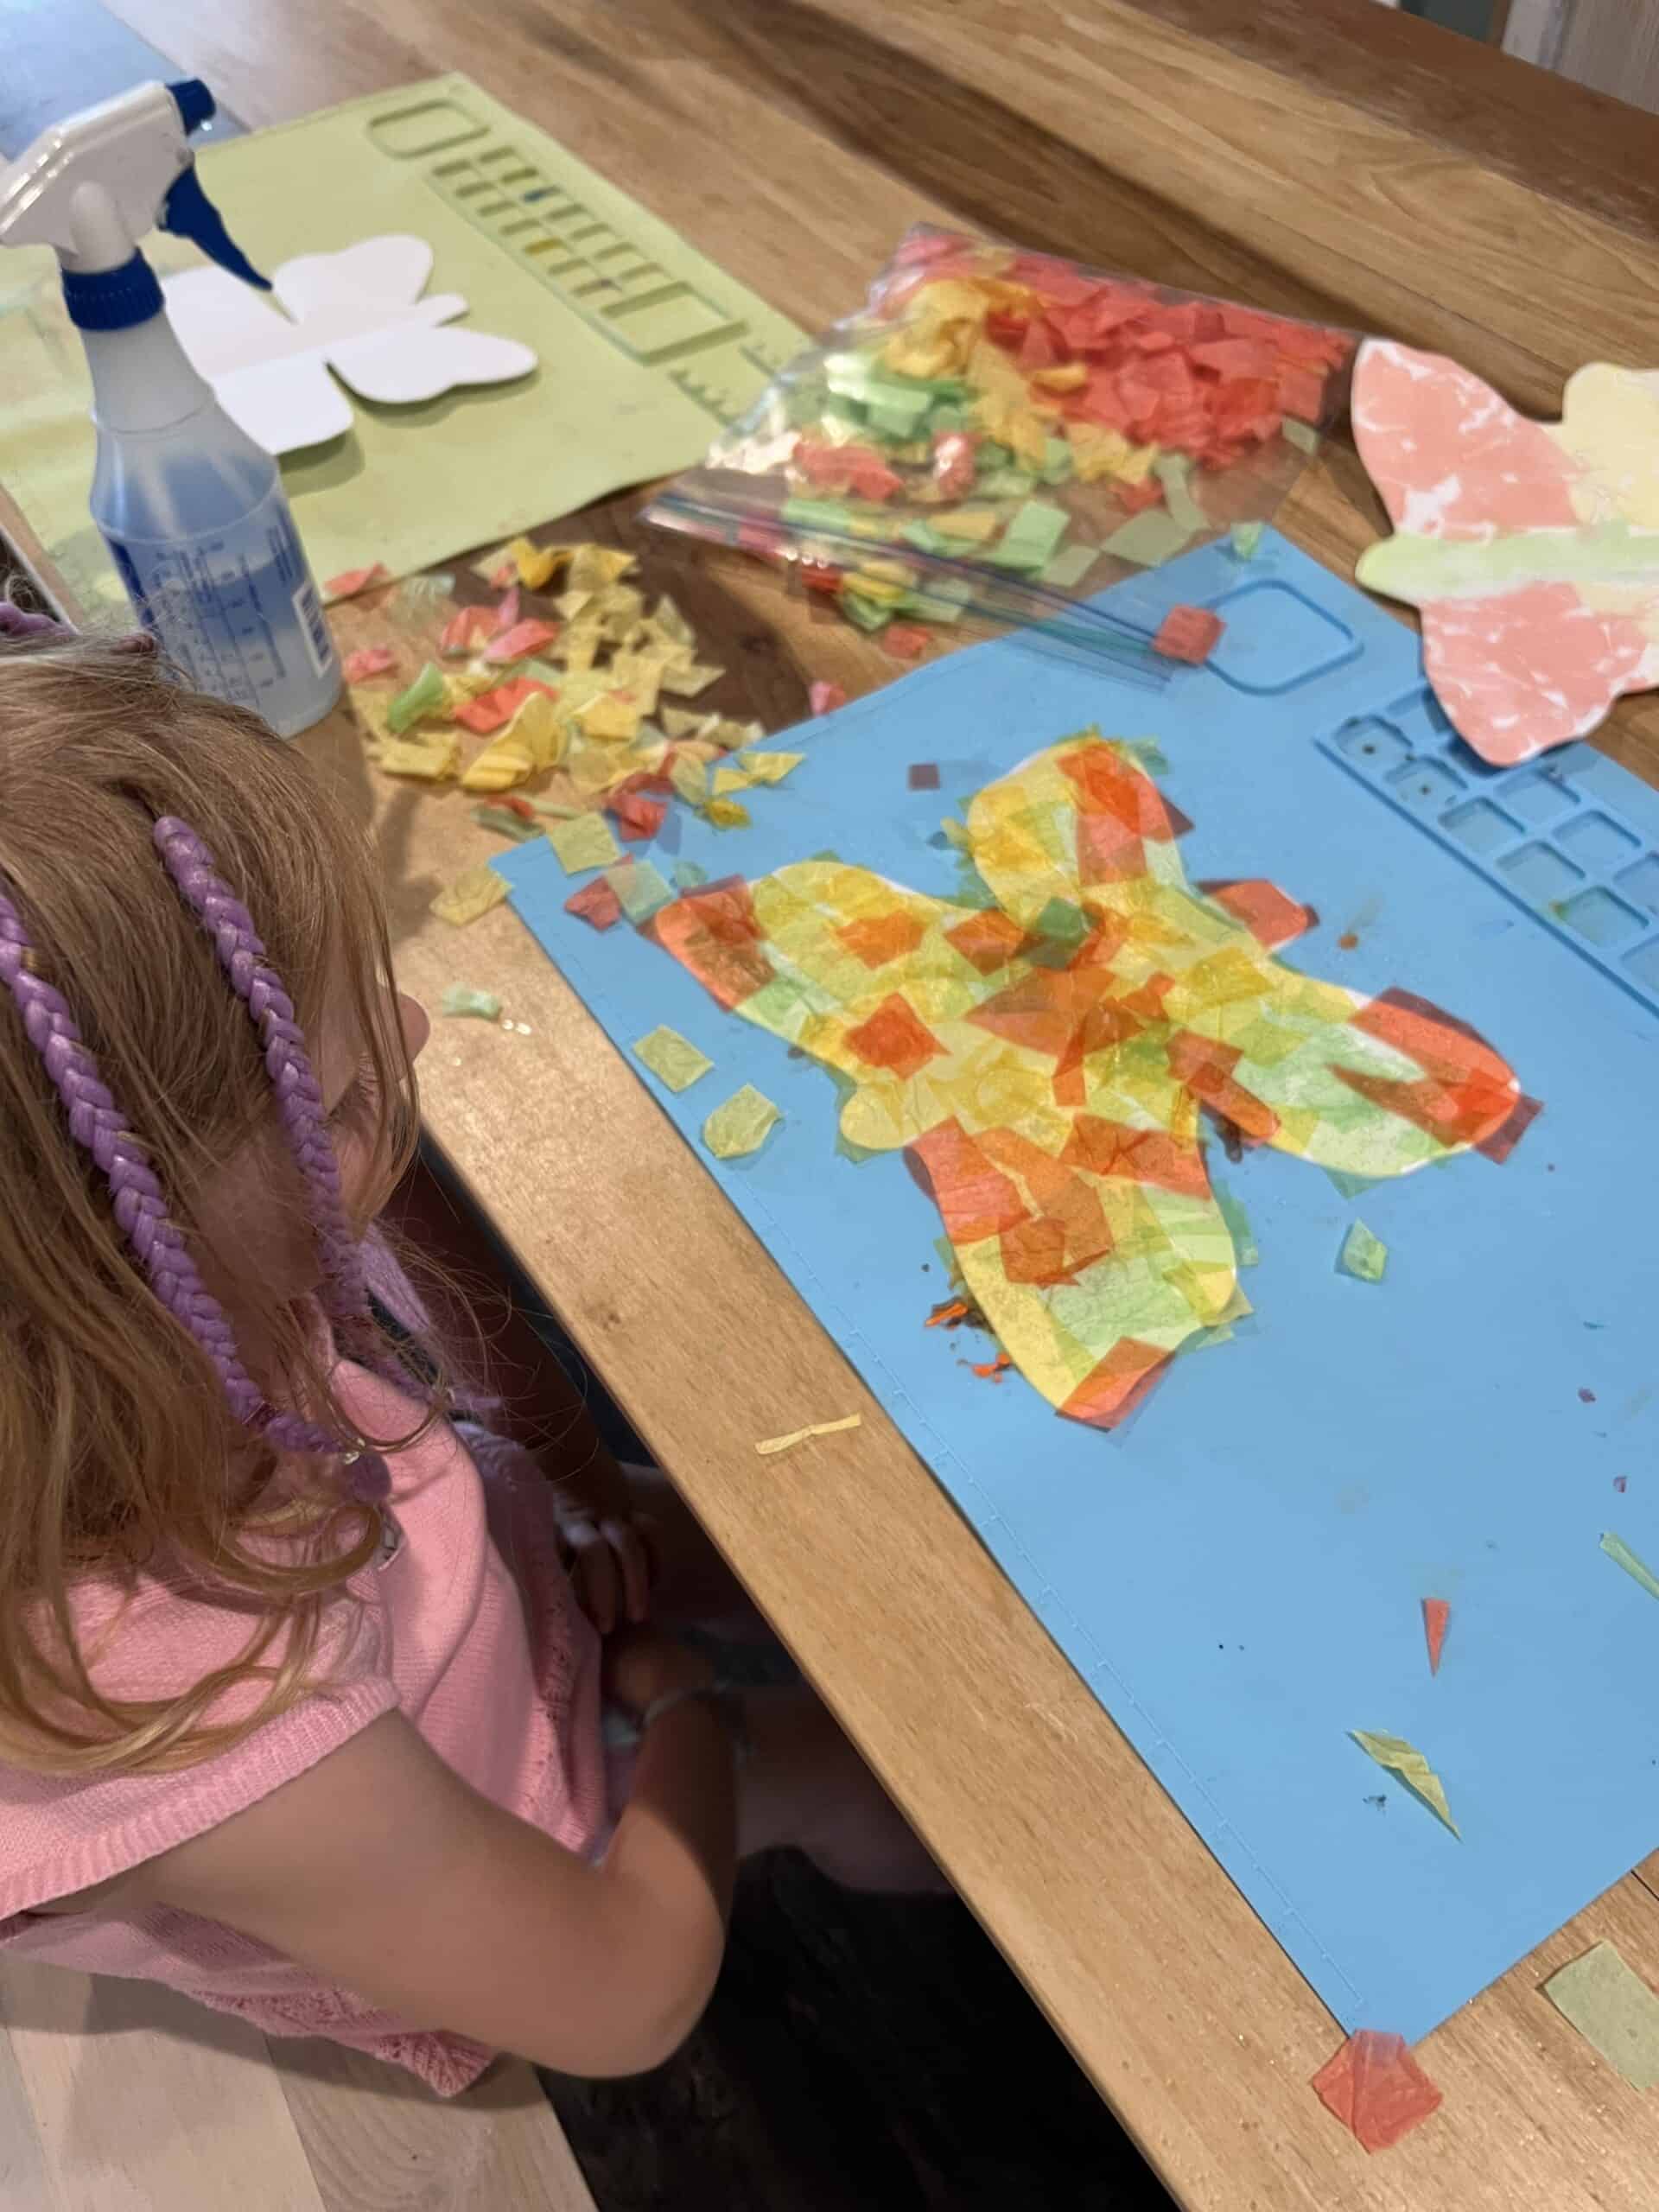
Step 5: Spray again
Once your butterfly is fully covered, spray it again to make sure all the tissue paper is wet and pressed down.
Step 6: Let it dry
Let the butterfly dry completely—overnight works best.
Step 7: Peel and reveal
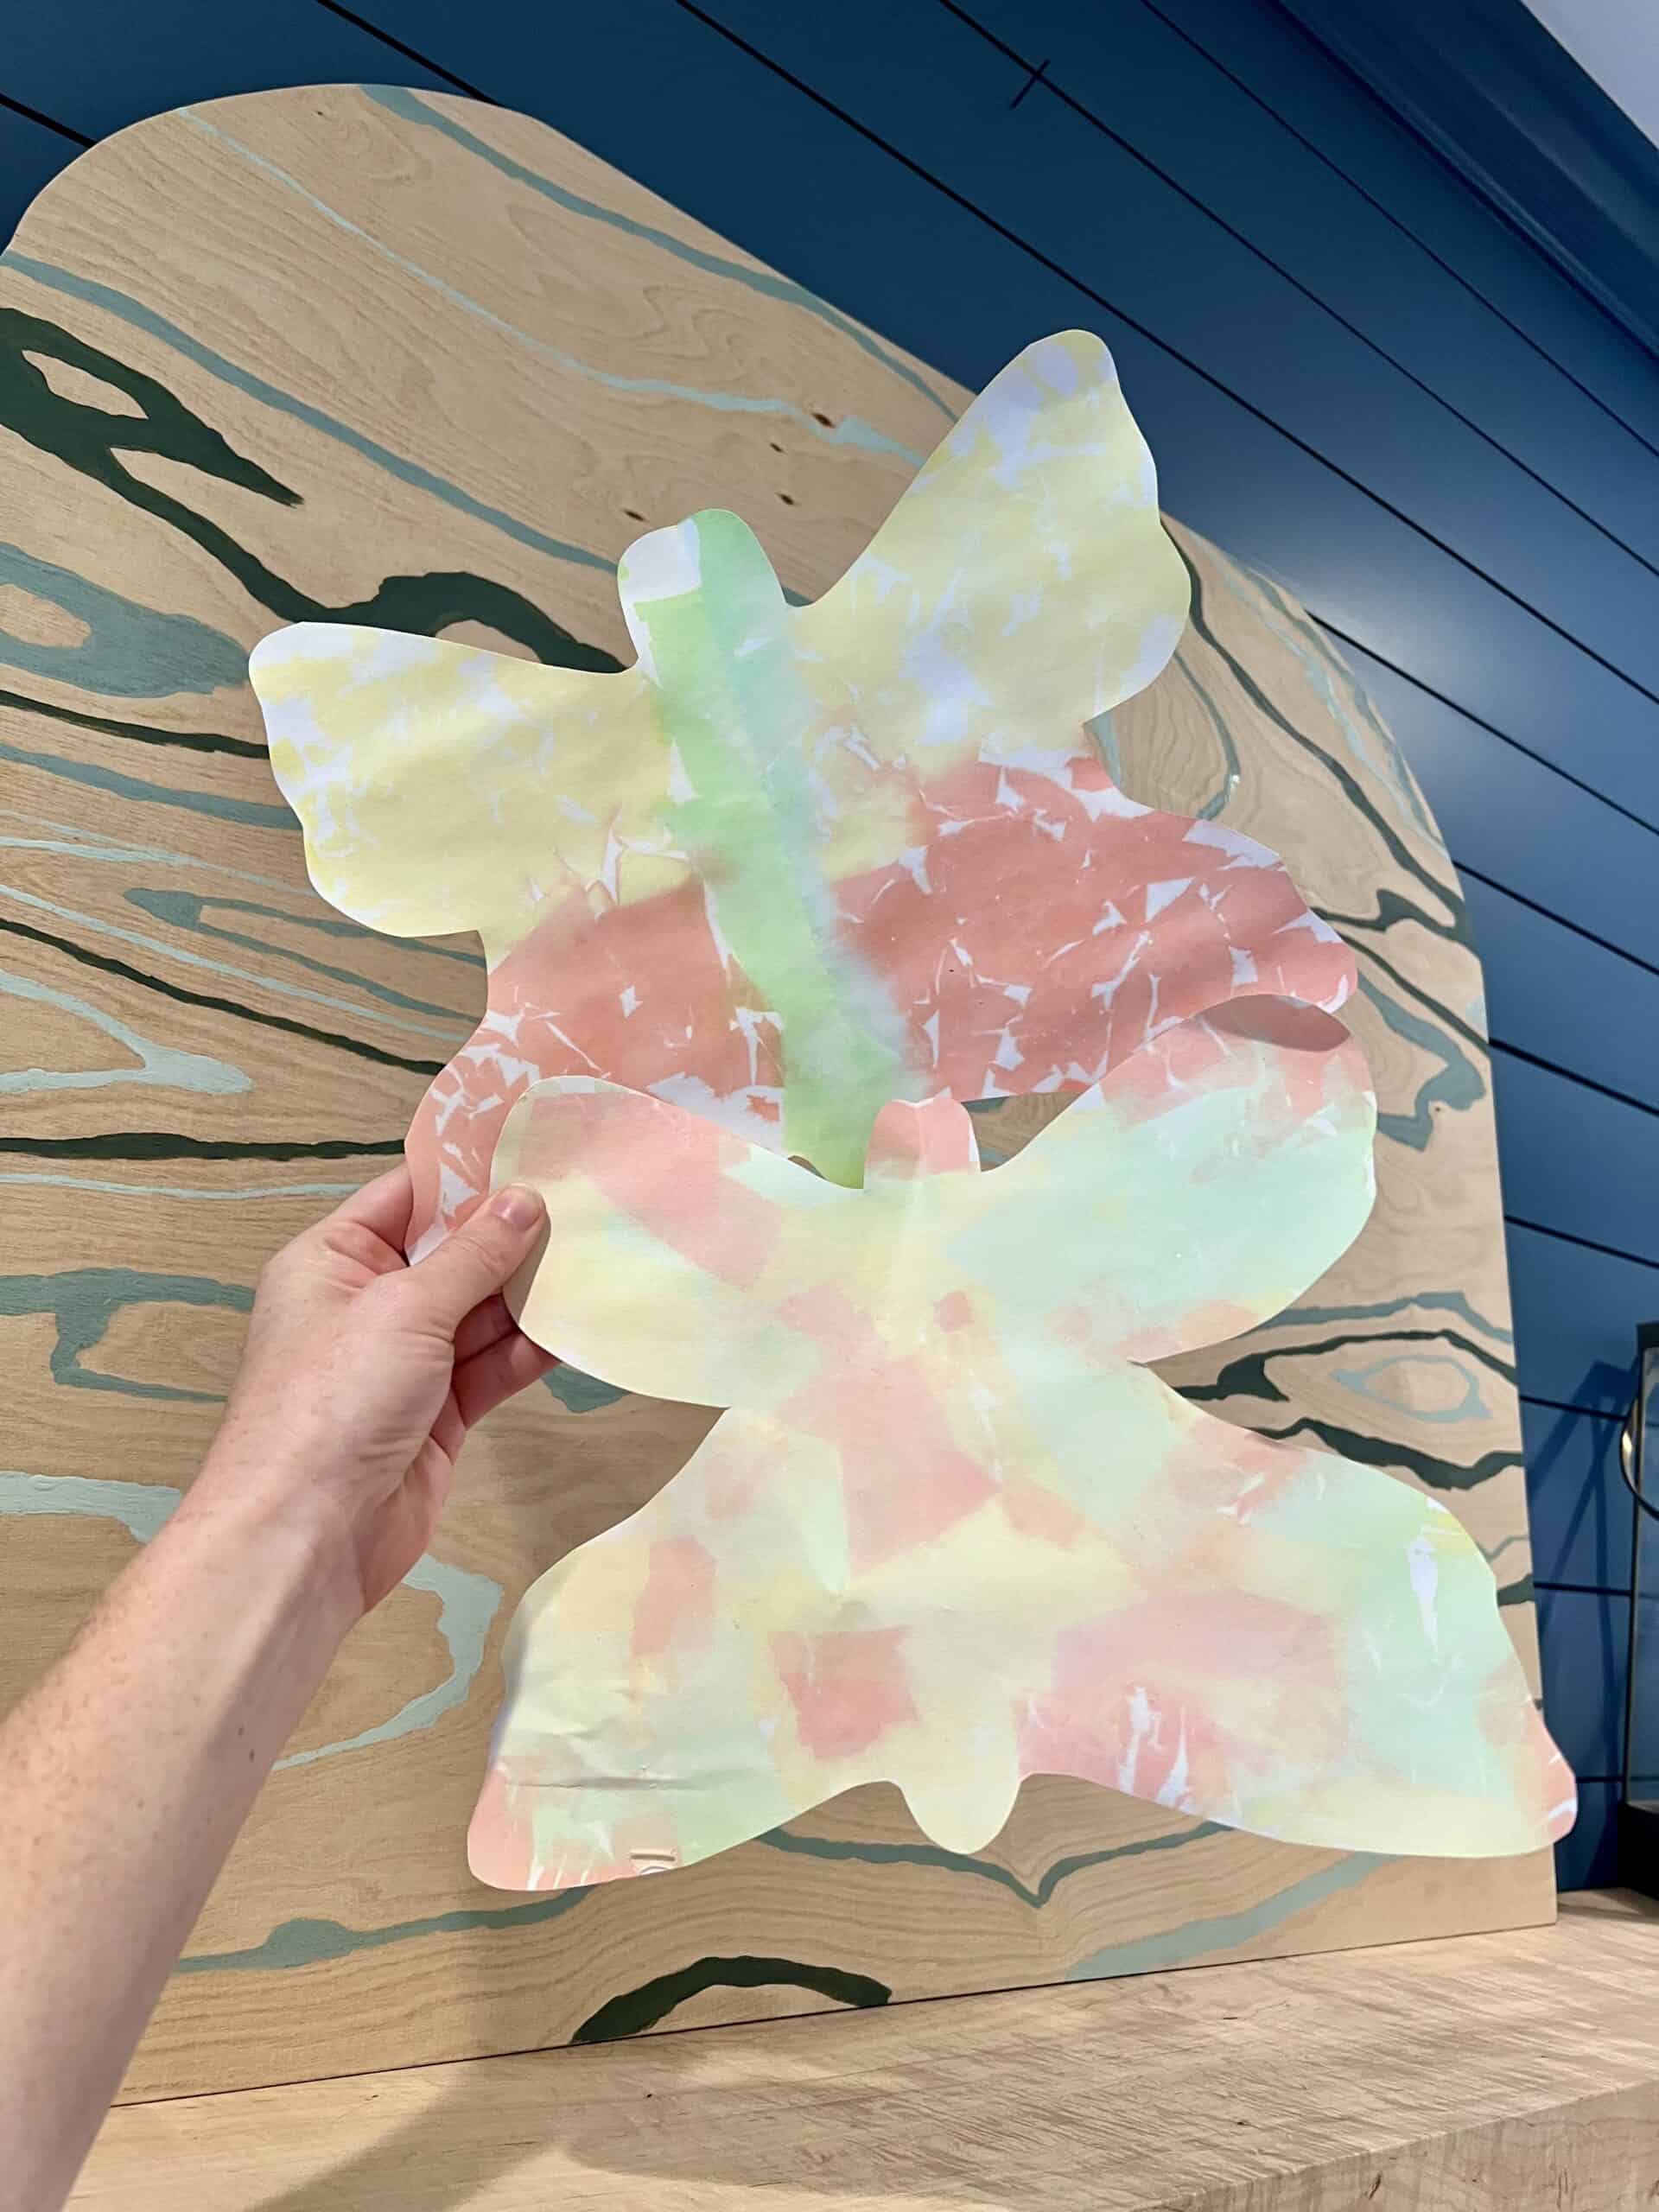
Once it’s dry, gently peel off the tissue paper. You can really just list the butterfly and shake off the tissue!
You’ll be left with a beautiful watercolor-style butterfly!
Tips for the Best Results
- Use darker tissue paper for brighter colors
- Make sure all pieces are fully wet for the best transfer
- Let it dry completely before peeling (this is key!)
- Encourage kids to cover the whole butterfly for the best effect
This is one of those crafts where kids can just go for it—no pressure to be precise or “good” at art.
Every butterfly turns out different, and they all look beautiful.
This tissue paper butterfly is perfect for:
- Spring afternoons at home
- Classroom crafts
- Rainy day activities
- Adding to a seasonal bulletin board or display
It’s simple, colorful, and one of those crafts you’ll want to make again and again.
Thanks for reading!


Hey there, I'm Morgan, the creative mind behind CelebratingWithKids.com! As a parent of two lively little ones, I've made it my mission to turn ordinary days into extraordinary adventures, sharing playful activities, thoughtful toy reviews, and delightful printables to help families celebrate every moment together. 🎉👨👩👧👦🎈