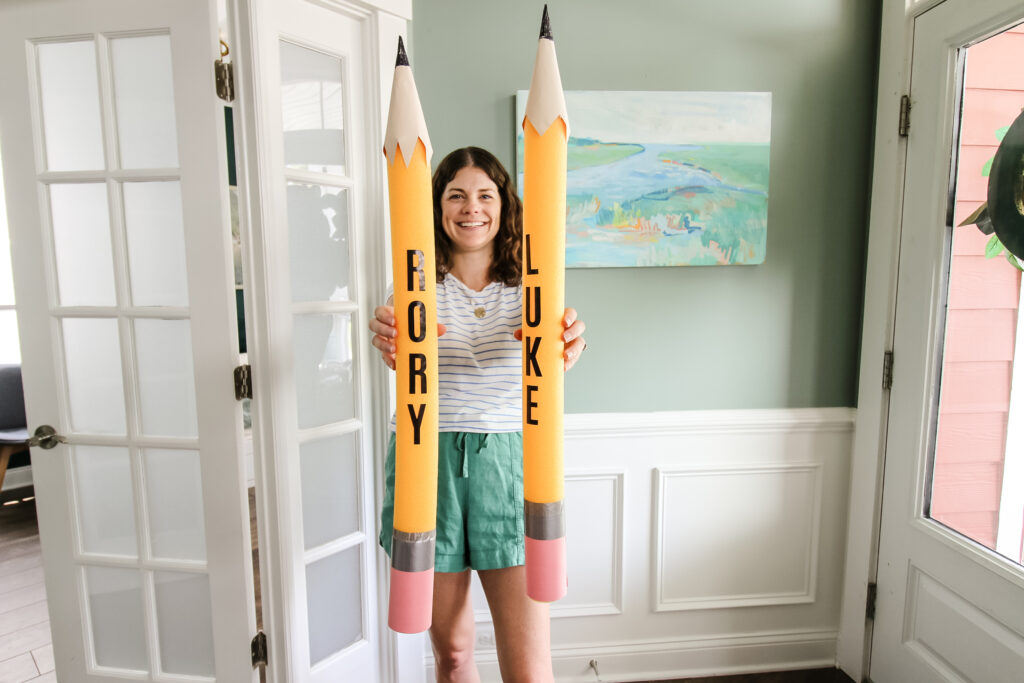
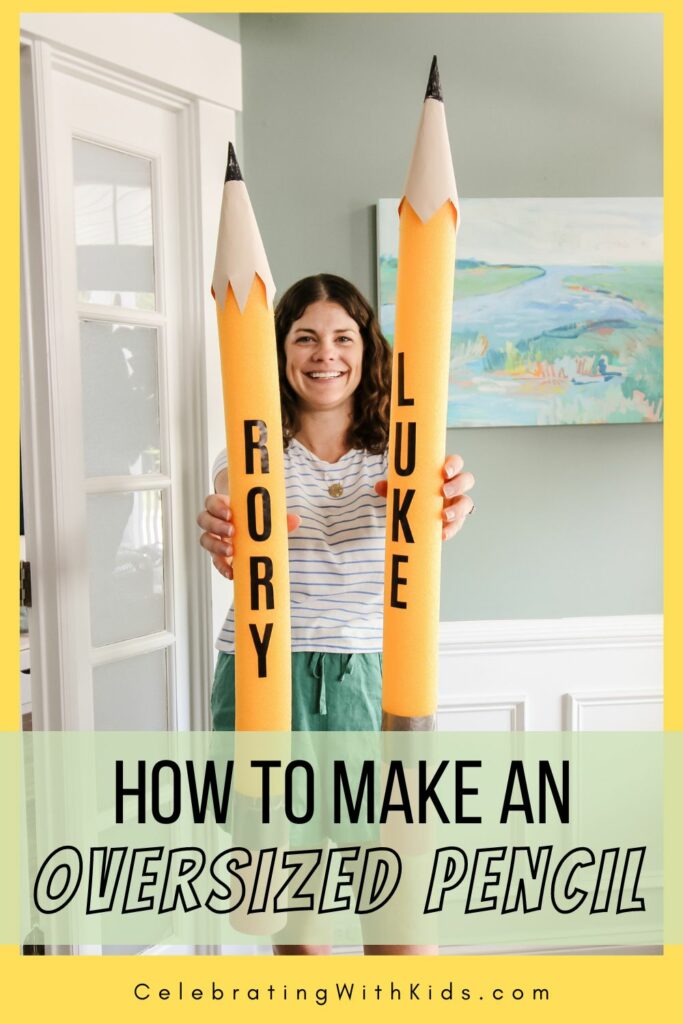
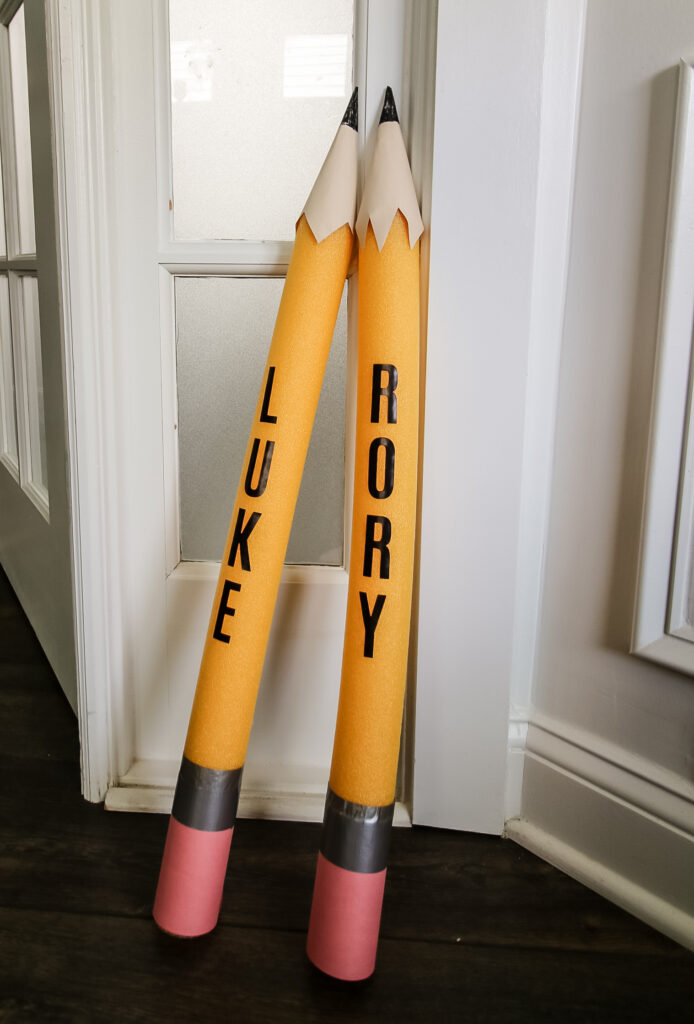
Learn how to make a pool noodle pencil: a fun first day of school prop that’s perfect for classroom decor and photo ops. Follow our step-by-step guide to create a giant pencil decoration to kick off the school year with creativity!
This year is extra special for us because my son is starting kindergarten and it's his first time in full-day school.
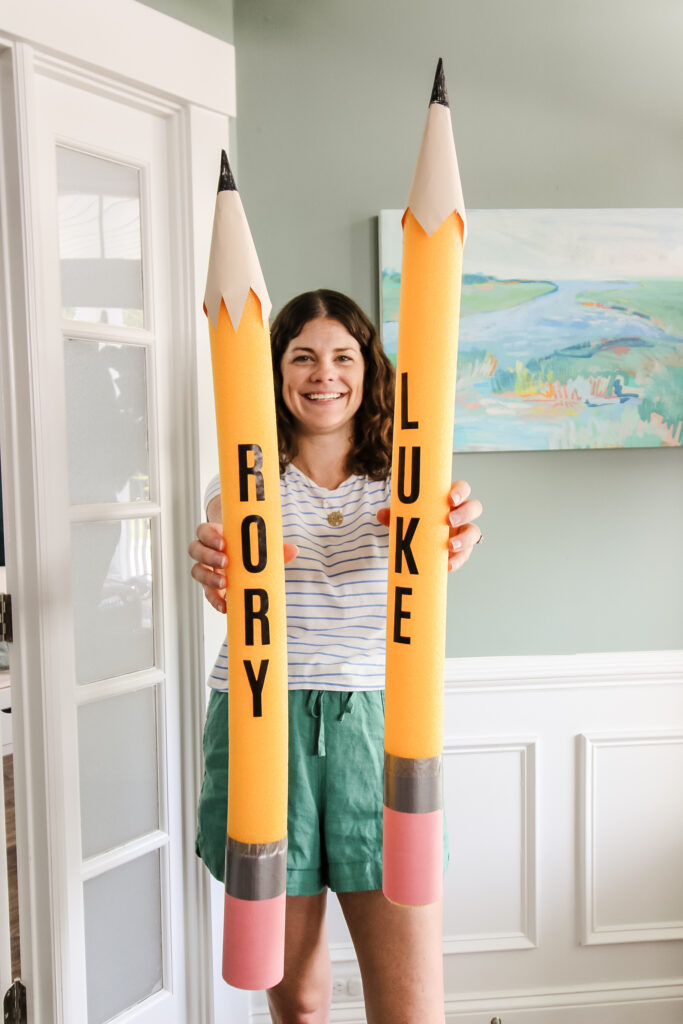
I wanted to find a fun and crafty way to get him excited about this big milestone, and making this giant pencil together was the perfect solution!
Our DIY Pool Noodle Pencil is a fantastic craft and fun decoration that’s perfect for classroom decor, photo props, or just to get excited about the first day of school.
This tutorial will guide you through the steps to create your own giant pencil using a pool noodle. Here's how to do it!
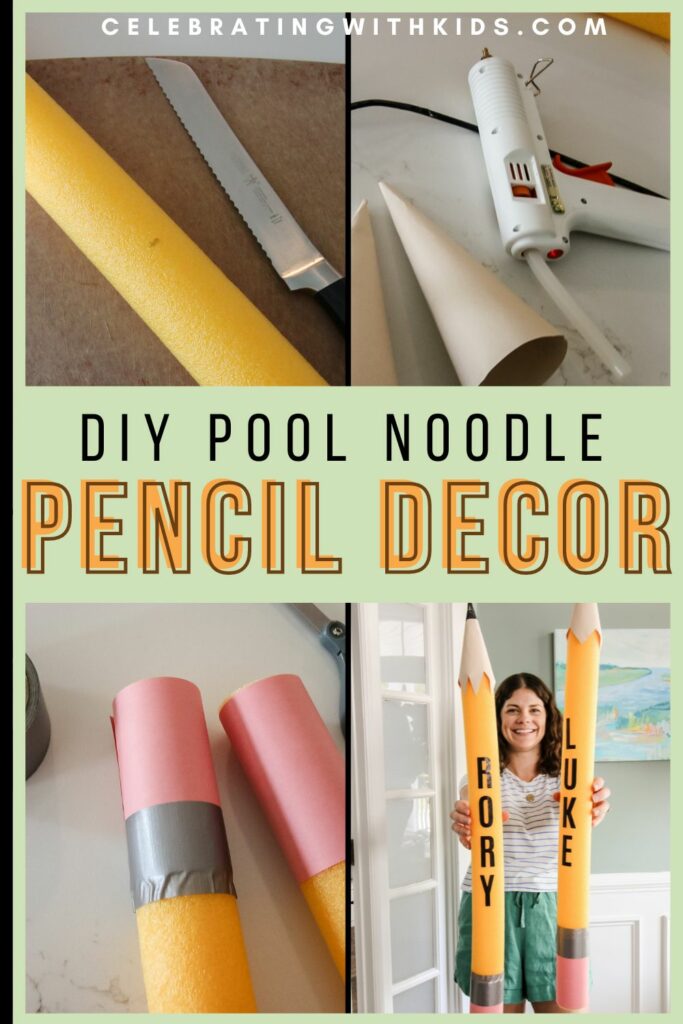
How to make a giant pool noodle pencil
This pool noodle pencil is the perfect prop for a classroom or school party! Here's how to make it!
Supplies You'll Need:
- Yellow pool noodle (or any color pool noodle and yellow spray paint)
- Tan/beige construction paper
- Pink construction paper
- Silver duct tape
- Black marker
- Hot glue gun and glue sticks
- Scissors
- Bread knife
- Ruler (optional for measuring)
- Black letter stickers (2" size, optional)
Step-by-Step Instructions:
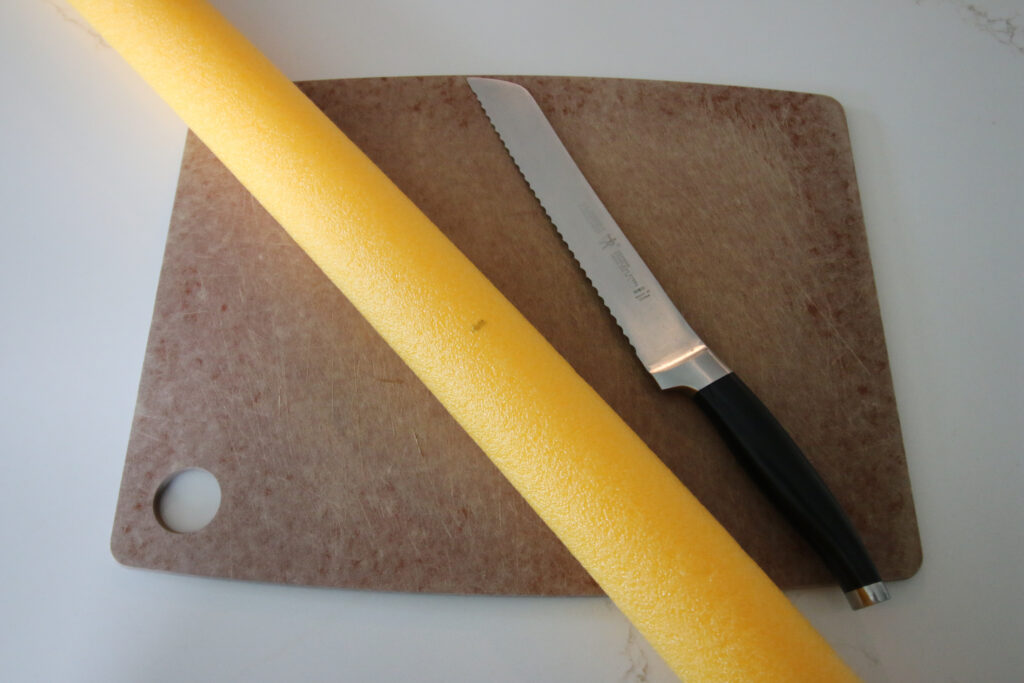
STEP 1: Prepare the Pool Noodle:
- If you have a yellow pool noodle, you’re all set! If not, take any color pool noodle and spray paint it yellow. Let it dry completely.
- Cut the pool noodle in half width-wise using a bread knife. Now you can make 2 pencils from 1 noodle!
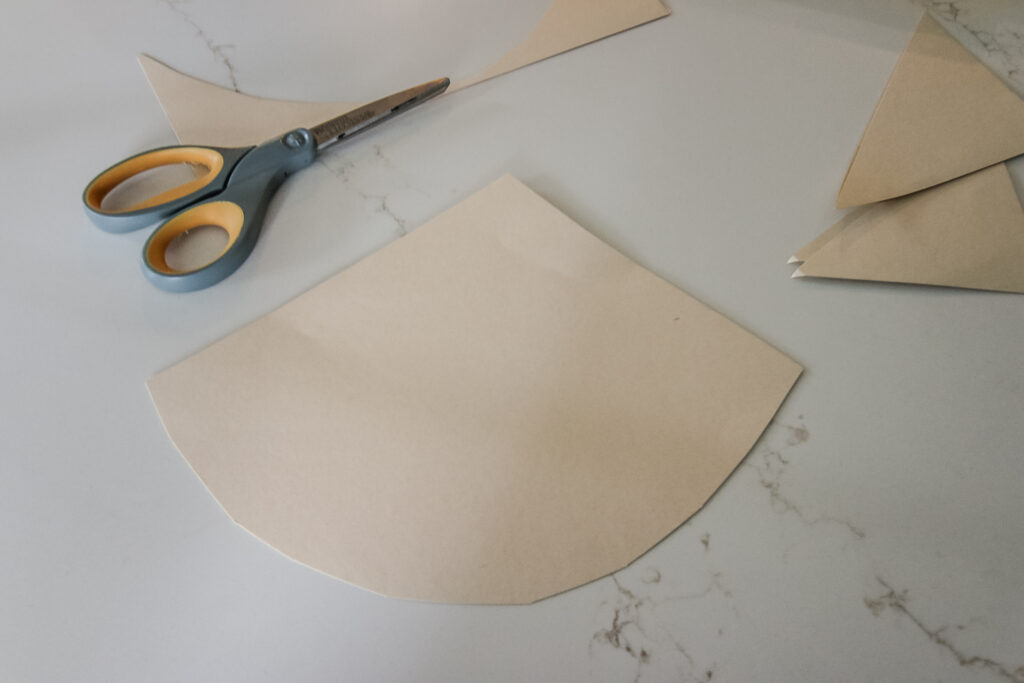
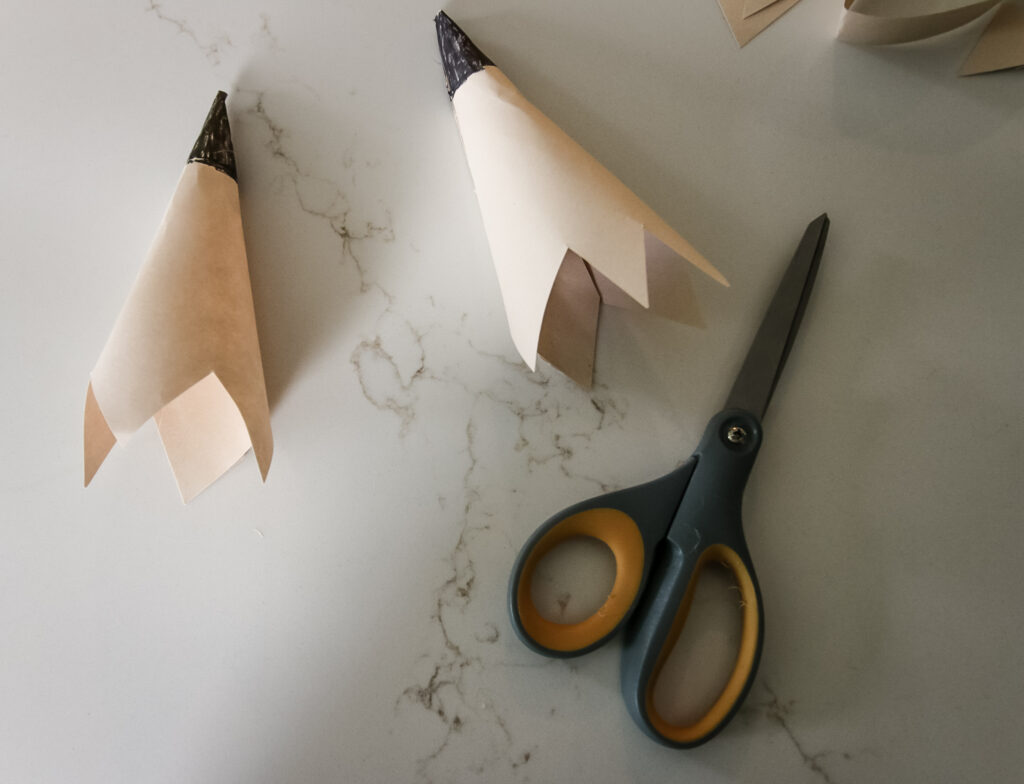
STEP 2: Create the Pencil Tip:
- Cut a piece of tan/beige construction paper into a cone shape.
- Roll the paper into a cone and use hot glue to secure it in place.
- Trim the bottom of the cone with scissors so it fits snugly onto the end of the pool noodle.
- Cut a zigzag pattern at the bottom of the cone to resemble a pencil tip.
- Use a black marker to color the tip of the cone, making it look like the lead of the pencil. Set the cone aside.
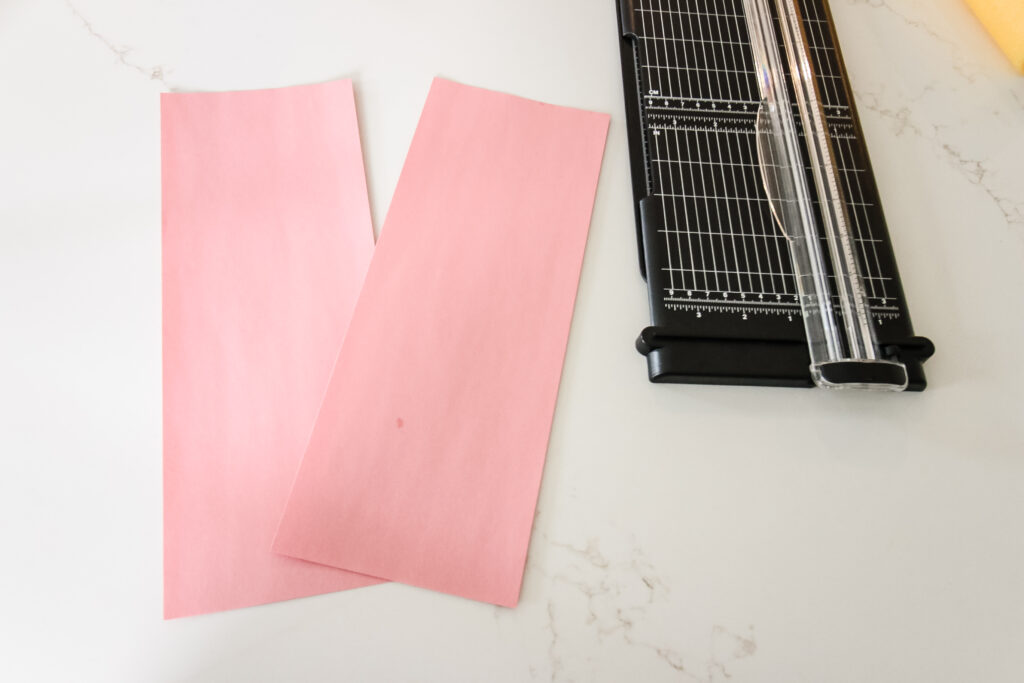
STEP 3: Make the Eraser:
- Cut a strip of pink construction paper about 6" wide and long enough to wrap around the pool noodle.
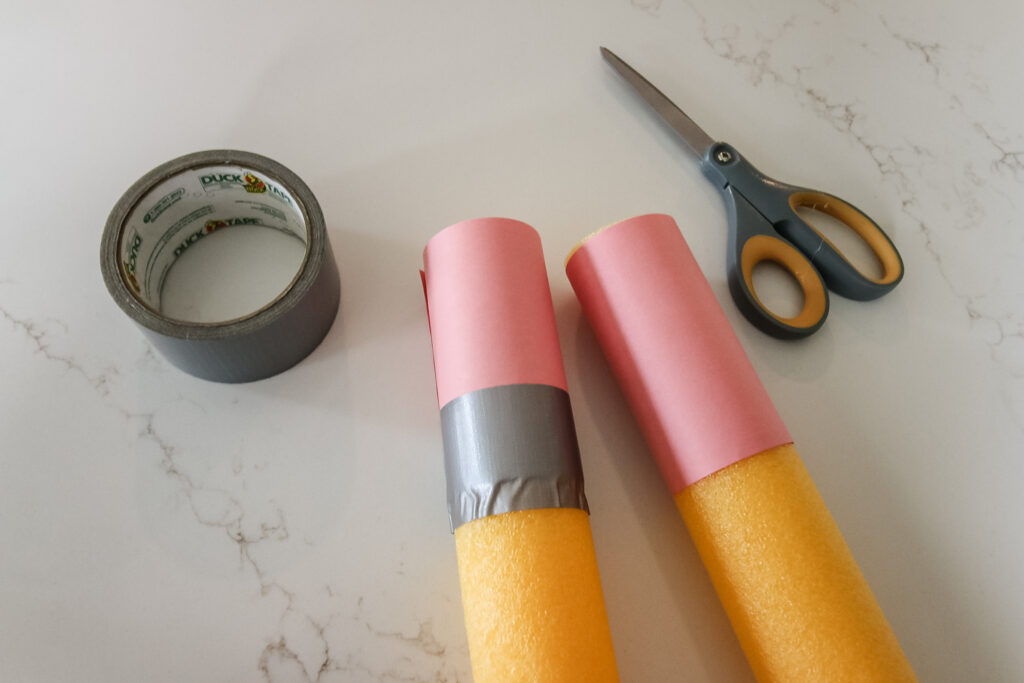
- Use hot glue to attach the pink paper to one end of the pool noodle, wrapping it around to create the eraser.
- Cut a strip of silver duct tape and wrap it around the noodle, overlapping the pink paper to create the eraser band.
STEP 4: Assemble the Pencil:
- Apply hot glue to the end of the pool noodle opposite the eraser.
- Press the paper cone into place at the glued end, ensuring the zigzag edges are firmly attached. Add extra hot glue under each zigzag tip to secure it.
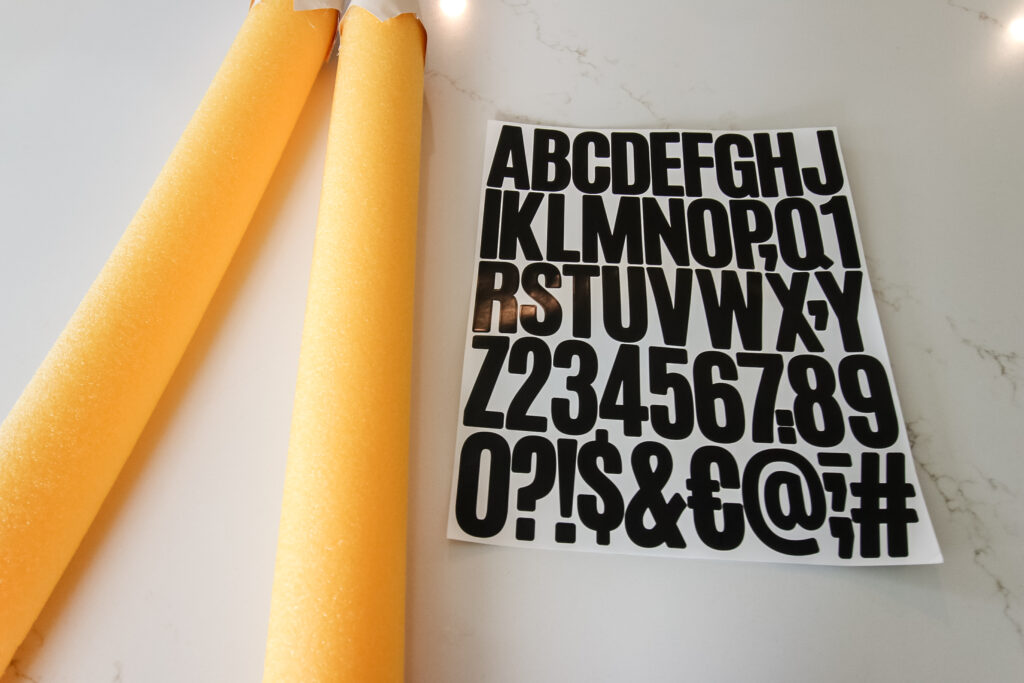
STEP 5: Personalize Your Pencil:
- Use markers or black letter stickers to add your child’s name or grade level to the pencil. This makes it a personalized prop for photos or classroom decor.
Now your Pool Noodle Pencil is ready to shine! Use it as a fun classroom decoration, a photo prop for back-to-school pictures, or a unique way to build excitement for the school year.
Pair this with our first day of school pennants for an amazing photo shoot to commemorate the special day!
Video Tutorial
Be sure to watch our step by step video tutorial if that's how you learn best!

Creating this giant pencil is not only easy but also a fantastic way to add a personal touch to your back-to-school celebrations. Enjoy crafting and have a fantastic school year ahead!
Thanks for reading!


Hey there, I'm Morgan, the creative mind behind CelebratingWithKids.com! As a parent of two lively little ones, I've made it my mission to turn ordinary days into extraordinary adventures, sharing playful activities, thoughtful toy reviews, and delightful printables to help families celebrate every moment together. 🎉👨👩👧👦🎈